Netgear WC7520 WC7520 Installation Guide
Netgear WC7520 - ProSafe 20-AP Wireless Controller Manual
 |
UPC - 606449072969
View all Netgear WC7520 manuals
Add to My Manuals
Save this manual to your list of manuals |
Netgear WC7520 manual content summary:
- Netgear WC7520 | WC7520 Installation Guide - Page 1
Administration Manual for instructions on advanced configuration and use. Links to the user documentation are on the Resource CD and on the Help tab of the WC7520 Wireless Controller user interface. You should have an understanding of network and VLAN configuration. Estimated Completion Time: 20 - Netgear WC7520 | WC7520 Installation Guide - Page 2
the access point documentation for firmware upgrade and address configuration instructions. These procedures vary depending on the access point model. Troubleshooting Tips Here are some tips for correcting simple problems you may have. I cannot access the controller with the computer. Confirm that
-
 1
1 -
 2
2
 |
 |
Installation Guide
e
ProSafe 20 AP Wireless Controller WC7520
Start Here
Follow these instructions to set up your controller
.
You can also consult the Software
Administration Manual for instructions on advanced configuration and use. Links to
the user documentation are on the
Resource CD
and on the Help tab of the WC7520
Wireless Controller user interface. You should have an understanding of network and
VLAN configuration.
Estimated Completion Time: 20 minutes.
Tip: Before deploying the WC7520 Wireless Controller in the work environment, first
set up and test the device.
Product Contents
The WC7520 Wireless Controller contains the following:
•
Wireless Controller
•
Ethernet cable
•
Power cord
•
Rack mounting hardware
•
Installation Guide
•
Resource CD
First, Set Up the WC7520 Wireless
Controller
1.
Connect the WC7520 Wireless Controller To Your Computer
a.
Unpack the box and verify the contents.
b.
Configure a computer with a static IP address of 192.168.0.210 and
255.255.255.0 as the Subnet Mask.
c.
Connect the controller to the PC via the network or directly to one of the
controller’s ports.
d.
Connect the power cord from the controller to an AC power outlet.
e.
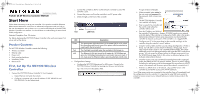
Check the lights on the front of the controller:
2.
Configure Basic Settings
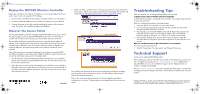
a.
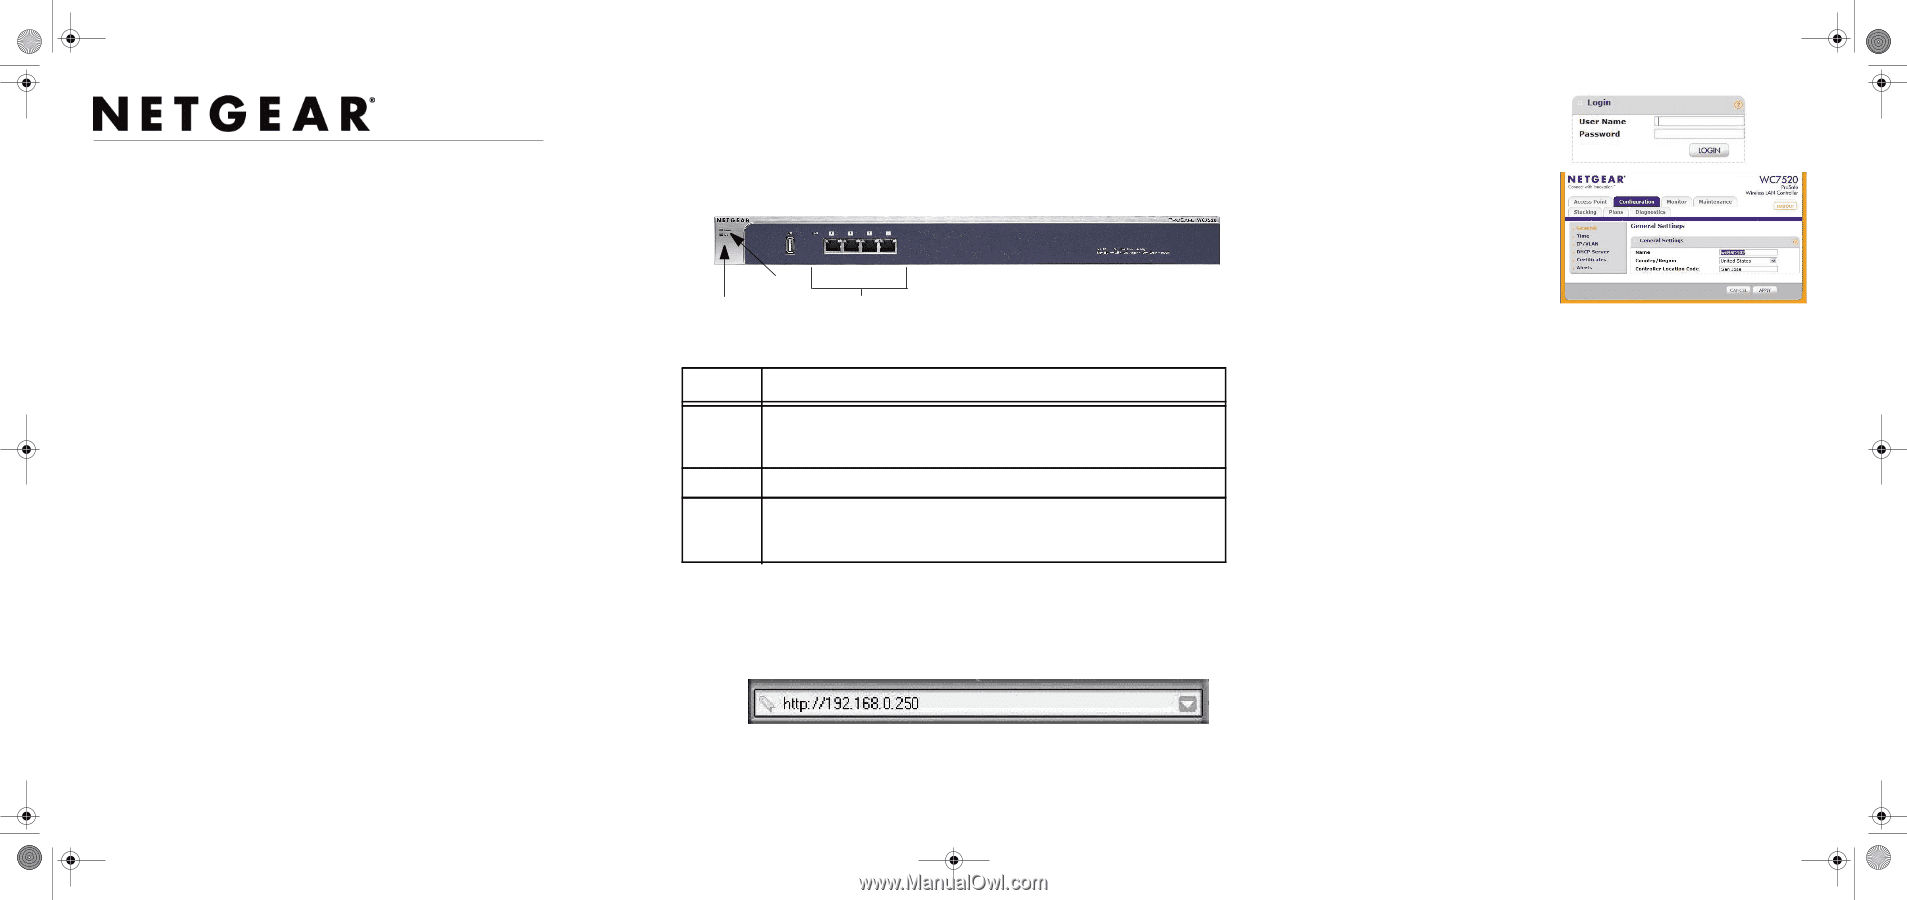
Configure the WC7520 Ethernet port for LAN access. Connect to the
WC7520 Wireless Controller by opening your browser and entering
in the address field.
A login window will display.
b.
When prompted, enter
admin
for
the user name and
password
for
the password, both in lower case
letters.
c.
The WC7520 Wireless Controller
user interface will display.
d.
Enter a name for the controller and
the country code where the
controller will be used.
e.
Enter the IP address and VLAN of
the controller (Configuration > System> IP/VLAN) based on your network
and click Apply. If the controller is configured as VLAN, refer to the System
Administration Manual. Certain setup requirements must be met for the
controller to discover access points if the controller is in a tagged VLAN.
f.
Configure your PC to the same subnet as the controller and login to the
controller using the controller’s new IP address.
g.
Setup the wireless SSIDs and their security settings (Configuration > Profile >
Basic). Up to 8 SSID's can be setup from the basic settings page. If your
setup requires access points to use completely different SSIDs, then create
additional groups from Advanced settings and create the SSID's under those
groups. You can assign the different groups to different access points from
the WLAN Network page. Refer to the section on Advanced groups in the
Software Administration Manual.
h.
Once the access points are converted from Standalone mode to managed
mode, they default to DHCP to get an IP address. There is no static IP setting.
So before you add access points to the managed list, ensure there is a DHCP
server in the network and the access points have network connectivity to it.
i.
If there is no DHCP server in the network, setup a DHCP server in the
controller to provide the access points with IP addresses.
Note:
When access points are connected to the controller, they will immediately load
the configuration from the controller. It is important to setup SSID and security to
prevent un secure access to your network before you connect access points to the
controller.
LED
Description
Power
The green power light should be lit. If the power light is not lit, check
the connections and check to see if the power outlet is controlled by
a wall switch that is turned off.
Test
The Test light is on briefly when the controller is first turned on.
LAN
The Ethernet (LAN) light should be lit (amber for 10/100 Mbps and
green for 1000 Mbps) indicating that a connection has been made. If
not, make sure the Ethernet cable is securely attached at both ends.
Test
Power
LAN Ports
WC7520_IG_23June10.fm
Page 1
Wednesday, June 23, 2010
9:27 AM