Netgear WNR2000v3 WNR2000v3 Setup Manual - Page 6
Place your router in a suitable area for installation near an AC power outlet and accessible
 |
View all Netgear WNR2000v3 manuals
Add to My Manuals
Save this manual to your list of manuals |
Page 6 highlights
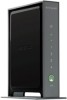
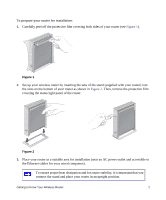
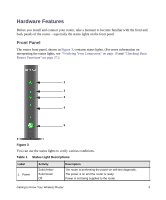
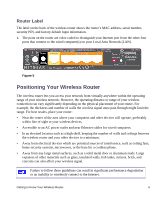
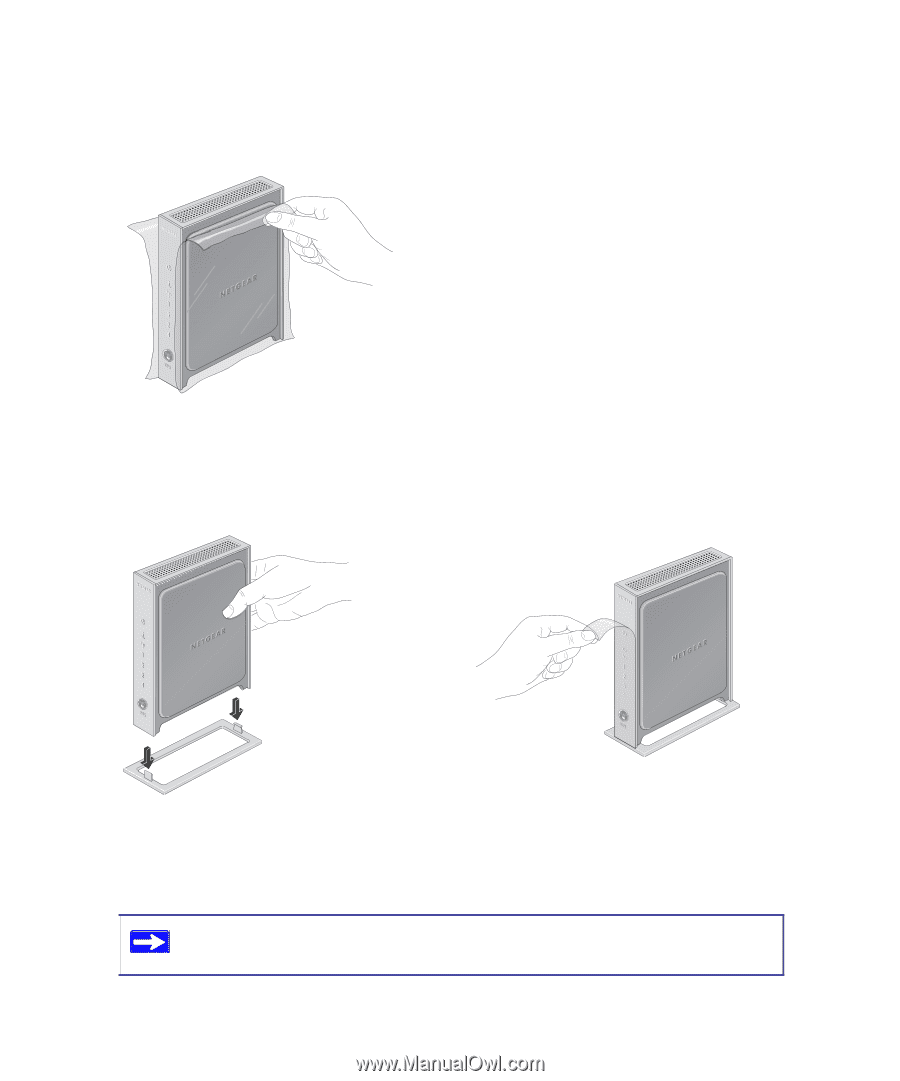
To prepare your router for installation: 1. Carefully peel off the protective film covering both sides of your router (see Figure 1). Figure 1 2. Set up your wireless router by inserting the tabs of the stand (supplied with your router) into the slots on the bottom of your router as shown in Figure 2. Then, remove the protective film covering the status light panel of the router. Figure 2 3. Place your router in a suitable area for installation (near an AC power outlet and accessible to the Ethernet cables for your wired computers). To ensure proper heat dissipation and for router stability, it is important that you connect the stand and place your router in an upright position. Getting to Know Your Wireless Router 2
-
 1
1 -
 2
2 -
 3
3 -
 4
4 -
 5
5 -
 6
6 -
 7
7 -
 8
8 -
 9
9 -
 10
10 -
 11
11 -
 12
12 -
13
-
14
-
15
-
16
-
17
-
18
-
19
-
20
-
21
-
22
-
23
-
24
-
25
-
26
-
27
-
28
-
29
-
30
-
31
-
32
-
33
-
34
-
35
-
36
-
37
-
38
-
39
-
40
-
41
-
42
 |
 |
Getting to Know Your Wireless Router
2
To prepare your router for installation:
1.
Carefully peel off the protective film covering both sides of your router (see
Figure 1
).
2.
Set up your wireless router by inserting the tabs of the stand (supplied with your router) into
the slots on the bottom of your router as shown in
Figure 2
. Then, remove the protective film
covering the status light panel of the router.
3.
Place your router in a suitable area for installation (near an AC power outlet and accessible to
the Ethernet cables for your wired computers).
Figure 1
Figure 2
To ensure proper heat dissipation and for router stability, it is important that you
connect the stand and place your router in an upright position.