Nikon D100 Product Manual - Page 43
Step 4-Focus
 |
UPC - 018208252718
View all Nikon D100 manuals
Add to My Manuals
Save this manual to your list of manuals |
Page 43 highlights
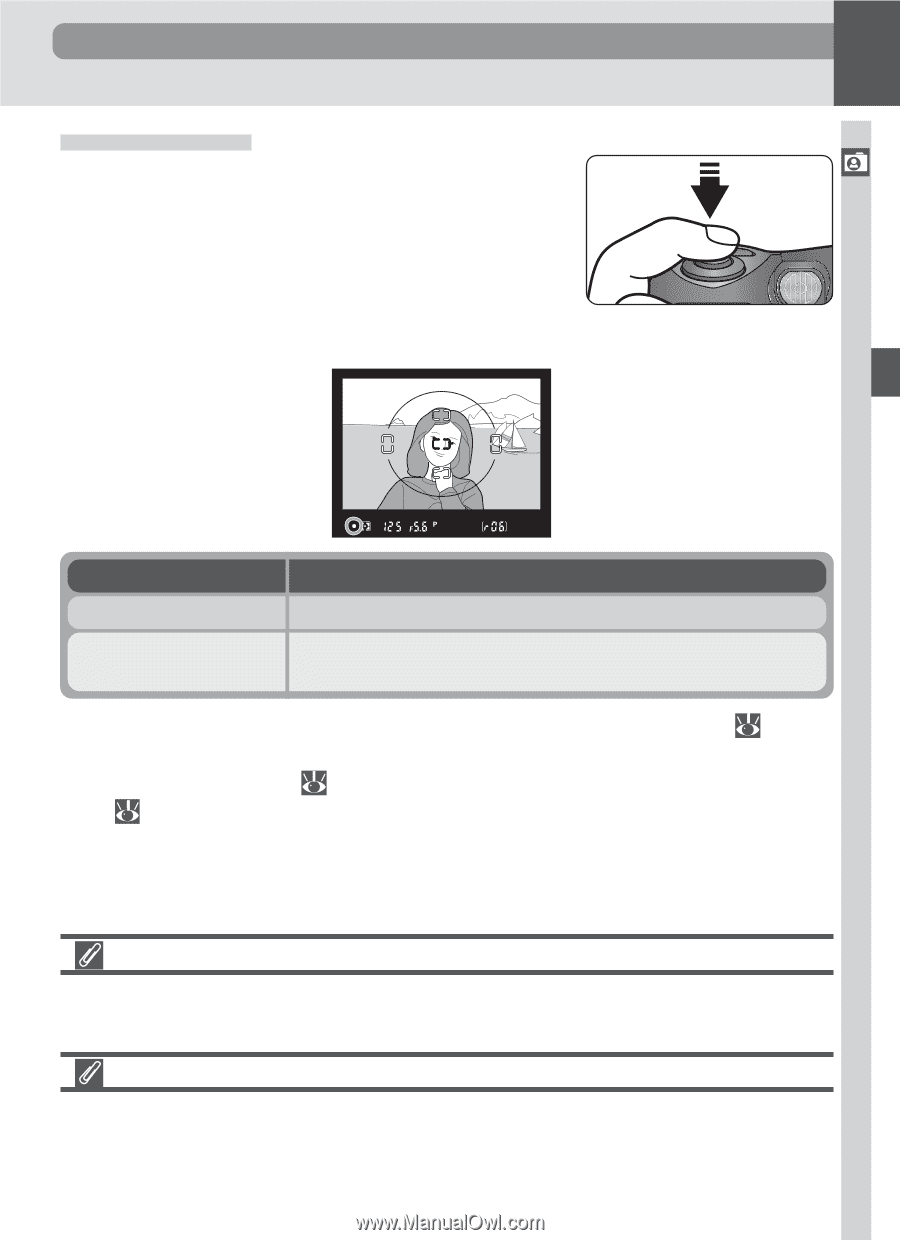
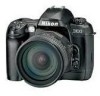
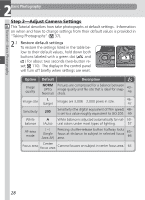
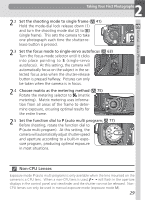
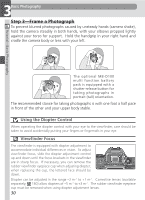
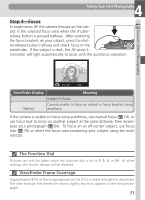
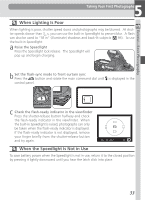
Tutorial-Basic Photography 4 Taking Your First Photographs Step 4-Focus In single-servo AF, the camera focuses on the subject in the selected focus area when the shutterrelease button is pressed halfway. After centering the focus brackets on your subject, press the shutter-release button halfway and check focus in the viewfinder. If the subject is dark, the AF-assist illuminator will light automatically to assist with the autofocus operation. Viewfinder Display Meaning ● Subject in focus. ● (flashes) Camera unable to focus on subject in focus brackets using autofocus. If the camera is unable to focus using autofocus, use manual focus ( 74), or use focus lock to focus on another subject at the same distance, then recompose your photograph ( 64). To focus on an off-center subject, use focus lock ( 70) or select the focus area containing your subject using the multi selector. The Function Dial Pictures can only be taken when the function dial is set to P, S, A, or M. At other settings, the shutter release will be disabled. Viewfinder Frame Coverage Approximately 95% of the image exposed on the CCD is visible through the viewfinder. The view through the viewfinder shows slightly less than appears in the final photograph. 31
-
 1
1 -
2
-
3
-
4
-
5
-
6
-
7
-
8
-
9
-
10
-
11
-
12
-
13
-
14
-
15
-
16
-
17
-
18
-
19
-
20
-
21
-
22
-
23
-
24
-
25
-
26
-
27
-
28
-
29
-
30
-
31
-
32
-
33
-
34
-
35
-
36
-
37
-
 38
38 -
 39
39 -
 40
40 -
 41
41 -
 42
42 -
 43
43 -
 44
44 -
 45
45 -
 46
46 -
 47
47 -
 48
48 -
49
-
50
-
51
-
52
-
53
-
54
-
55
-
56
-
57
-
58
-
59
-
60
-
61
-
62
-
63
-
64
-
65
-
66
-
67
-
68
-
69
-
70
-
71
-
72
-
73
-
74
-
75
-
76
-
77
-
78
-
79
-
80
-
81
-
82
-
83
-
84
-
85
-
86
-
87
-
88
-
89
-
90
-
91
-
92
-
93
-
94
-
95
-
96
-
97
-
98
-
99
-
100
-
101
-
102
-
103
-
104
-
105
-
106
-
107
-
108
-
109
-
110
-
111
-
112
-
113
-
114
-
115
-
116
-
117
-
118
-
119
-
120
-
121
-
122
-
123
-
124
-
125
-
126
-
127
-
128
-
129
-
130
-
131
-
132
-
133
-
134
-
135
-
136
-
137
-
138
-
139
-
140
-
141
-
142
-
143
-
144
-
145
-
146
-
147
-
148
-
149
-
150
-
151
-
152
-
153
-
154
-
155
-
156
-
157
-
158
-
159
-
160
-
161
-
162
-
163
-
164
-
165
-
166
-
167
-
168
-
169
-
170
-
171
-
172
-
173
-
174
-
175
-
176
-
177
-
178
-
179
-
180
-
181
-
182
-
183
-
184
-
185
-
186
-
187
-
188
-
189
-
190
-
191
-
192
-
193
-
194
-
195
-
196
-
197
-
198
-
199
-
200
-
201
-
202
-
203
-
204
-
205
-
206
-
207
-
208
-
209
-
210
-
211
-
212
 |
 |