NordicTrack Incline Trainer X9i Treadmill English Manual - Page 15
Attach the Right Inside Cover and the Right
 |
View all NordicTrack Incline Trainer X9i Treadmill manuals
Add to My Manuals
Save this manual to your list of manuals |
Page 15 highlights
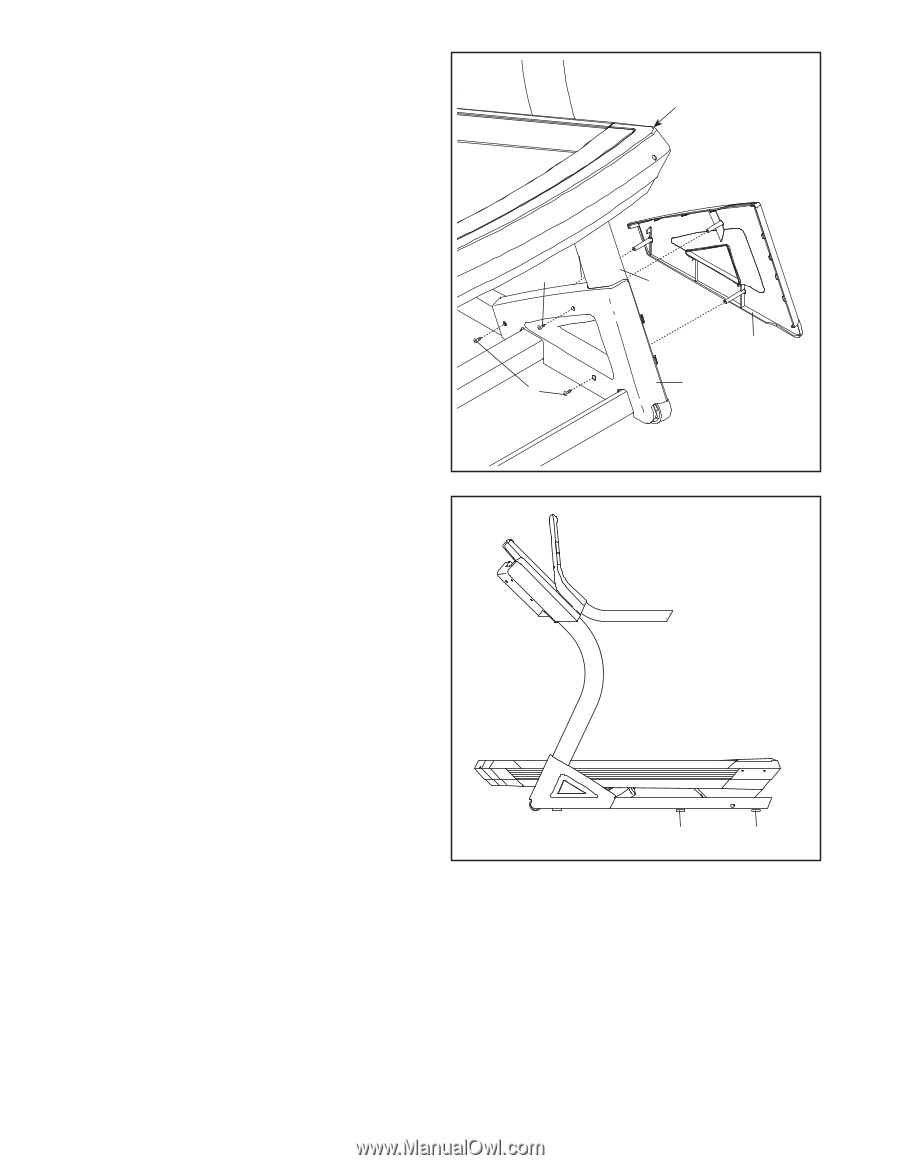
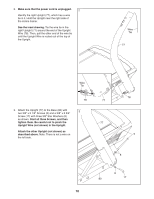
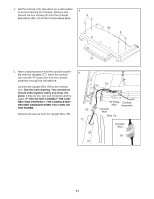
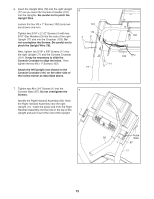
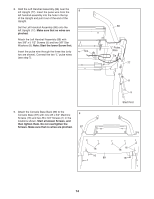
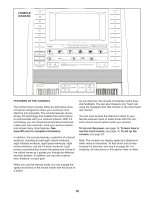
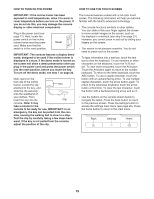
10. See page 17 and plug in the power cord. Next, see page 19 and turn on the power. See HOW 10 TO USE THE MAINTENANCE MODE on page 27 and calibrate the incline system of the incline trainer. Then, touch the 1 Step Incline button numbered 40 on the console. The Frame (58) will adjust to an incline of 40 percent. Then, turn off the incline trainer and unplug the power cord. Identify the Left Inside Cover (3) and the Left Outside Cover (106). Next, hold the Left Inside Cover against the left Upright (77). Then, hold 1 the Left Outside Cover against the Left Inside Cover. Attach the Left Outside Cover (106) to the Left Inside Cover (3) with three #8 x 3/4" Screws (1). Start all three Screws and then tighten them. 1 Attach the Right Inside Cover and the Right Outside Cover (not shown) as described above. 11. If necessary, move the incline trainer to the desired location (see HOW TO MOVE THE 11 INCLINE TRAINER on page 30). After the incline trainer is placed in the location where it will be used, make sure that the incline trainer rests firmly on the floor. If the incline trainer rocks even slightly, turn the Leveling Feet (14) as needed until the rocking motion is eliminated. 58 77 106 3 14 14 12. Make sure that all parts are properly tightened before you use the incline trainer. Keep the included hex keys in a secure place. One of the hex keys is used to adjust the walking belt (see page 32). To protect the floor or carpet from damage, place a mat under the incline trainer. 15
-
 1
1 -
2
-
3
-
4
-
5
-
6
-
7
-
8
-
9
-
 10
10 -
 11
11 -
 12
12 -
 13
13 -
 14
14 -
 15
15 -
 16
16 -
 17
17 -
 18
18 -
 19
19 -
 20
20 -
21
-
22
-
23
-
24
-
25
-
26
-
27
-
28
-
29
-
30
-
31
-
32
-
33
-
34
-
35
-
36
-
37
-
38
-
39
-
40
 |
 |