NordicTrack Incline Trainer X9i Treadmill English Manual - Page 21
How To Use The Manual Mode
 |
View all NordicTrack Incline Trainer X9i Treadmill manuals
Add to My Manuals
Save this manual to your list of manuals |
Page 21 highlights
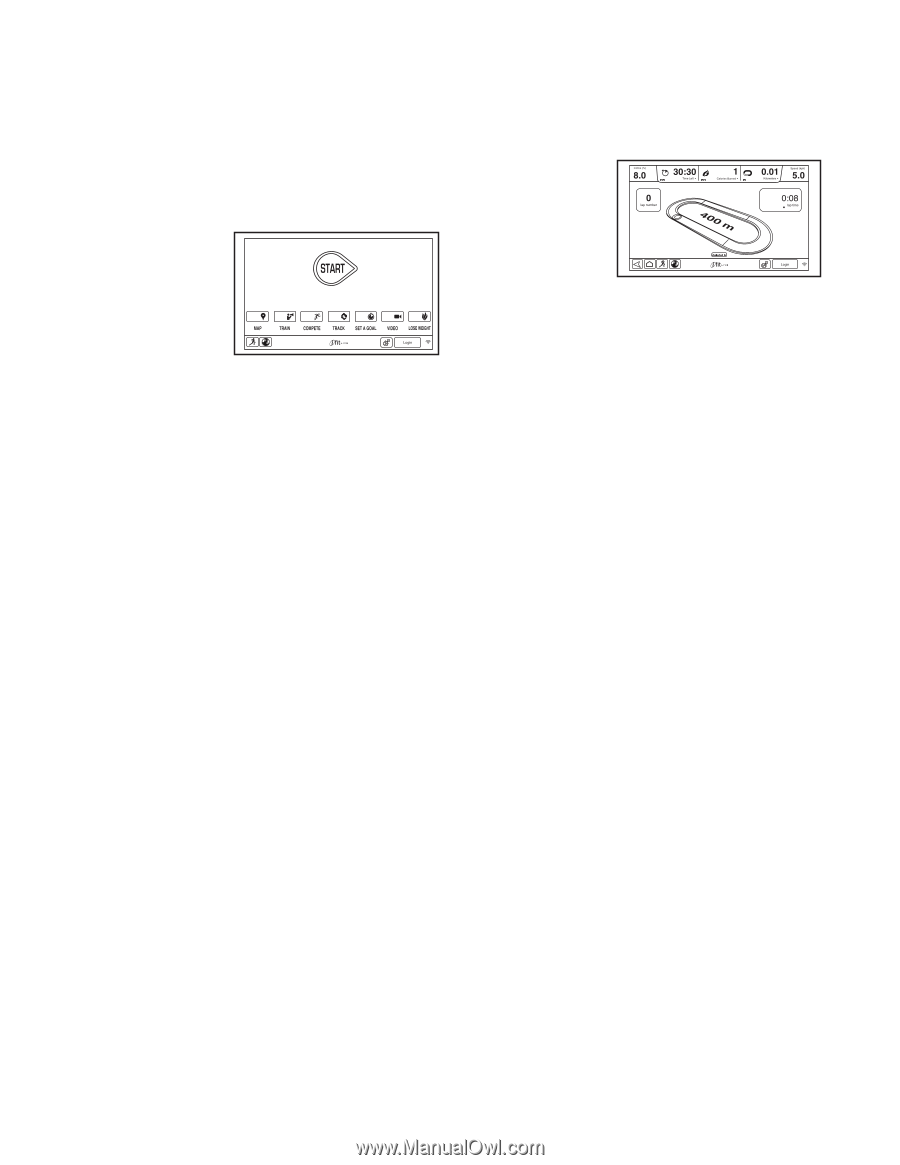
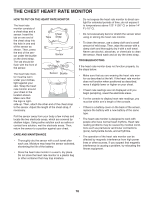
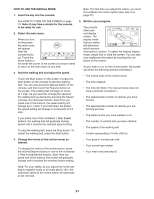
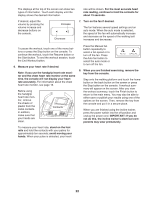
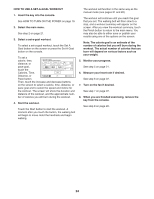
HOW TO USE THE MANUAL MODE 1. Insert the key into the console. Note: The first time you adjust the incline, you must first calibrate the incline system (see step 4 on page 27). See HOW TO TURN ON THE POWER on page 19. Note: It may take a minute for the console to be ready for use. 2. Select the main menu. When you turn on the power, the main menu will appear after the console boots up. Touch the home button in the lower-left corner of the screen (not shown here) to return to the main menu at any time. 3. Start the walking belt and adjust the speed. Touch the Start button on the screen or press the Start button on the console to start the walking belt. You can also press the Manual button on the console, and then touch the Resume button on the screen. The walking belt will begin to move at 1 mph. As you exercise, change the speed of the walking belt as desired by pressing the Speed increase and decrease buttons. Each time you press one of the buttons, the speed setting will change by 0.1 mph; if you hold down the button, the speed setting will change in increments of 0.5 mph. If you press one of the numbered 1 Step Speed buttons, the walking belt will gradually change speed until it reaches the selected speed setting. To stop the walking belt, press the Stop button. To restart the walking belt, press the Start button. 5. Monitor your progress. The console offers several display modes. The display mode that you select will determine which workout information is shown. To select the desired display mode, simply flick or slide the screen. You can also view additional information by touching the red boxes on the screen. As you walk or run on the incline trainer, the screen can show the following workout information: •• The incline level of the incline trainer •• The time elapsed •• The time left (Note: The manual mode does not have a time left countdown.) •• The approximate number of calories you have burned •• The approximate number of calories you are burning per hour •• The distance that you have walked or run •• The number of vertical feet you have climbed •• The speed of the walking belt •• A track representing 1/4 mile (400 m) 4. Change the incline of the incline trainer as desired. To change the incline of the incline trainer, press the Incline/Decline buttons or one of the numbered 1 Step Incline/Decline buttons. Each time you press one of the buttons, the incline will gradually change until it reaches the selected incline setting. •• Your pace in minutes per mile •• Your current lap number •• Your heart rate (see step 6) Note: For your safety, as you adjust the incline setting to negative levels or to levels above 15%, the maximum speed of the incline trainer will decrease at set intervals. 21
-
 1
1 -
2
-
3
-
4
-
5
-
6
-
7
-
8
-
9
-
10
-
11
-
12
-
13
-
14
-
15
-
 16
16 -
 17
17 -
 18
18 -
 19
19 -
 20
20 -
 21
21 -
 22
22 -
 23
23 -
 24
24 -
 25
25 -
 26
26 -
27
-
28
-
29
-
30
-
31
-
32
-
33
-
34
-
35
-
36
-
37
-
38
-
39
-
40
 |
 |