Olympus WS 110 WS-210S Instruction Manual (English) - Page 8
Menu mode
 |
UPC - 050332400658
View all Olympus WS 110 manuals
Add to My Manuals
Save this manual to your list of manuals |
Page 8 highlights
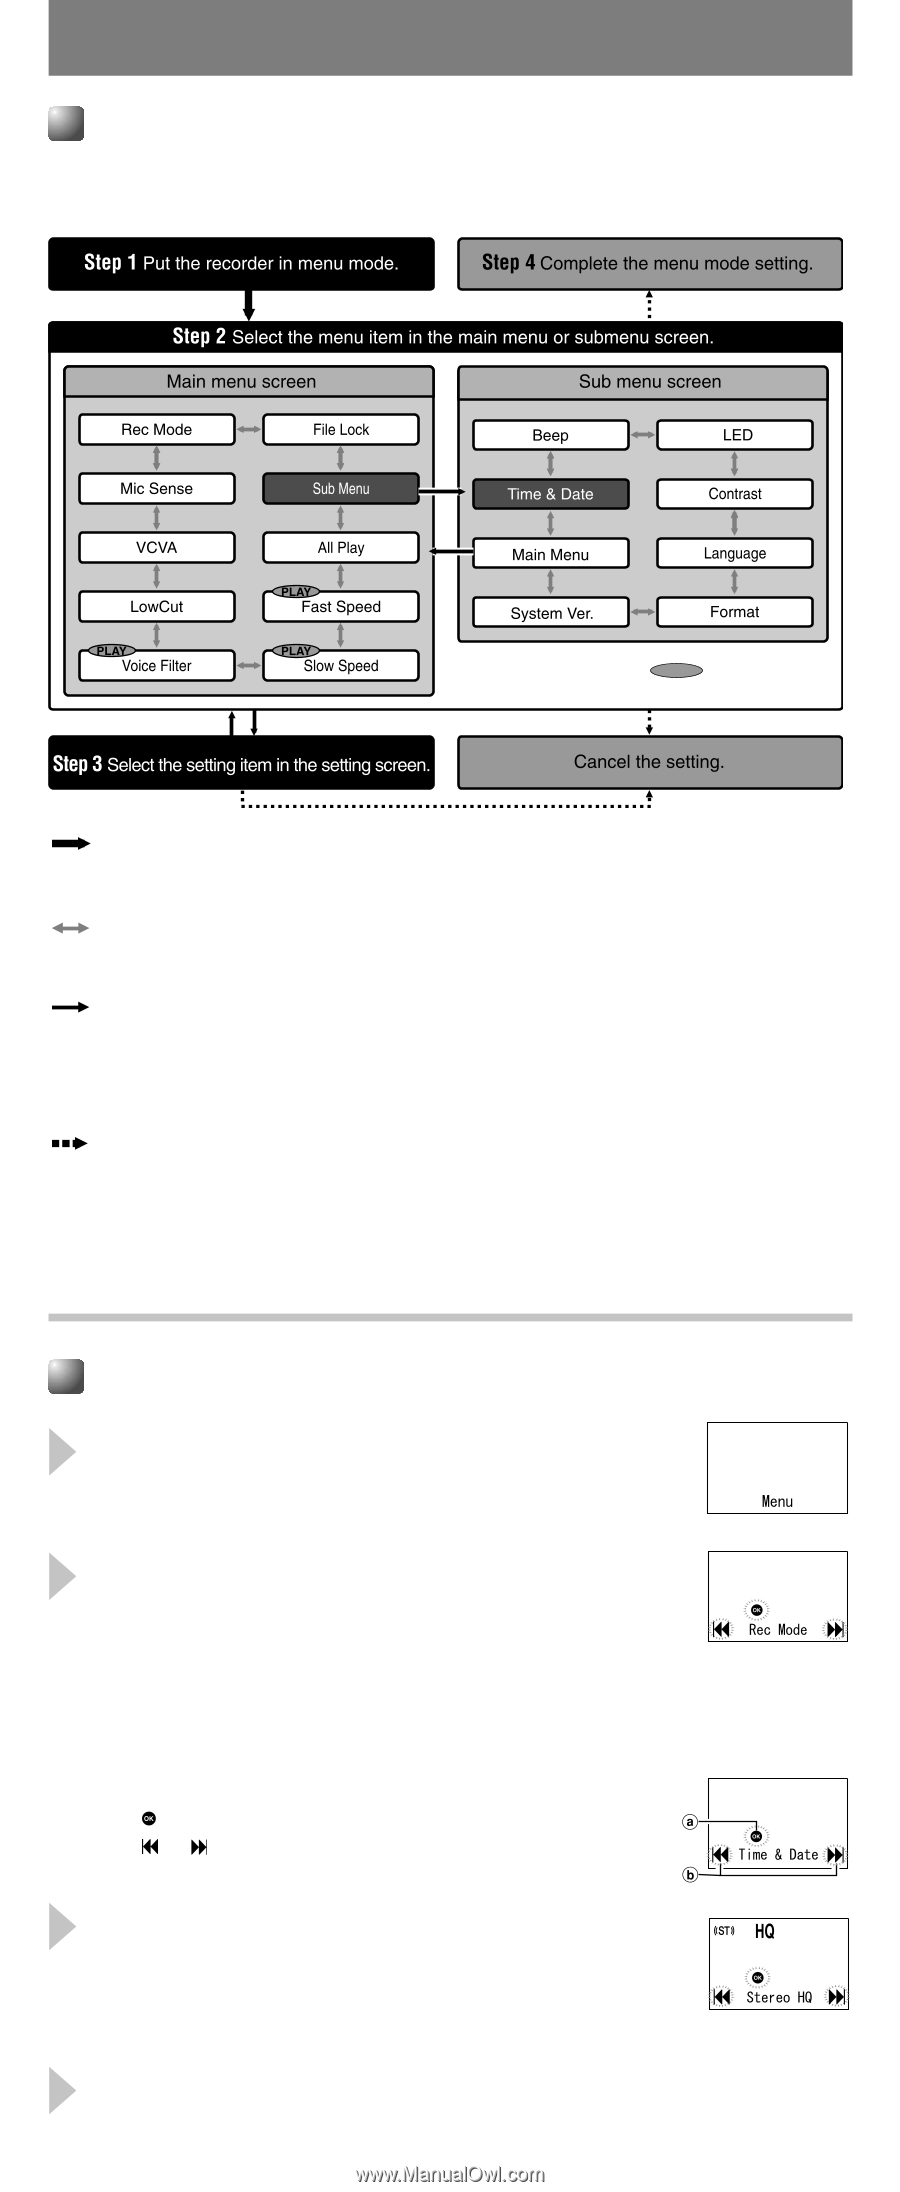
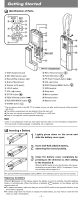
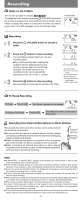
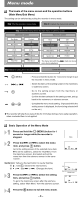
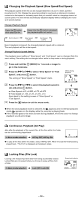
Menu mode The levels of the menu screen and the operation buttons (Main Menu/Sub Menu) The setting can be switched by putting the recorder in menu mode. The menu item with the PLAY mark can be set even during playback. 2 (MENU) : Press and hold the button for 1 second or longer to put the recorder in menu mode. 9 or 0 : Switch the items of the setting screen in the mainmenu or submenu screen. t : Go to the setting screen from the mainmenu or submenu screen. Confirm the item selected in the setting screen, and go back to the mainmenu or submenu screen. 5 or 4 : Complete the menu mode setting. (If pressed while the setting screen is displayed, the item being selected will not be set.) sThe recorder will stop if you leave it idle for 3 minutes during a menu setup operation, when a selected item is not applied. Basic Operation of the Menu Mode 1 Press and hold the 2 (MENU) button for 1 second or longer while the recorder is stopped. 2 Press the 9 or 0 to select the menu item, and press t button. Go to the setting screen of the selected menu item. sTo set the submenu, select the "Sub Menu" from the mainmenu screen. And select and set the menu item from the submenu screen in the same manner. Guide icon: Tells you the next button to use by flashing. a : Use t. (Goes to the next screen.) b or : Use 9 or 0. (Changes the item.) 3 Press the 9 or 0 to select the setting item, and press t button. To go to the mainmenu screen after the submenu setting, select "Main Menu" from the submenu screen. 4 Press the 5 button to exit the menu mode. - 8 - Guide icon
-
 1
1 -
2
-
 3
3 -
 4
4 -
 5
5 -
 6
6 -
 7
7 -
 8
8 -
 9
9 -
 10
10 -
 11
11 -
 12
12 -
 13
13 -
14
 |
 |