Panasonic AG-AC160A Operating Instructions Advanced - Page 25
Zebra patterns, Marker, Checking and displaying shooting status
 |
View all Panasonic AG-AC160A manuals
Add to My Manuals
Save this manual to your list of manuals |
Page 25 highlights
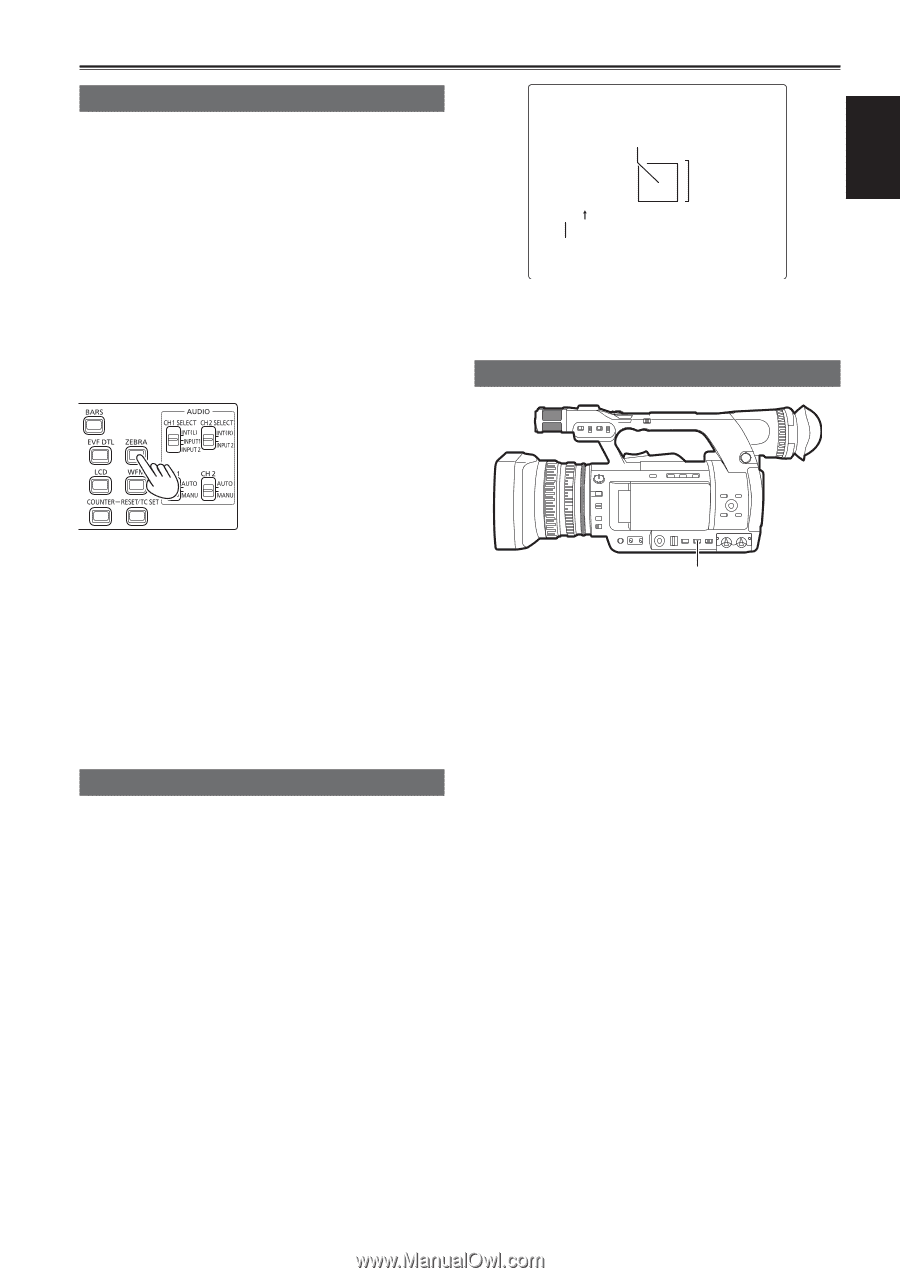
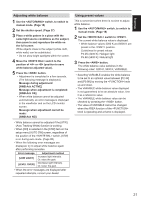
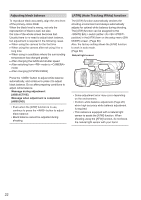
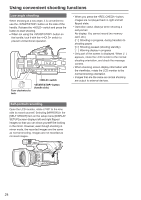
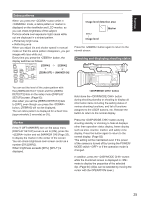
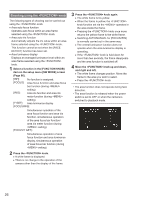
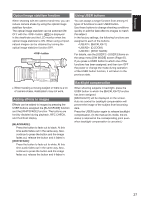
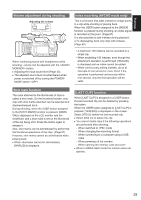
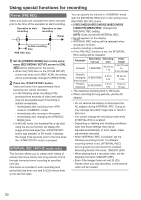
Shooting Zebra patterns When you press the button while in mode, a zebra pattern or marker is displayed on the viewfinder and LCD monitor, so you can check brightness of the subject. Portions where over exposure might cause white out are displayed in a striped pattern. ••Extremely bright area ••Reflecting area When you adjust iris and shutter speed in manual mode so that the zebra pattern disappears, you get images with less white out. Every time you press the button, the display switches as follows. [ZEBRA1] [ZEBRA2] [ZEBRA OFF] [MARKER ON] Image level detection area 99% Image level Marker Press the button again to return to the normal screen. Checking and displaying shooting status You can set the level of the zebra pattern with the [ZEBRA DETECT1] item and the [ZEBRA DETECT2] item on the setup menu [DISPLAY SETUP] screen. (Page 93) Also when you set the [ZEBRA DETECT2] item to [OFF], even though you press the button, [ZEBRA2] will not be displayed. The set zebra pattern is displayed for a fixed time (approximately 2 seconds) as [%]. Marker If the [Y GET MARKER] item on the setup menu [DISPLAY SETUP] screen is set to [ON], press the button and set [MARKER ON] (Page 25), to display the marker in the center of the screen. You can check brightness near screen center as a number ([0%]-[99%]). When brightness exceeds [99%], [99%] is displayed. button Hold down the button during shooting standby or shooting to display all information items including the setting status of various shooting functions, and list of functions assigned to the USER buttons, etc. Release the button to return to the normal display. Press the button during shooting standby or shooting to hide all displays other than operation status display, frame display such as area, counter, marker, and safety zone display. Press the button again to return to the normal display. (Page 82) This setting will be maintained even if the power of the camera is turned off by turning the POWER/ MODE switch or if the operation mode is changed. In addition, press the button while the thumbnail screen is displayed in mode to display the properties of the selected clip. (Page 64) (Clips can be selected by moving the cursor with the OPERATION lever.) 25
-
 1
1 -
2
-
3
-
4
-
5
-
6
-
7
-
8
-
9
-
10
-
11
-
12
-
13
-
14
-
15
-
16
-
17
-
18
-
19
-
 20
20 -
 21
21 -
 22
22 -
 23
23 -
 24
24 -
 25
25 -
 26
26 -
 27
27 -
 28
28 -
 29
29 -
 30
30 -
31
-
32
-
33
-
34
-
35
-
36
-
37
-
38
-
39
-
40
-
41
-
42
-
43
-
44
-
45
-
46
-
47
-
48
-
49
-
50
-
51
-
52
-
53
-
54
-
55
-
56
-
57
-
58
-
59
-
60
-
61
-
62
-
63
-
64
-
65
-
66
-
67
-
68
-
69
-
70
-
71
-
72
-
73
-
74
-
75
-
76
-
77
-
78
-
79
-
80
-
81
-
82
-
83
-
84
-
85
-
86
-
87
-
88
-
89
-
90
-
91
-
92
-
93
-
94
-
95
-
96
-
97
-
98
-
99
-
100
-
101
-
102
-
103
-
104
-
105
-
106
-
107
-
108
-
109
-
110
 |
 |