Panasonic DMREZ485V Dvd Recorder - English/spanish - Page 55
Setup Menus, Set Channels Automatically
 |
View all Panasonic DMREZ485V manuals
Add to My Manuals
Save this manual to your list of manuals |
Page 55 highlights
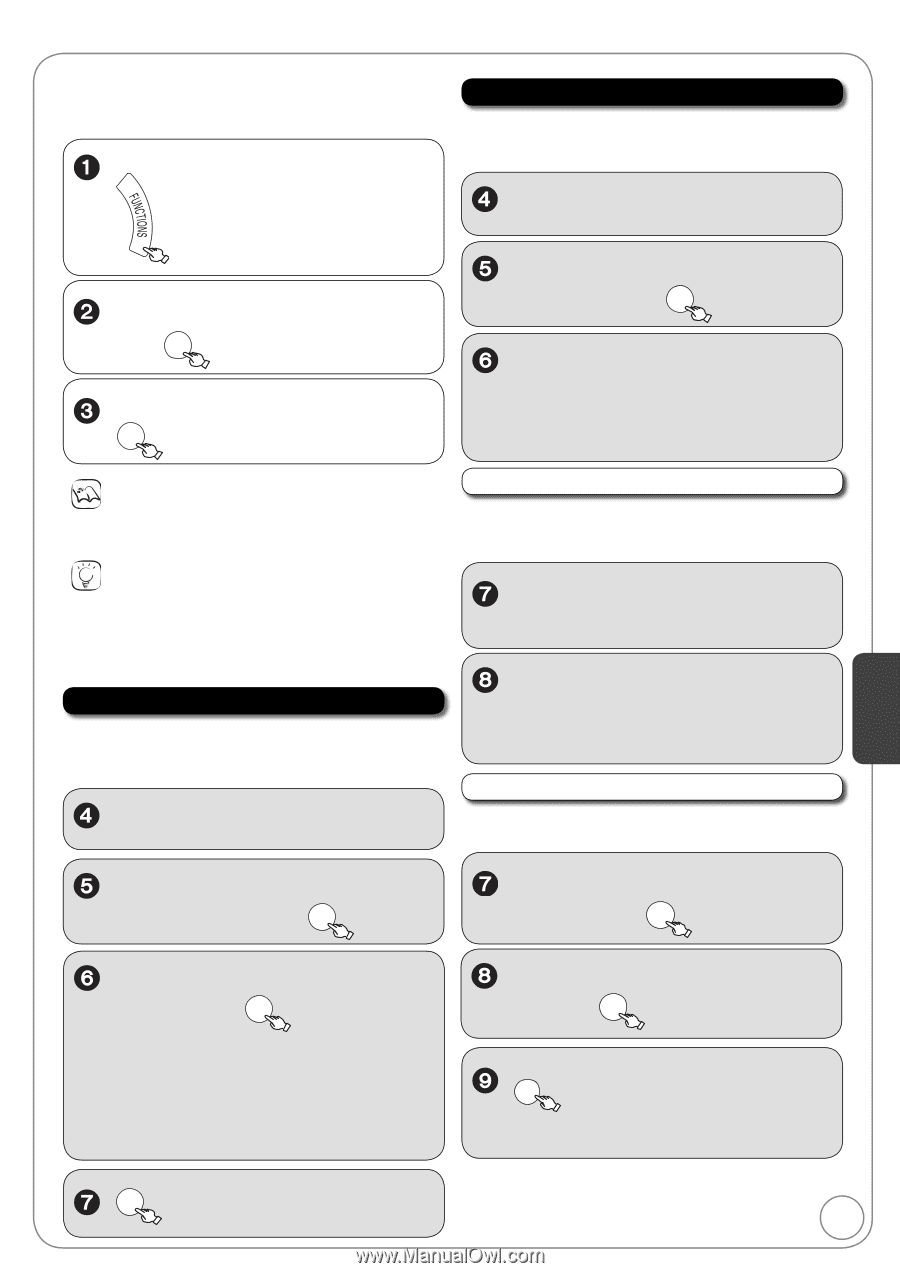
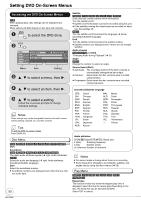
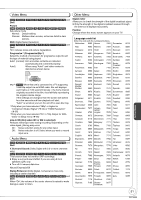
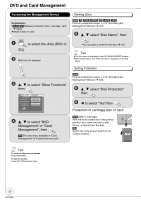
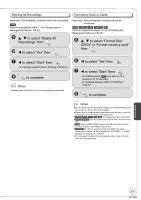
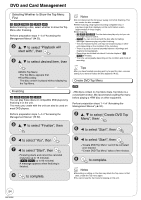
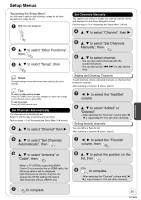
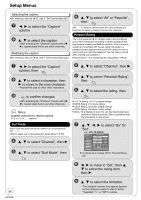
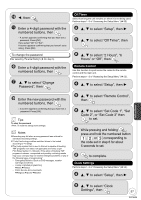
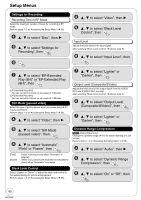
Setup Menus "Accessing the Setup Menu" You will have to perform the following 3 steps for all other operations on page 55−66. With the unit stopped Set Channels Manually The captions you select or modify are used as channel names and displayed on the Direct Navigator screen. Perform steps 1−3 of "Accessing the Setup Menu" ( left). , to select "Channel", then , to select "Other Functions", then OK , to select "Setup", then OK , to select "Set Channels Manually", then OK , to select channel. -You can also select channels with the numbered buttons. -You can also press [,] to skip several lines. Notes Changed settings remain intact even when switching the unit to standby. Tips To return to the previous screen Press [RETURN]. Even if you have changed an option, the change is not activated until you press [OK]. To exit the screen Press [RETURN] several times. Set Channels Automatically The channels are automatically set. Select to suit the type of antenna you are using. Perform steps 1−3 of "Accessing the Setup Menu" ( above). , to select "Channel" then Adding and Deleting Channels To add channels, delete undesired channels, or channels that have poor reception. After selecting a channel ( above, step 6). , to select the "Add/Del" column. , to select "Added" or "Deleted". - After selecting the "Channel" column with repeat steps 6-8 to set other channels. Setting favorite channels You can define a Favorite list. After selecting a channel ( above, step 6). , to select "Set Channels Automatically", then OK , to select the "Favorite" column, then OK Setting Menus , to select "Antenna" or "Cable", then OK -When a TV (VIERA) supporting HDAVI Control 3 is connected via an HDMI cable, the following options will be displayed. [Set Channels via VIERA Link] You can acquire the VIERA setting information [Set Channels without VIERA Link] , to select the position on the list, then OK RETURN to complete. - After selecting the "Channel" column with repeat steps 6-9 to set other channels. OK to complete. 55 RQT9056
-
 1
1 -
2
-
3
-
4
-
5
-
6
-
7
-
8
-
9
-
10
-
11
-
12
-
13
-
14
-
15
-
16
-
17
-
18
-
19
-
20
-
21
-
22
-
23
-
24
-
25
-
26
-
27
-
28
-
29
-
30
-
31
-
32
-
33
-
34
-
35
-
36
-
37
-
38
-
39
-
40
-
41
-
42
-
43
-
44
-
45
-
46
-
47
-
48
-
49
-
 50
50 -
 51
51 -
 52
52 -
 53
53 -
 54
54 -
 55
55 -
 56
56 -
 57
57 -
 58
58 -
 59
59 -
 60
60 -
61
-
62
-
63
-
64
-
65
-
66
-
67
-
68
-
69
-
70
-
71
-
72
-
73
-
74
-
75
-
76
-
77
-
78
-
79
-
80
-
81
-
82
-
83
-
84
-
85
-
86
-
87
-
88
-
89
-
90
-
91
-
92
-
93
-
94
-
95
-
96
-
97
-
98
-
99
-
100
 |
 |