Panasonic DMREZ485V Dvd Recorder - English/spanish - Page 58
Quick Start, DivX Registration, Notes, Set Clock Manually, Set the time change dates for DST
 |
View all Panasonic DMREZ485V manuals
Add to My Manuals
Save this manual to your list of manuals |
Page 58 highlights
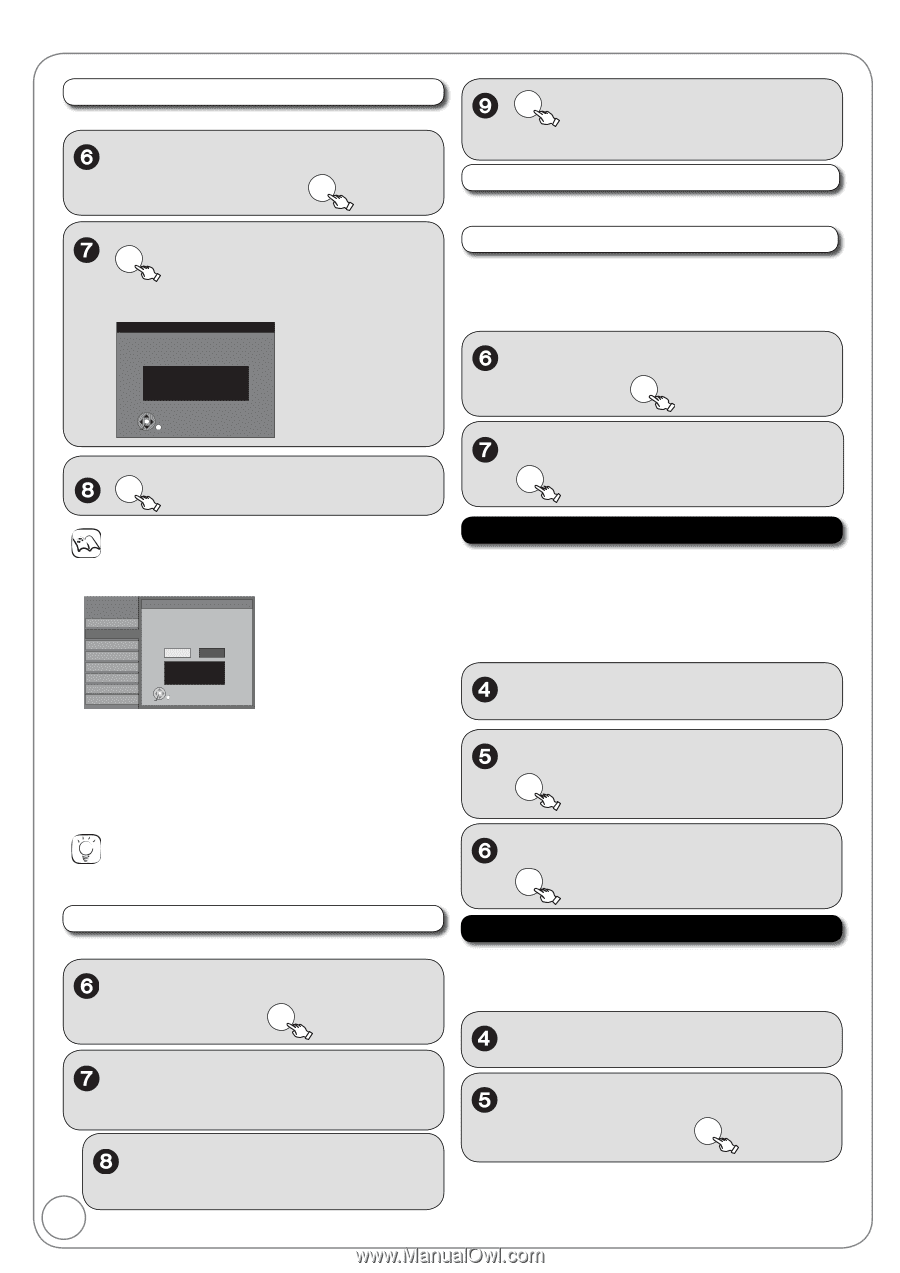
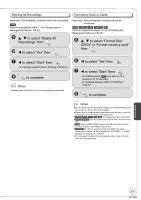
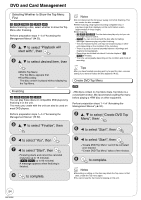
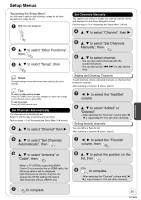
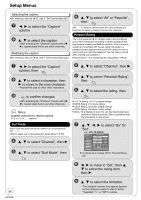
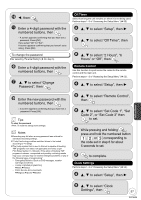
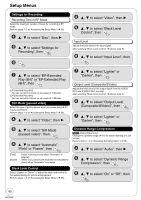
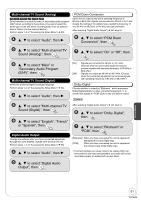
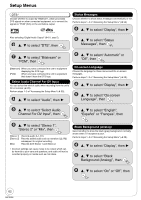
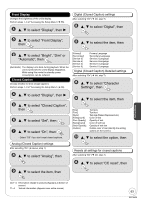
Setup Menus Set Clock Automatically After selecting "Clock Settings" ( 57, step 5). , to select "Set Clock Automatically", then OK OK to start auto setting. The following screen appears when the setting is complete. Set Clock Automatically Clock Setting completed successfully. 4/4/2008 11:15 AM DST----------- On Time Zone---- EST OK OK to complete. Notes This may take some time, up to a few hours in some cases. If the following message appears Setup Channel Setup Disc Video Audio Display TV Screen VHS Set Clock Automatically Setting completed as follows. Finish the setup with this clock time? Note:Selecting"No"will start channel scanning again and renew the clock time. Yes No 12/14/2008 5:28 AM DST----------- Off Time Zone---- EST OK If the time is correct, press [] to select "Yes", then press [OK]. - If you select "No", auto setting starts again, then the above screen reappears. Repeat this step until the correct time appears. If the clock is not correct, set the clock with "Adjust Time Zone" ( right) or "Set Clock Manually" ( below). OK to confirm new date and time and to initiate the clock. Set the time change dates for DST Set the beginning and end dates for DST. ( 13). Adjust Time Zone Adjust the time zone (-1 or 1) if it was not set correctly with auto clock setting. You can set this menu only after "Set Clock Automatically" is completed. ( left). After selecting "Clock Settings" ( 57, step 5). , to select "Adjust Time Zone", then OK , to select "-1" or "1", then OK Quick Start 1 Sec. Quick Start for Recording on DVD-RAM. From the power off state, recording on DVD-RAM starts about 1 second after first pressing the [ DVD/VHS POWER] and then sequentially pressing [REC] (Quick Start Mode). Power consumption is also higher when the unit is turned off if this is set to "On". Perform steps 1−3 of "Accessing the Setup Menu" ( 55). , to select "Setup", then , to select "Quick Start", then OK Tips To cancel in the middle Press [RETURN]. Set Clock Manually After selecting "Clock Settings" ( 57, step 5). , to select "Set Clock Manually", then OK , to select the item you want to change. 58 RQT9056 , to change the setting. -Repeat steps 7-8 to change other items. , to select "On" or "Off", then OK DivX Registration You need this registration code to purchase and play DivX Video-on-Demand (VOD) content ( 36). Perform steps 1−3 of "Accessing the Setup Menu" ( 55). , to select "Setup", then , to select "DivX Registration", then OK
-
 1
1 -
2
-
3
-
4
-
5
-
6
-
7
-
8
-
9
-
10
-
11
-
12
-
13
-
14
-
15
-
16
-
17
-
18
-
19
-
20
-
21
-
22
-
23
-
24
-
25
-
26
-
27
-
28
-
29
-
30
-
31
-
32
-
33
-
34
-
35
-
36
-
37
-
38
-
39
-
40
-
41
-
42
-
43
-
44
-
45
-
46
-
47
-
48
-
49
-
50
-
51
-
52
-
 53
53 -
 54
54 -
 55
55 -
 56
56 -
 57
57 -
 58
58 -
 59
59 -
 60
60 -
 61
61 -
 62
62 -
 63
63 -
64
-
65
-
66
-
67
-
68
-
69
-
70
-
71
-
72
-
73
-
74
-
75
-
76
-
77
-
78
-
79
-
80
-
81
-
82
-
83
-
84
-
85
-
86
-
87
-
88
-
89
-
90
-
91
-
92
-
93
-
94
-
95
-
96
-
97
-
98
-
99
-
100
 |
 |