Panasonic PT56LCZ7 Lifi Hdtv - Page 25
Basic Operation, First Time Setup
 |
View all Panasonic PT56LCZ7 manuals
Add to My Manuals
Save this manual to your list of manuals |
Page 25 highlights
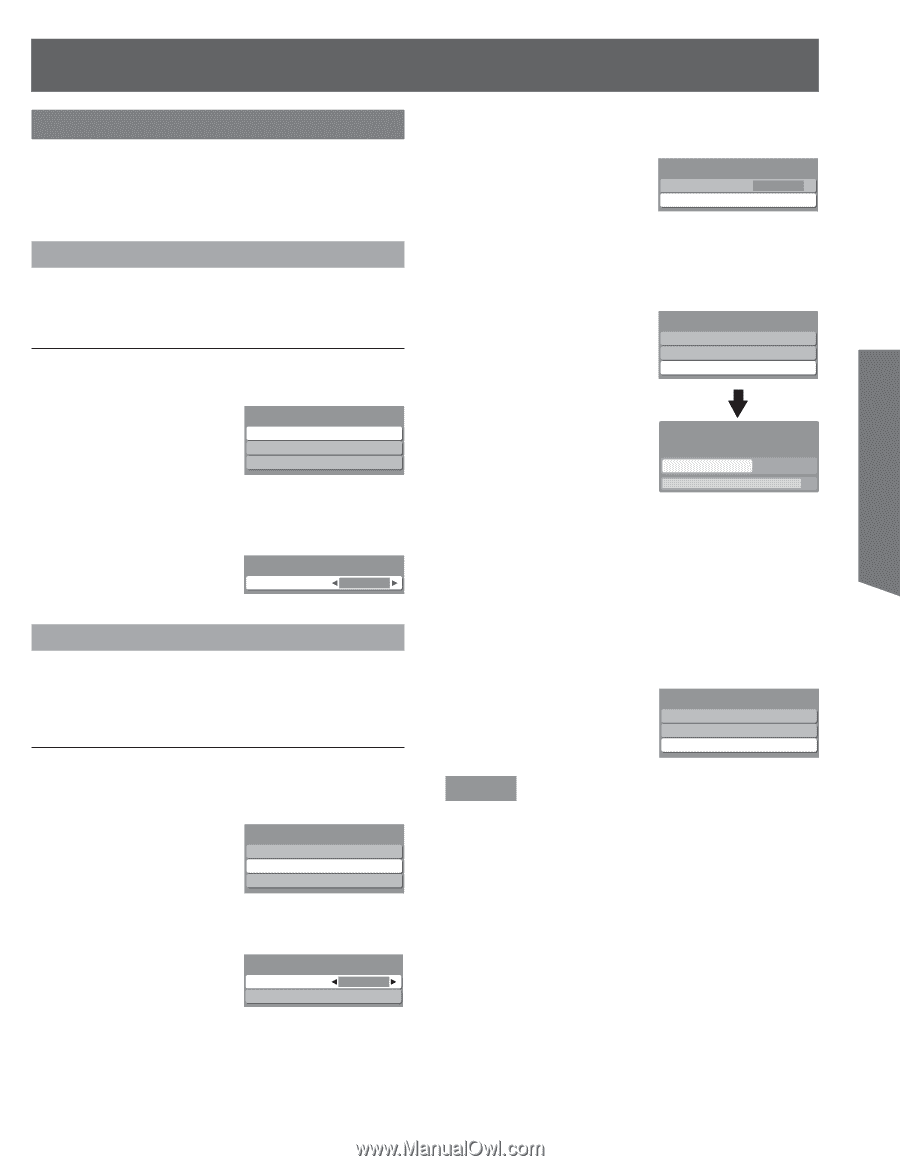
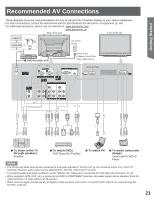
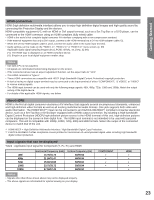
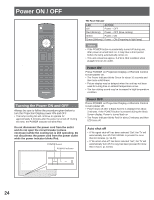
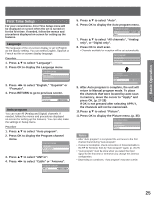
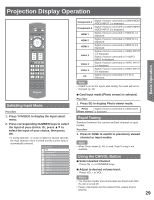
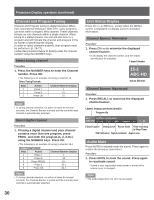
Basic Operation First Time Setup For your convenience, First Time Setup menu will be displayed on screen when the set is turned on for the first time. If needed, follow the menus and procedures displayed on-screen for setting up the features. Language The language of the on-screen display is set to English as the factory setting. You can select English, Spanish or French as the on-screen display language. Procedure 1. Press ▲▼ to select "Language". 2. Press OK to display the Language menu. First time setup Language Auto program Picture 3. Press ◄► to select "English," "Español" or "Français". 4. Press RETURN to go to previous screen. Language Language English Auto program You can scan All (Analog and Digital) channels. If needed, follow the menus and procedures displayed on-screen for setting up the features. You can also make the settings in Setup menu. Procedure 1. Press ▲▼ to select "Auto program". 2. Press OK to display the Program channel menu. First time setup Language Auto program Picture 3. Press ▲▼ to select "ANT in". 4. Press ◄► to select "Cable" or "Antenna". Program channel ANT in Auto Cable 5. Press ▲▼ to select "Auto". 6. Press OK to display the Auto program menu. Program channel ANT in Auto Cable 7. Press ▲▼ to select "All channels", "Analog only", or "Digital only". 8. Press OK to start scan. • Channels available for reception will be set automatically. Auto program All channels Analog only Digital only Auto program Scanning digital channel Progress Quit 40% 9. After Auto program is complete, the unit will return to Manual program mode. To place the channels that were located by auto scan in memory, move the cursor to "Apply" and press OK. (p. 27-28) If OK is not pressed after selecting APPLY, the channels will not be memorized. 10. Press ▲▼ to select "Picture". 11. Press OK to display the Picture menu. (p. 35) First time setup Language Auto program Picture Notes • After "Auto program" is completed the unit tunes to the first channel found during "Auto program". • If setup is incomplete, check connection of Antenna/Cable to the RF IN Terminal, then try "Auto program" again. (p. 26-27) • "Auto program" must be done when you select the input signal for the first time or whenever you change the antenna configuration. • Depending on conditions, "Auto program" may take a while. 25
-
 1
1 -
2
-
3
-
4
-
5
-
6
-
7
-
8
-
9
-
10
-
11
-
12
-
13
-
14
-
15
-
16
-
17
-
18
-
19
-
 20
20 -
 21
21 -
 22
22 -
 23
23 -
 24
24 -
 25
25 -
 26
26 -
 27
27 -
 28
28 -
 29
29 -
 30
30 -
31
-
32
-
33
-
34
-
35
-
36
-
37
-
38
-
39
-
40
-
41
-
42
-
43
-
44
-
45
-
46
-
47
-
48
-
49
-
50
-
51
-
52
-
53
-
54
-
55
-
56
-
57
-
58
-
59
-
60
-
61
-
62
-
63
-
64
-
65
-
66
-
67
-
68
 |
 |