Panasonic SAHT822V SAHT822V User Guide - Page 17
STEP 6 PLUG-IN AUTO TUNING, Press, to turn on the unit.
 |
View all Panasonic SAHT822V manuals
Add to My Manuals
Save this manual to your list of manuals |
Page 17 highlights
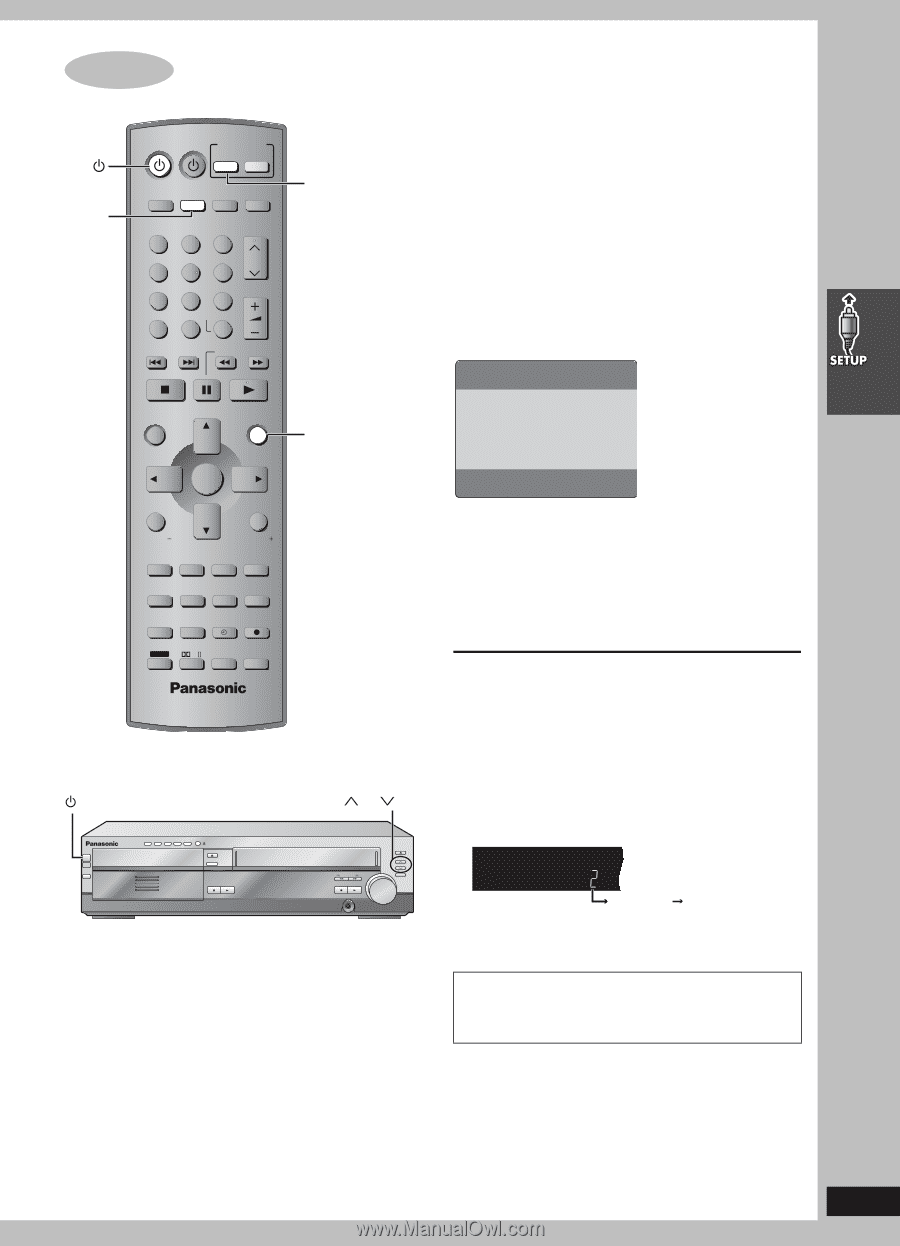
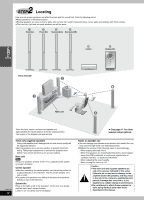
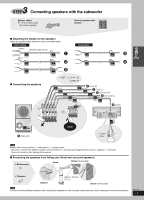
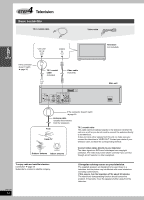
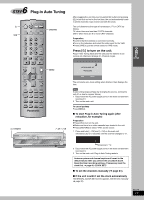
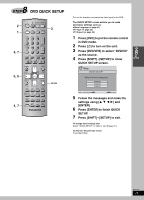
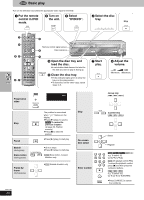
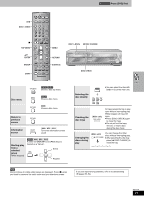
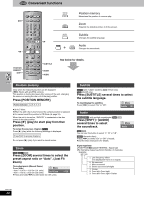
6 STEP Plug-in Auto Tuning TV INPUT SELECTOR DVD/VHS FM/AM VHS DVD VHS TV TUNER DISC 1 1 DISC 2 2 DISC 3 3 DISC 4 DISC 5 CH 456 PICTURE MODE 78 VOLUME 9 SETUP ENTER 100 0 S10 SKIP SLOW/SEARCH OPEN/CLOSE/EJECT JET REW CD MODE DVD/VHS TOP MENU NAVI DIRECT NAVIGATOR OSD/ DISPLAY ENTER MENU PLAY LIST RETURN TV VOL RESET TV/VIDEO PAGE GROUP TV VOL MIX 2CH REPEAT SUBTITLE PLAY MODE MULTI RE-MASTER C.S.M C.FOCUS PROGRESSIVE SUBWOOFER LEVEL SFC SUPER SRND MUTING POSITION MEMORY PROG SHIFT ZOOM QUICK REPLAY REC SPEED SLEEP PL TEST AUDIO CH SELECT CANCEL MENU / I POWER POWER Í/I INPUT SELECTOR 1 2 3 4 5 DISC DISC 5 4 3 2 1 DISC CHANGE OPEN/CLOSE DISC CHECK STOP PLAY -DEMO CH CH /REW FF/ STOP PLAY PHONES DOWN EJECT VOLUME CH REC UP After plugging the unit into your household AC outlet and pressing [Í] to turn the unit on for the first time, the unit automatically tunes in all the channels it can receive and sets the clock. The unit determines the type of transmission, TV or CATV, as follows: TV: when there are less than 5 CATV channels. CATV: when there are 5 or more CATV channels. Preparation ≥Confirm that the antenna is connected correctly. ≥Turn on the television and select the video input for the VHS. ≥Press [VHS] to put the remote control in VHS mode. Press [Í] to turn on the unit. Plug-in Auto Tuning starts and the unit puts the stations it can receive into channels (➜ page 41, Channel range). 2 AUTO CHANNEL SET PROCEEDING END :MENU The unit starts auto clock setting when finished, then displays the time. [Note] If auto tuning stops partway (by changing the source, turning the unit off, or due to a power failure.) 1 Disconnect the AC power supply cord on the main unit and then reconnect it. 2 Turn on the main unit. To cancel partway Press [MENU]. ∫ To start Plug-in Auto Tuning again (after relocation, for example) Preparation ≥Press [Í] to turn on the unit. ≥Make sure there is no video cassette tape loaded in the unit. ≥Press [DVD/VHS] to select "VHS" as the source. 1 Press and hold [W CH] and [X CH] on the main unit simultaneously for 3 seconds until the channel changes to "2". Disappears 2 2 Disconnect the AC power supply cord on the main unit and then reconnect it. 3 Turn on the main unit. Plug-in Auto Tuning restarts. Antenna system and channel captions all revert to the default values when you perform the procedure above. Reset the timer recording settings. (If necessary reset the clock first. ➜ page 40, CLOCK SET) ∫ To set the channels manually (➜ page 41). ∫ If the unit couldn't set the clock automatically The MANUAL CLOCK SET screen appears. Set the time manually (➜ page 40). RQT7708 17
-
 1
1 -
2
-
3
-
4
-
5
-
6
-
7
-
8
-
9
-
10
-
11
-
 12
12 -
 13
13 -
 14
14 -
 15
15 -
 16
16 -
 17
17 -
 18
18 -
 19
19 -
 20
20 -
 21
21 -
 22
22 -
23
-
24
-
25
-
26
-
27
-
28
-
29
-
30
-
31
-
32
-
33
-
34
-
35
-
36
-
37
-
38
-
39
-
40
-
41
-
42
-
43
-
44
-
45
-
46
-
47
-
48
-
49
-
50
-
51
-
52
-
53
-
54
-
55
-
56
 |
 |