Panasonic SAHT822V SAHT822V User Guide - Page 36
TIMER RECORDING, Select CH
 |
View all Panasonic SAHT822V manuals
Add to My Manuals
Save this manual to your list of manuals |
Page 36 highlights
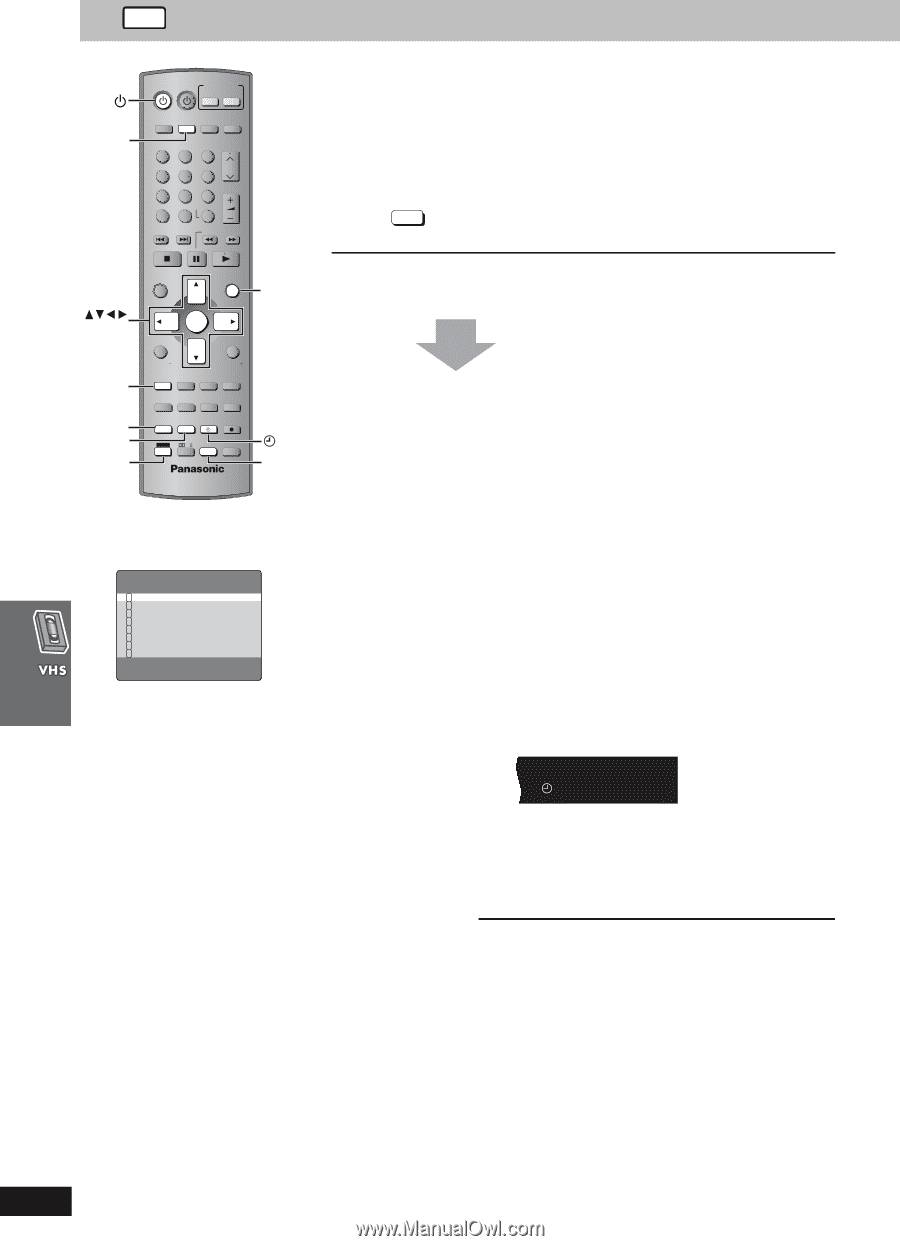
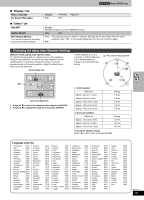
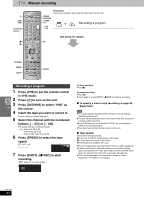
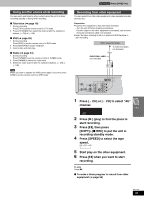
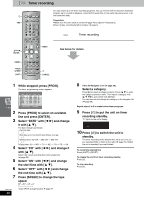
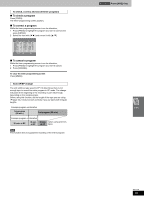
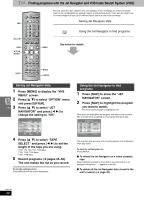
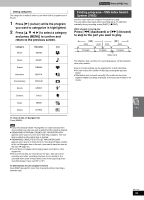
VHS Timer recording TV INPUT SELECTOR DVD/VHS FM/AM VHS DVD VHS TV TUNER DISC 1 1 DISC 2 2 DISC 3 3 DISC 4 DISC 5 CH 456 PICTURE MODE 78 VOLUME 9 SETUP ENTER 100 0 S10 SKIP SLOW/SEARCH OPEN/CLOSE/EJECT JET REW CD MODE You can create up to 16 timer recording programs. You can set the timer to record an individual program up to a month in advance, record at the same time on the same day every week, or at the same time daily. Preparation ≥Make sure the unit's clock is correct (➜ page 40 to adjust it if necessary). ≥Insert a tape, ensuring its tab is in place (➜ page 5). PROG Timer recording ENTER RESET PROG SPEED SHIFT TOP MENU NAVI DIRECT NAVIGATOR OSD/ DISPLAY ENTER MENU PLAY LIST RETURN TV VOL RESET TV/VIDEO PAGE GROUP TV VOL MIX 2CH REPEAT SUBTITLE PLAY MODE MULTI RE-MASTER C.S.M C.FOCUS PROGRESSIVE SUBWOOFER LEVEL SFC SUPER SRND MUTING POSITION MEMORY PROG SHIFT ZOOM QUICK REPLAY REC SPEED SLEEP PL AUDIO CANCEL TEST CH SELECT MENU CANCEL See below for details. 1 While stopped, press [PROG]. The timer-programming screen appears. DATE CH ON OFF 1/2 1 27WE 2 8:02PM 9:30PM SP 2 SU-SA 125 10:30AM 11:00AM A 3 SU 14 3:00PM 4:00PM EP 4 19TU 5 10:15PM 11:30PM VP 5 28TH AV 8:02PM 9:30PM SP 6 30SA 4 7:10PM 7:55PM VP 7 8 PROG.:ENTER END:MENU 2 3 4 5 6 7 RQT7708 36 Press [PROG] to select an available line and press [ENTER]. Select "DATE" with [2 1] and change it with [3 4]. The date changes as follows: A.Current date l ;: l Next day up to one month later minus one day l ;: l Weekly timer: SU-SA > MO-SA > MO-FR l ;: a.Daily timer: SU > MO > TU > WE > TH > FR > SA Select "CH" with [2 1] and change it with [3 4]. Select "AU" when recording from other equipment (➜ page 35). Select "ON" with [2 1] and change the start time with [3 4]. Select "OFF" with [2 1] and change the end time with [3 4]. Press [SPEED] to change the tape speed. SP>EP>VP>A b §Auto SP/EP change function ➜ page 37 8 If the Jet Navigator is on (➜ page 38), Select a category. Press [1] to select a category column. Press [3 4] to enter the category selection menu. Then select a category with [3 4 2 1], and confirm with [MENU]. You can also set and change the category in the navigator list (➜ page 39). Repeat steps 2 to 8 to make further timer programs. 9 Press [F] to put the unit on timer recording standby. "F" lights on the unit's display. 10 Press [Í] to switch the unit to standby. The timer recording works whether the unit is on or not, so you can play DVDs or listen to the radio (➜ page 35). Switch the unit to standby if you are finished. To cancel the selected line Press [SHIFT]i[RESET]. To release the unit from timer recording standby Press [F]. To stop recording Press [F].
-
 1
1 -
2
-
3
-
4
-
5
-
6
-
7
-
8
-
9
-
10
-
11
-
12
-
13
-
14
-
15
-
16
-
17
-
18
-
19
-
20
-
21
-
22
-
23
-
24
-
25
-
26
-
27
-
28
-
29
-
30
-
 31
31 -
 32
32 -
 33
33 -
 34
34 -
 35
35 -
 36
36 -
 37
37 -
 38
38 -
 39
39 -
 40
40 -
 41
41 -
42
-
43
-
44
-
45
-
46
-
47
-
48
-
49
-
50
-
51
-
52
-
53
-
54
-
55
-
56
 |
 |