Pfaff creative 2140 Owner's Manual - Page 110
Non-stretch, seams, Straight, stitch, Programmable, length, straight, Topstitching
 |
View all Pfaff creative 2140 manuals
Add to My Manuals
Save this manual to your list of manuals |
Page 110 highlights
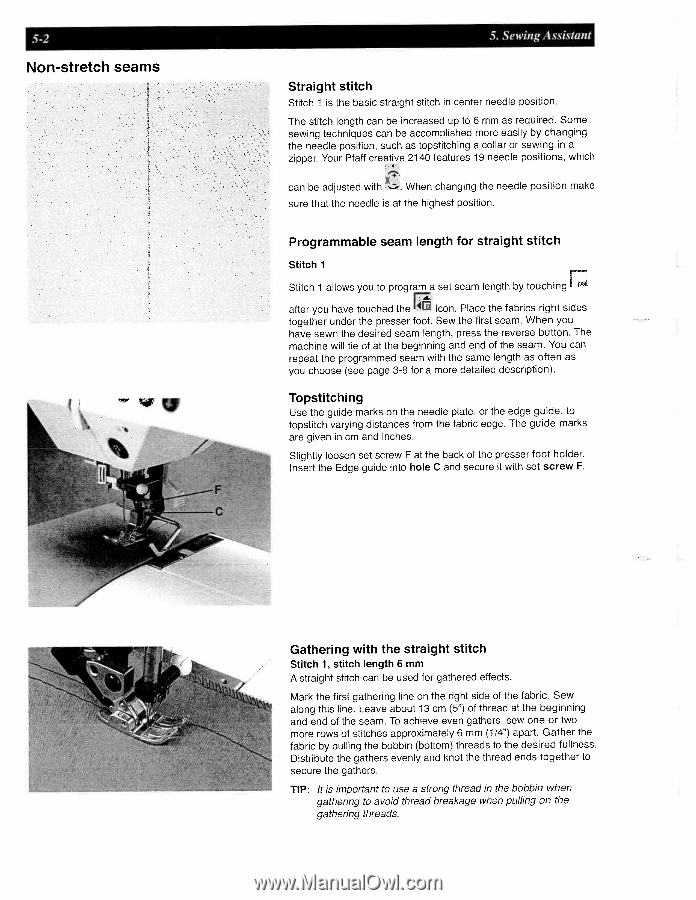
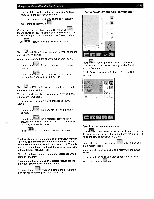
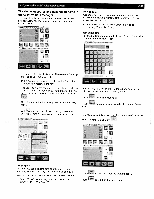
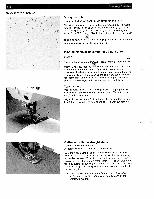
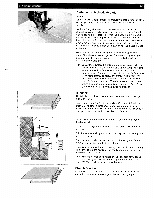
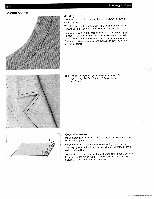
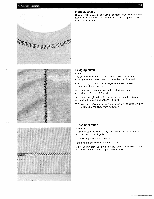
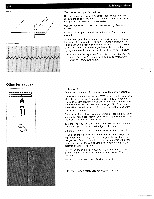
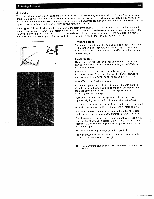
5-2 Non-stretch seams 5. Sewing Assistant Straight stitch Stitch 1 is the basic straight stitch in center needle position. The stitch length can be increased up to 6 mm as required. Some sewing techniques can be accomplished more easily by changing the needle position, such as topstitching a collar or sewing in a zipper. Your Pfaff creative 2140 features 19 needle positions, which can be adjusted with When changing the needle position make sure that the needle is at the highest position. Programmable seam length for straight stitch Stitch 1 Stitch 1 allows you to program a set seam length by touching after you have touched the icon. Place the fabrics right sides together under the presser foot. Sew the first seam. When you have sewn the desired seam length, press the reverse button. The machine will tie of at the beginning and end of the seam. You can repeat the programmed seam with the same length as often as you choose (see page 3-8 for a more detailed description). Topstitching Use the guide marks on the needle plate, or the edge guide, to topstitch varying distances from the fabric edge. The guide marks are given in cm and inches. I Slightly loosen set screw F at the back of the presser foot holder. Insert the Edge guide into hole C and secure it with set screw F. Gathering with the straight stitch Stitch 1, stitch length 6 mm A straight stitch can be used for gathered effects. Mark the first gathering line on the right side of the fabric. Sew along this line. Leave about 13 cm (5') of thread at the beginning and end of the seam. To achieve even gathers. sew one or two more rows of stitches approximately 6 mm (1/4') apart. Gather the fabric by pulling the bobbin (bottom) threads to the desired fullness. Distribute the gathers evenly and knot the thread ends together to secure the gathers. TIP: It is important to use a strong thread in the bobbin when gathering to avoid thread breakage when pulling on the gathering threads.
-
 1
1 -
2
-
3
-
4
-
5
-
6
-
7
-
8
-
9
-
10
-
11
-
12
-
13
-
14
-
15
-
16
-
17
-
18
-
19
-
20
-
21
-
22
-
23
-
24
-
25
-
26
-
27
-
28
-
29
-
30
-
31
-
32
-
33
-
34
-
35
-
36
-
37
-
38
-
39
-
40
-
41
-
42
-
43
-
44
-
45
-
46
-
47
-
48
-
49
-
50
-
51
-
52
-
53
-
54
-
55
-
56
-
57
-
58
-
59
-
60
-
61
-
62
-
63
-
64
-
65
-
66
-
67
-
68
-
69
-
70
-
71
-
72
-
73
-
74
-
75
-
76
-
77
-
78
-
79
-
80
-
81
-
82
-
83
-
84
-
85
-
86
-
87
-
88
-
89
-
90
-
91
-
92
-
93
-
94
-
95
-
96
-
97
-
98
-
99
-
100
-
101
-
102
-
103
-
104
-
 105
105 -
 106
106 -
 107
107 -
 108
108 -
 109
109 -
 110
110 -
 111
111 -
 112
112 -
 113
113 -
 114
114 -
 115
115 -
116
-
117
-
118
-
119
-
120
-
121
-
122
-
123
-
124
-
125
-
126
-
127
-
128
-
129
-
130
-
131
-
132
-
133
-
134
-
135
-
136
-
137
-
138
-
139
-
140
-
141
-
142
-
143
-
144
-
145
-
146
-
147
-
148
-
149
-
150
-
151
-
152
-
153
-
154
-
155
-
156
-
157
-
158
-
159
-
160
-
161
-
162
-
163
-
164
-
165
-
166
-
167
-
168
-
169
-
170
-
171
-
172
-
173
-
174
-
175
-
176
-
177
-
178
-
179
-
180
-
181
-
182
-
183
-
184
-
185
-
186
-
187
-
188
-
189
-
190
-
191
 |
 |