Pfaff creative 2140 Owner's Manual - Page 120
Sewing, buttons, shanks, Eyelets
 |
View all Pfaff creative 2140 manuals
Add to My Manuals
Save this manual to your list of manuals |
Page 120 highlights
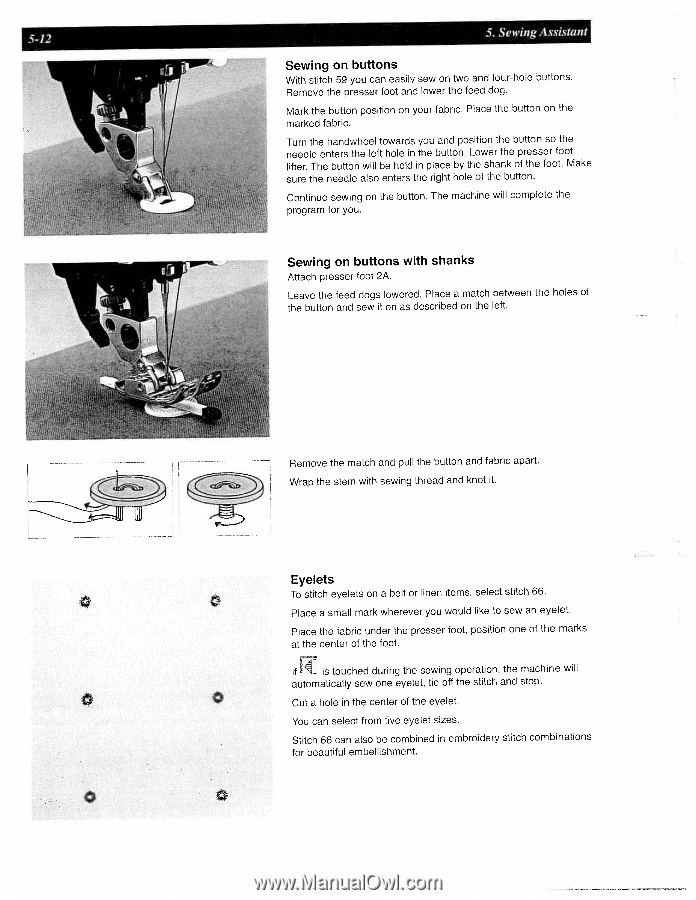
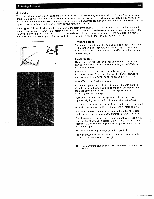
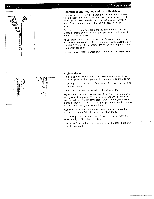
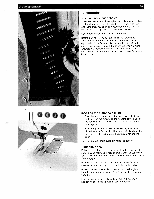
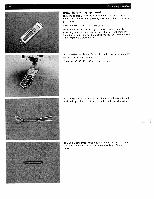
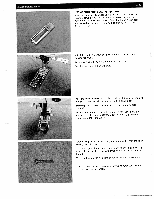
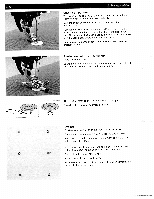
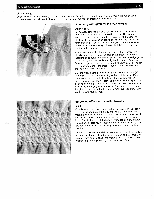
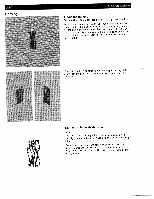
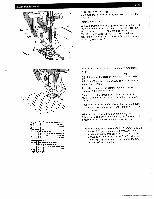
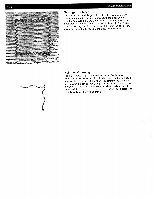
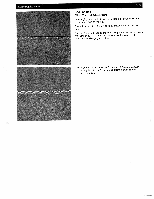
5-12 5. Sewing Assistant Sewing on buttons With stitch 59 you can easily sew on two and four-hole buttons. Remove the presser foot and lower the feed dog. Mark the button position on your fabric. Place the button on the marked fabric. Turn the handwheel towards you and position the button so the needle enters the left hole in the button. Lower the presser foot lifter. The button will be held in place by the shank of the foot. Make sure the needle also enters the right hole of the button. Continue sewing on the button. The machine will complete the program for you. Sewing on buttons with shanks Attach presser foot 2A. Leave the feed dogs lowered. Place a match between the holes of the button and sew it on as described on the left. Remove the match and pull the button and fabric apart. Wrap the stem with sewing thread and knot it. Eyelets To stitch eyelets on a belt or linen items, select stitch 66. Place a small mark wherever you would like to sew an eyelet. Place the fabric under the presser foot. position one of the marks at the center of the foot. If is touched during the sewing operation. the machine will automatically sew one eyelet. tie off the stitch and stop. 0 Cut a hole in the center of the eyelet. You can select from five eyelet sizes. Stitch 66 can also be combined in embroidery stitch combinations for beautiful embellishment. 0 0
-
 1
1 -
2
-
3
-
4
-
5
-
6
-
7
-
8
-
9
-
10
-
11
-
12
-
13
-
14
-
15
-
16
-
17
-
18
-
19
-
20
-
21
-
22
-
23
-
24
-
25
-
26
-
27
-
28
-
29
-
30
-
31
-
32
-
33
-
34
-
35
-
36
-
37
-
38
-
39
-
40
-
41
-
42
-
43
-
44
-
45
-
46
-
47
-
48
-
49
-
50
-
51
-
52
-
53
-
54
-
55
-
56
-
57
-
58
-
59
-
60
-
61
-
62
-
63
-
64
-
65
-
66
-
67
-
68
-
69
-
70
-
71
-
72
-
73
-
74
-
75
-
76
-
77
-
78
-
79
-
80
-
81
-
82
-
83
-
84
-
85
-
86
-
87
-
88
-
89
-
90
-
91
-
92
-
93
-
94
-
95
-
96
-
97
-
98
-
99
-
100
-
101
-
102
-
103
-
104
-
105
-
106
-
107
-
108
-
109
-
110
-
111
-
112
-
113
-
114
-
 115
115 -
 116
116 -
 117
117 -
 118
118 -
 119
119 -
 120
120 -
 121
121 -
 122
122 -
 123
123 -
 124
124 -
 125
125 -
126
-
127
-
128
-
129
-
130
-
131
-
132
-
133
-
134
-
135
-
136
-
137
-
138
-
139
-
140
-
141
-
142
-
143
-
144
-
145
-
146
-
147
-
148
-
149
-
150
-
151
-
152
-
153
-
154
-
155
-
156
-
157
-
158
-
159
-
160
-
161
-
162
-
163
-
164
-
165
-
166
-
167
-
168
-
169
-
170
-
171
-
172
-
173
-
174
-
175
-
176
-
177
-
178
-
179
-
180
-
181
-
182
-
183
-
184
-
185
-
186
-
187
-
188
-
189
-
190
-
191
 |
 |