Pfaff creative 2140 Owner's Manual - Page 22
Buttonholes
 |
View all Pfaff creative 2140 manuals
Add to My Manuals
Save this manual to your list of manuals |
Page 22 highlights
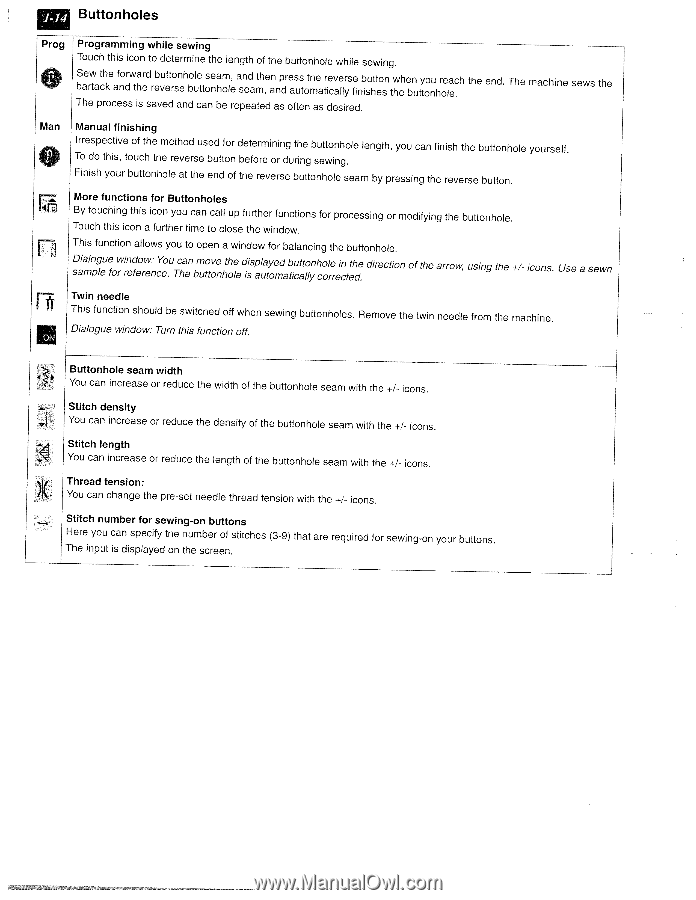
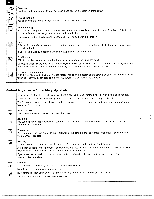
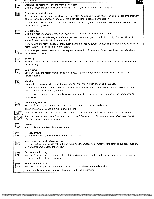
Buttonholes Prog 0 Programming while sewing Touch this icon to determine the length of the buttonhole while sewing. Sew the forward buttonhole seam, and then press the reverse button bartack and the reverse buttonhole seam, and automatically finishes when you reach the buttonhole. the end. The machine sews the The process is saved and can be repeated as often as desired. Man l4I1 Manual finishing Irrespective of the method used for To do this, touch the reverse button determining the buttonhole before or during sewing. length, you can finish the buttonhole yourself. Finish your buttonhole at the end of the reverse buttonhole seam by pressing the reverse button. More functions for Buttonholes By touching this icon you can call up further functions for processing or modifying the buttonhole. Touch this icon a further time to close the window. This function allows you to open a window for balancing the buttonhole. Dialogue window: You can move the displayed buttonhole in the sample for reference. The buttonhole is automatically corrected. direction of the arro using the +/- icons. Use a sewn Twin needle U This function should be switched oft when sewing buttonholes. Remove the twin needle from the machine. Dialogue window: Turn this function off. Buttonhole seam width You can increase or reduce the width of the buttonhole seam with the +7 icons Stitch density I You can increase or reduce the density of the buttonhole seam with the +1 icons Stitch length You can increase or reduce the length of the buttonhole seam with the +7 icons Thread tension: ) You can change the pre set needle thread tension with the +7 icons Stitch number for sewing-on buttons Here you can specify the number of stitches (3-9) that are required for sewing-on your buttons. The input is displayed on the screen.
-
 1
1 -
2
-
3
-
4
-
5
-
6
-
7
-
8
-
9
-
10
-
11
-
12
-
13
-
14
-
15
-
16
-
 17
17 -
 18
18 -
 19
19 -
 20
20 -
 21
21 -
 22
22 -
 23
23 -
 24
24 -
 25
25 -
 26
26 -
 27
27 -
28
-
29
-
30
-
31
-
32
-
33
-
34
-
35
-
36
-
37
-
38
-
39
-
40
-
41
-
42
-
43
-
44
-
45
-
46
-
47
-
48
-
49
-
50
-
51
-
52
-
53
-
54
-
55
-
56
-
57
-
58
-
59
-
60
-
61
-
62
-
63
-
64
-
65
-
66
-
67
-
68
-
69
-
70
-
71
-
72
-
73
-
74
-
75
-
76
-
77
-
78
-
79
-
80
-
81
-
82
-
83
-
84
-
85
-
86
-
87
-
88
-
89
-
90
-
91
-
92
-
93
-
94
-
95
-
96
-
97
-
98
-
99
-
100
-
101
-
102
-
103
-
104
-
105
-
106
-
107
-
108
-
109
-
110
-
111
-
112
-
113
-
114
-
115
-
116
-
117
-
118
-
119
-
120
-
121
-
122
-
123
-
124
-
125
-
126
-
127
-
128
-
129
-
130
-
131
-
132
-
133
-
134
-
135
-
136
-
137
-
138
-
139
-
140
-
141
-
142
-
143
-
144
-
145
-
146
-
147
-
148
-
149
-
150
-
151
-
152
-
153
-
154
-
155
-
156
-
157
-
158
-
159
-
160
-
161
-
162
-
163
-
164
-
165
-
166
-
167
-
168
-
169
-
170
-
171
-
172
-
173
-
174
-
175
-
176
-
177
-
178
-
179
-
180
-
181
-
182
-
183
-
184
-
185
-
186
-
187
-
188
-
189
-
190
-
191
 |
 |