Pfaff creative 2140 Owner's Manual - Page 28
Pfaff creative 2140 Manual
 |
View all Pfaff creative 2140 manuals
Add to My Manuals
Save this manual to your list of manuals |
Page 28 highlights
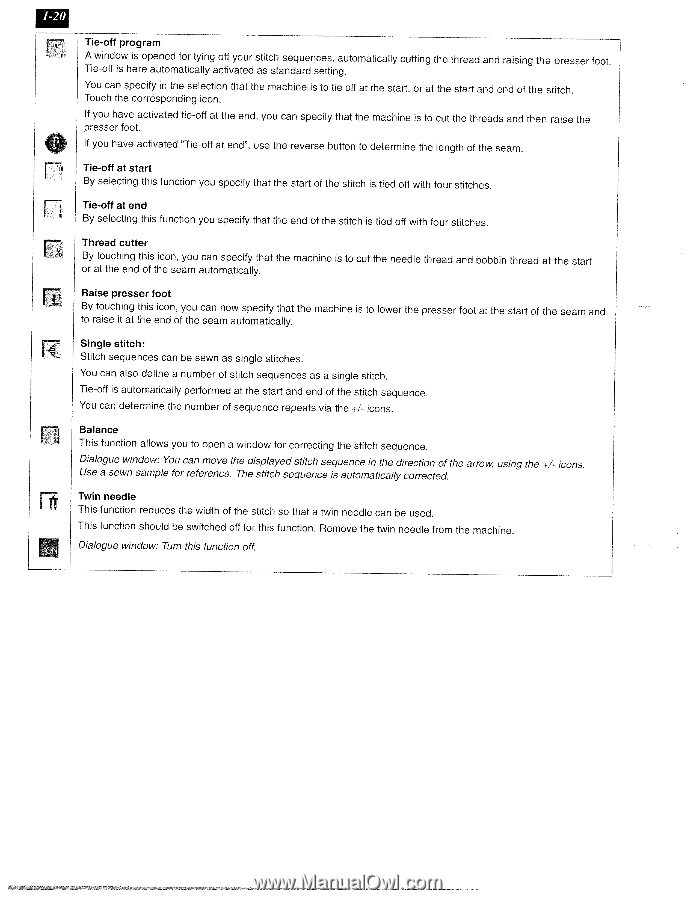
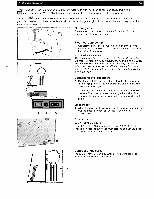
G F' Tie-off program A window is opened for tying off your stitch sequences, automatically cutting the thread and raising the presser foot. Tie-off is here automatically activated as standard setting. You can specify in the selection that the machine is to tie off at the start, or at the start and end of the stitch. Touch the corresponding icon. If you have activated tie-off at the end, you can specify that the machine is to cut the threads and then raise the presser foot. If you have activated "Tie-off at end", use the reverse button to determine the length of the seam. Tie-off at start By selecting this function you specify that the start of the stitch is tied off with four stitches. Tie-off at end By selecting this function you specify that the end of the stitch is tied off with four stitches. Thread cutter By touching this icon, you can specify that the machine is to cut the needle thread and bobbin thread at the start or at the end of the seam automatically. Raise presser foot By touching this icon, you can now specify that the machine is to lower the presser foot at the start of the seam and to raise it at the end of the seam automatically. Single stitch: Stitch sequences can be sewn as single stitches. You can also define a number of stitch sequences as a single stitch. Tie-off is automatically performed at the start and end of the stitch sequence. You can determine the number of sequence repeats via the +1- icons. Balance 1 14 This function allows you to open a window for correcting the stitch sequence. Dialogue window: You can move the displayed stitch sequence in the direction of the arro using the +/- icons. Use a sewn sample for reference. The stitch sequence is automatically corrected. Twin needle This function reduces the width of the stitch so that a twin needle can be used. This function should be switched off for this function. Remove the twin needle from the machine. Dialogue window: Turn this function off.
-
 1
1 -
2
-
3
-
4
-
5
-
6
-
7
-
8
-
9
-
10
-
11
-
12
-
13
-
14
-
15
-
16
-
17
-
18
-
19
-
20
-
21
-
22
-
 23
23 -
 24
24 -
 25
25 -
 26
26 -
 27
27 -
 28
28 -
 29
29 -
 30
30 -
 31
31 -
 32
32 -
 33
33 -
34
-
35
-
36
-
37
-
38
-
39
-
40
-
41
-
42
-
43
-
44
-
45
-
46
-
47
-
48
-
49
-
50
-
51
-
52
-
53
-
54
-
55
-
56
-
57
-
58
-
59
-
60
-
61
-
62
-
63
-
64
-
65
-
66
-
67
-
68
-
69
-
70
-
71
-
72
-
73
-
74
-
75
-
76
-
77
-
78
-
79
-
80
-
81
-
82
-
83
-
84
-
85
-
86
-
87
-
88
-
89
-
90
-
91
-
92
-
93
-
94
-
95
-
96
-
97
-
98
-
99
-
100
-
101
-
102
-
103
-
104
-
105
-
106
-
107
-
108
-
109
-
110
-
111
-
112
-
113
-
114
-
115
-
116
-
117
-
118
-
119
-
120
-
121
-
122
-
123
-
124
-
125
-
126
-
127
-
128
-
129
-
130
-
131
-
132
-
133
-
134
-
135
-
136
-
137
-
138
-
139
-
140
-
141
-
142
-
143
-
144
-
145
-
146
-
147
-
148
-
149
-
150
-
151
-
152
-
153
-
154
-
155
-
156
-
157
-
158
-
159
-
160
-
161
-
162
-
163
-
164
-
165
-
166
-
167
-
168
-
169
-
170
-
171
-
172
-
173
-
174
-
175
-
176
-
177
-
178
-
179
-
180
-
181
-
182
-
183
-
184
-
185
-
186
-
187
-
188
-
189
-
190
-
191
 |
 |