Philips CSP415 User manual
Philips CSP415 Manual
 |
View all Philips CSP415 manuals
Add to My Manuals
Save this manual to your list of manuals |
Philips CSP415 manual content summary:
- Philips CSP415 | User manual - Page 1
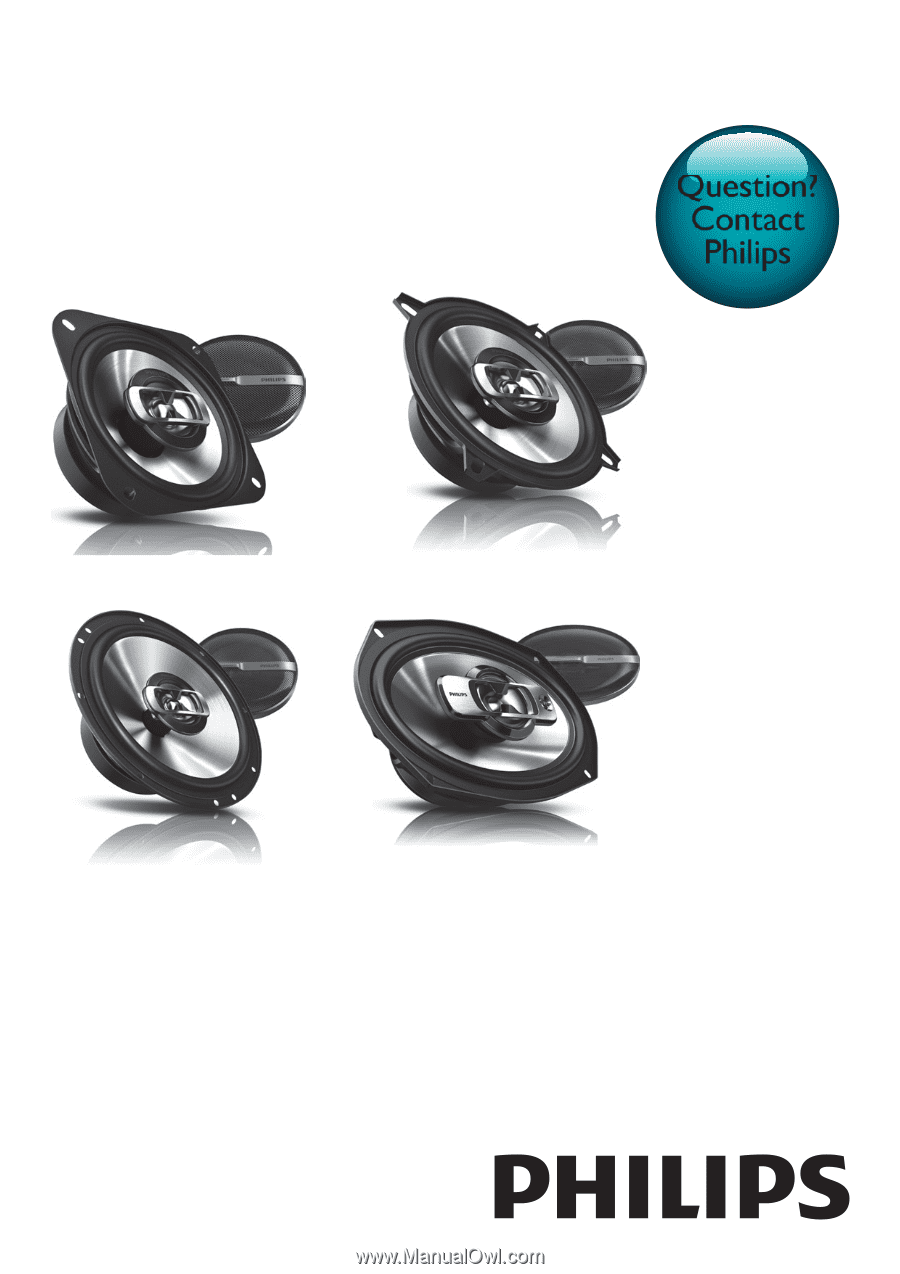
Always there to help you Register your product and get support at www.philips.com/welcome Question? Contact Philips CSP415 CSP515 CSP615 CSP6911 User manual - Philips CSP415 | User manual - Page 2
- Philips CSP415 | User manual - Page 3
Contents 1 Important 2 Safety 2 Notice 2 2 Your car stereo speakers 3 Introduction 3 What's in the box 3 3 Installation 3 Option 1: Mount on door (front or rear) 4 Option 2: Mount on rear tray 7 4 Product information 7 5 Troubleshooting 8 EN 1 - Philips CSP415 | User manual - Page 4
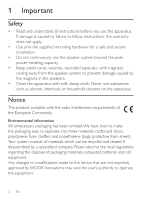
before you use the apparatus. If damage is caused by failure to follow instructions, the warranty does not apply. • Use only the supplied mounting hardware for a safe and secure installation. • Do not continuously use the speaker system beyond the - Philips CSP415 | User manual - Page 5
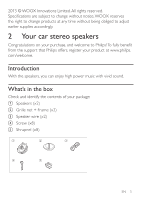
earlier supplies accordingly. 2 Your car stereo speakers Congratulations on your purchase, and welcome to Philips! To fully benefit from the support that Philips offers, register your product at www.philips. com/welcome. Introduction With the speakers, you can enjoy high power music with vivid - Philips CSP415 | User manual - Page 6
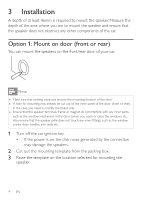
3 Installation A depth of at least 46mm is required to mount the speaker. Measure the depth of the area where you are to mount the speaker, and ensure that the speaker does not obstruct any other components of the car. Option 1: Mount on door (front or rear) You can mount the speakers on the front/ - Philips CSP415 | User manual - Page 7
4 Mark the cut-off hole and the 4 bolt holes. 5 Cut out the marked area and drill the bolt holes. 6 Remove the grille net. 7 Strip the speaker wires and connect them to the amplifier. • Black wire: connect to "-" (negative) terminal • Black (white lined): connect to "+" (positive) terminal EN 5 - Philips CSP415 | User manual - Page 8
. However, if two 4-ohm speakers, wired in parallel to a bridged two -channel amplifier, present a 2-ohm mono load to the amplifier. Most 2-channel amplifiers do not support 2-ohm mono operation! Amplifier damage may result! 8 Mount on the speaker as shown below. 6 EN - Philips CSP415 | User manual - Page 9
9 Press and insert the edges of the grille net. Tip •• The speaker grille can be mounted without the grille net, if you like. Option 2: Mount on rear tray You can also mount the speakers into the surface of the rear tray. Follow the steps in section "Option 1: Mount in door" to mount the speakers - Philips CSP415 | User manual - Page 10
Speaker type RMS power (Watts) Peak music power (Watts) Sensitivity (dB/W/m) Frequency response (Hz) Impedance (ohms) Magnet mass (Oz) Mounting depth (mm) CSP615 16.5cm, 2-way coaxial speaker 40W 210W 90dB 40-30kHz 4 ohms 7.6Oz 58mm CSP6911 16x24cm, 3-way triaxial speaker 50W 300W 90dB 28-32kHz - Philips CSP415 | User manual - Page 11
5 Troubleshooting To keep the warranty valid, never try to repair the system yourself. If you encounter problems when using this apparatus, go to the web site (www.philips.com/welcome). When you contact Philips, ensure that the apparatus is nearby and the model number and serial number are available - Philips CSP415 | User manual - Page 12
WOOX Innovations, and is the manufacturer of the product.WOOX Innovations is the warrantor in relation to the product with which this booklet was packaged. Philips and the Philips Shield Emblem are registered trademarks of Koninklijke
-
 1
1 -
 2
2 -
 3
3 -
 4
4 -
 5
5 -
 6
6 -
 7
7 -
8
-
9
-
10
-
11
-
12
 |
 |
CSP415
CSP515
CSP6911
CSP615
Question?
Contact
Philips
www.philips.com/welcome
Always there to help you
Register your product and get support at
User manual