Pioneer AVH-P3300BT Owner's Manual - Page 13
Front - iphone
 |
UPC - 884938123341
View all Pioneer AVH-P3300BT manuals
Add to My Manuals
Save this manual to your list of manuals |
Page 13 highlights
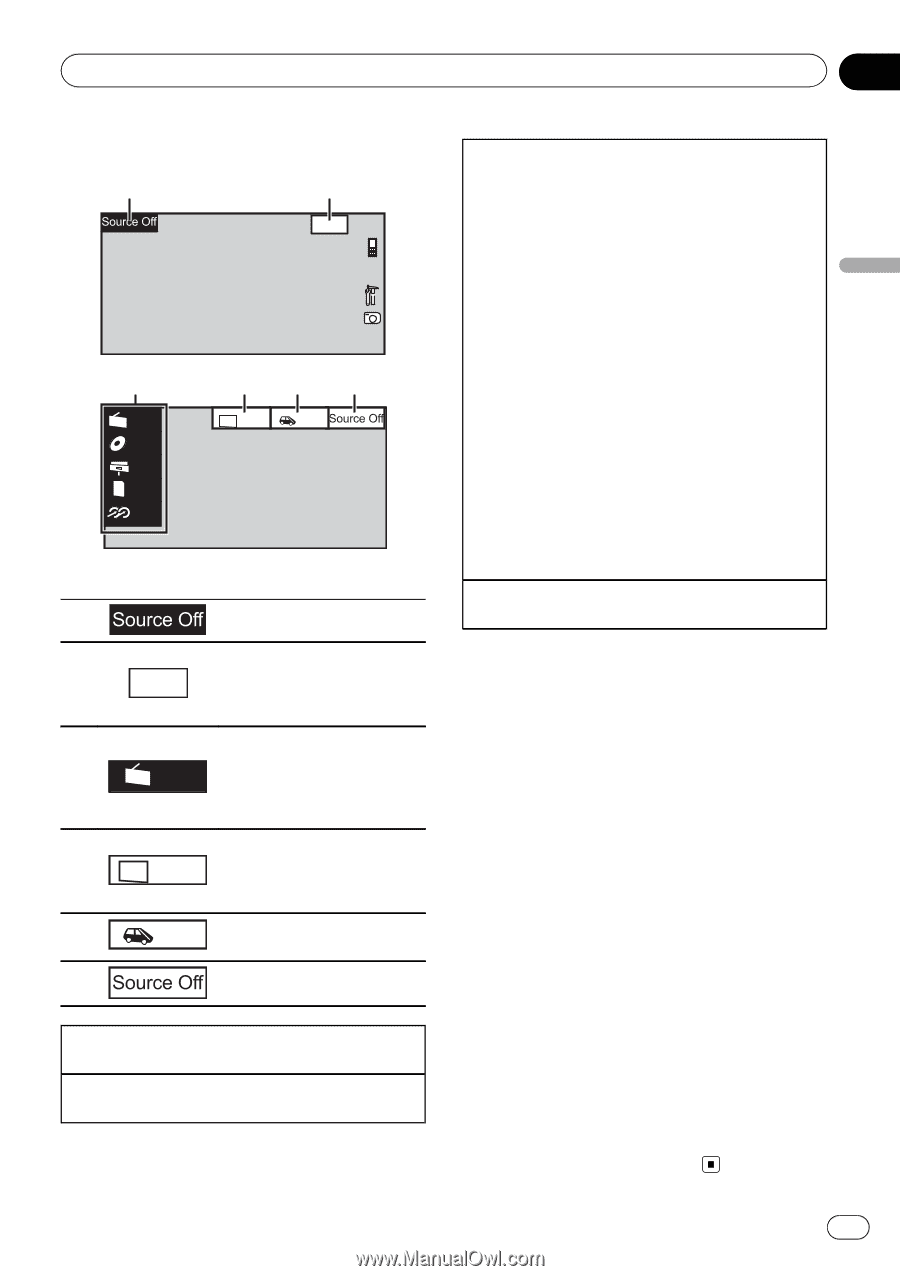
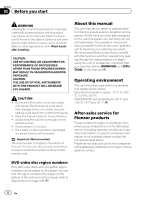
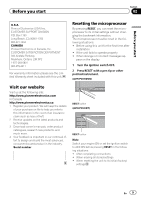
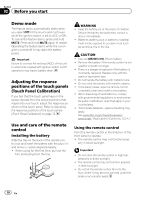
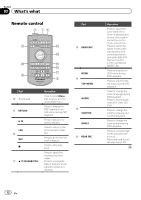
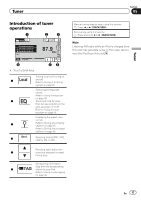
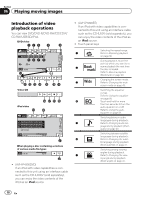
Basic operations Section 04 Basic operations Basic operations 1 2 Wed 28 May 12:45 PM 3 Radio Disc iPod SD SD AUX 45 6 Rear Front Rear View ! Touch panel keys 1 Displaying the source menu. Switching to clock adjust- 2 Wed 28 May 12:45 PM ment display. Refer to Setting the clock on page 16. Source icon Selecting a favorite source. 3 Radio When the source icon is not displayed, it can be displayed by touching the screen. Switching the output source 4 Rear Front for the rear monitor. Refer to Setting rear monitor output on page 72. 5 Rear Switching the rear view View image on or off. 6 Turning the unit off. Turning the unit on using the buttons 1 Press SRC/OFF to turn the unit on. Turning the unit off using the buttons 1 Press SRC/OFF and hold until the unit turns off. Selecting a source using the buttons 1 Press SRC/OFF to cycle through the sources listed below: Selecting a source using the touch panel keys 1 Touch the source icon and then touch the desired source name. ! XM - XM tuner ! Sirius - SIRIUS tuner ! Radio/HD Radio - Radio/Digital Radio tuner ! AV - AV input ! Disc - Built-in DVD player ! USB/iPod - USB/iPod ! Pandora - Pandora ! SD - SD memory card ! EXT1 - External unit 1 ! EXT2 - External unit 2 ! AUX - AUX ! TEL/Audio - Bluetooth telephone/audio (Function of AVH-P4300DVD) ! When the source icon is not displayed, it can be displayed by touching the screen. ! While operating the menu, you cannot select a source by touching the source icon. Adjusting the volume 1 Press +/- (VOLUME/VOL) to adjust the volume. Notes ! In this manual, iPod and iPhone will be referred to as "iPod". ! The USB/iPod icon will change as follows: - USB is displayed when a USB storage device is connected. - iPod is displayed when an iPod is connected. - USB/iPod is displayed when no device is connected. ! When appropriately set up, the image from the rear view camera can be displayed automatically. For details, refer to Setting the rear view camera (back up camera) on page 67. ! An external unit refers to a Pioneer product, such as those which will be available in the future. Although incompatible as a source, the basic functions of up to two external units can be controlled with this unit. When two external units are connected, the external units are automatically allocated to external unit 1 or external unit 2. ! If the HD Radio tuner is connected to this unit, tuner source is skipped. En 13
-
 1
1 -
2
-
3
-
4
-
5
-
6
-
7
-
 8
8 -
 9
9 -
 10
10 -
 11
11 -
 12
12 -
 13
13 -
 14
14 -
 15
15 -
 16
16 -
 17
17 -
 18
18 -
19
-
20
-
21
-
22
-
23
-
24
-
25
-
26
-
27
-
28
-
29
-
30
-
31
-
32
-
33
-
34
-
35
-
36
-
37
-
38
-
39
-
40
-
41
-
42
-
43
-
44
-
45
-
46
-
47
-
48
-
49
-
50
-
51
-
52
-
53
-
54
-
55
-
56
-
57
-
58
-
59
-
60
-
61
-
62
-
63
-
64
-
65
-
66
-
67
-
68
-
69
-
70
-
71
-
72
-
73
-
74
-
75
-
76
-
77
-
78
-
79
-
80
-
81
-
82
-
83
-
84
-
85
-
86
-
87
-
88
-
89
-
90
-
91
-
92
-
93
-
94
-
95
-
96
-
97
-
98
-
99
-
100
-
101
-
102
-
103
-
104
-
105
-
106
-
107
-
108
 |
 |