Pioneer AVIC-X930BT Owner's Manual - Page 66
Changing the phone settings, Using hands-free phoning
 |
UPC - 884938127097
View all Pioneer AVIC-X930BT manuals
Add to My Manuals
Save this manual to your list of manuals |
Page 66 highlights
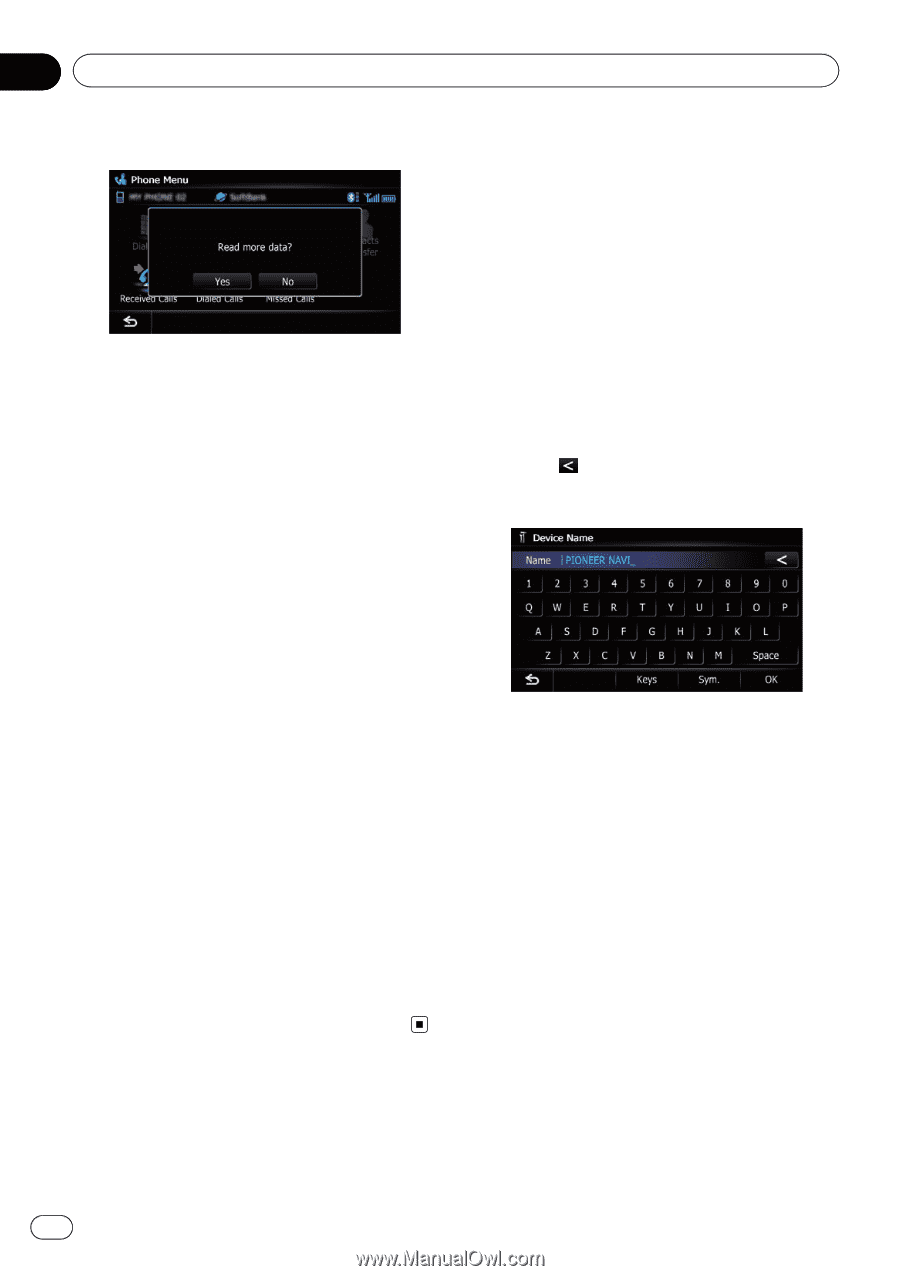
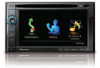
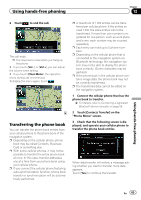
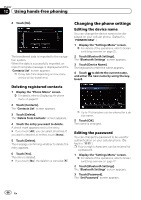
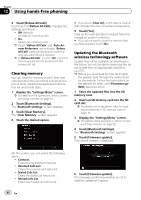
Chapter 12 Using hands-free phoning 4 Touch [No]. The transferred data is imported to the navigation system. When the data is successfully imported, an import complete message is displayed and the "Contacts List" screen appears. p It may take time depending on how many entries will be transferred. Changing the phone settings Editing the device name You can change the device name to be displayed on your cellular phone. (Default is "PIONEER NAVI".) 1 Display the "Settings Menu" screen. = For details of the operations, refer to Screen switching overview on page 22. 2 Touch [Bluetooth Settings]. The "Bluetooth Settings" screen appears. 3 Touch [Device Name]. The keyboard to enter the name appears. 4 Touch to delete the current name, and enter the new name by using the keyboard. Deleting registered contacts 1 Display the "Phone Menu" screen. = For details, refer to Displaying the phone menu on page 61. 2 Touch [Contacts]. The "Contacts List" screen appears. 3 Touch [Delete]. The "Delete from Contacts" screen appears. 4 Touch the entry you want to delete. A check mark appears next to the entry. # If you touch [All], you can select all entries. If you want to deselect all entries, touch [None]. 5 Touch [Delete]. The message confirming whether to delete the entry appears. 6 Touch [Yes]. The entry is deleted. # If you touch [No], the deletion is canceled. p Up to 16 characters can be entered for a device name. 5 Touch [OK]. The name is changed. Editing the password You can change the password to be used for authentication on your cellular phone. (Default is "1111".) p Four to eight characters can be entered for a password. 1 Display the "Settings Menu" screen. = For details of the operations, refer to Screen switching overview on page 22. 2 Touch [Bluetooth Settings]. The "Bluetooth Settings" screen appears. 3 Touch [Password]. The "Set Password" screen appears. 66 En
-
 1
1 -
2
-
3
-
4
-
5
-
6
-
7
-
8
-
9
-
10
-
11
-
12
-
13
-
14
-
15
-
16
-
17
-
18
-
19
-
20
-
21
-
22
-
23
-
24
-
25
-
26
-
27
-
28
-
29
-
30
-
31
-
32
-
33
-
34
-
35
-
36
-
37
-
38
-
39
-
40
-
41
-
42
-
43
-
44
-
45
-
46
-
47
-
48
-
49
-
50
-
51
-
52
-
53
-
54
-
55
-
56
-
57
-
58
-
59
-
60
-
 61
61 -
 62
62 -
 63
63 -
 64
64 -
 65
65 -
 66
66 -
 67
67 -
 68
68 -
 69
69 -
 70
70 -
 71
71 -
72
-
73
-
74
-
75
-
76
-
77
-
78
-
79
-
80
-
81
-
82
-
83
-
84
-
85
-
86
-
87
-
88
-
89
-
90
-
91
-
92
-
93
-
94
-
95
-
96
-
97
-
98
-
99
-
100
-
101
-
102
-
103
-
104
-
105
-
106
-
107
-
108
-
109
-
110
-
111
-
112
-
113
-
114
-
115
-
116
-
117
-
118
-
119
-
120
-
121
-
122
-
123
-
124
-
125
-
126
-
127
-
128
-
129
-
130
-
131
-
132
-
133
-
134
-
135
-
136
-
137
-
138
-
139
-
140
-
141
-
142
-
143
-
144
-
145
-
146
-
147
-
148
-
149
-
150
-
151
-
152
-
153
-
154
-
155
-
156
-
157
-
158
-
159
-
160
-
161
-
162
-
163
-
164
-
165
-
166
-
167
-
168
-
169
-
170
-
171
-
172
-
173
-
174
-
175
-
176
-
177
-
178
-
179
-
180
-
181
-
182
-
183
-
184
-
185
-
186
-
187
-
188
-
189
-
190
-
191
-
192
-
193
-
194
-
195
-
196
-
197
-
198
-
199
-
200
-
201
-
202
-
203
-
204
-
205
-
206
-
207
-
208
-
209
-
210
-
211
-
212
-
213
-
214
-
215
-
216
-
217
-
218
-
219
-
220
-
221
-
222
-
223
-
224
-
225
-
226
-
227
-
228
-
229
-
230
-
231
-
232
 |
 |