Pioneer AVIC-Z130BT Owner's Manual - Page 177
Adjusting the equalizer curve, automatically Auto EQ - microphone
 |
UPC - 884938127806
View all Pioneer AVIC-Z130BT manuals
Add to My Manuals
Save this manual to your list of manuals |
Page 177 highlights
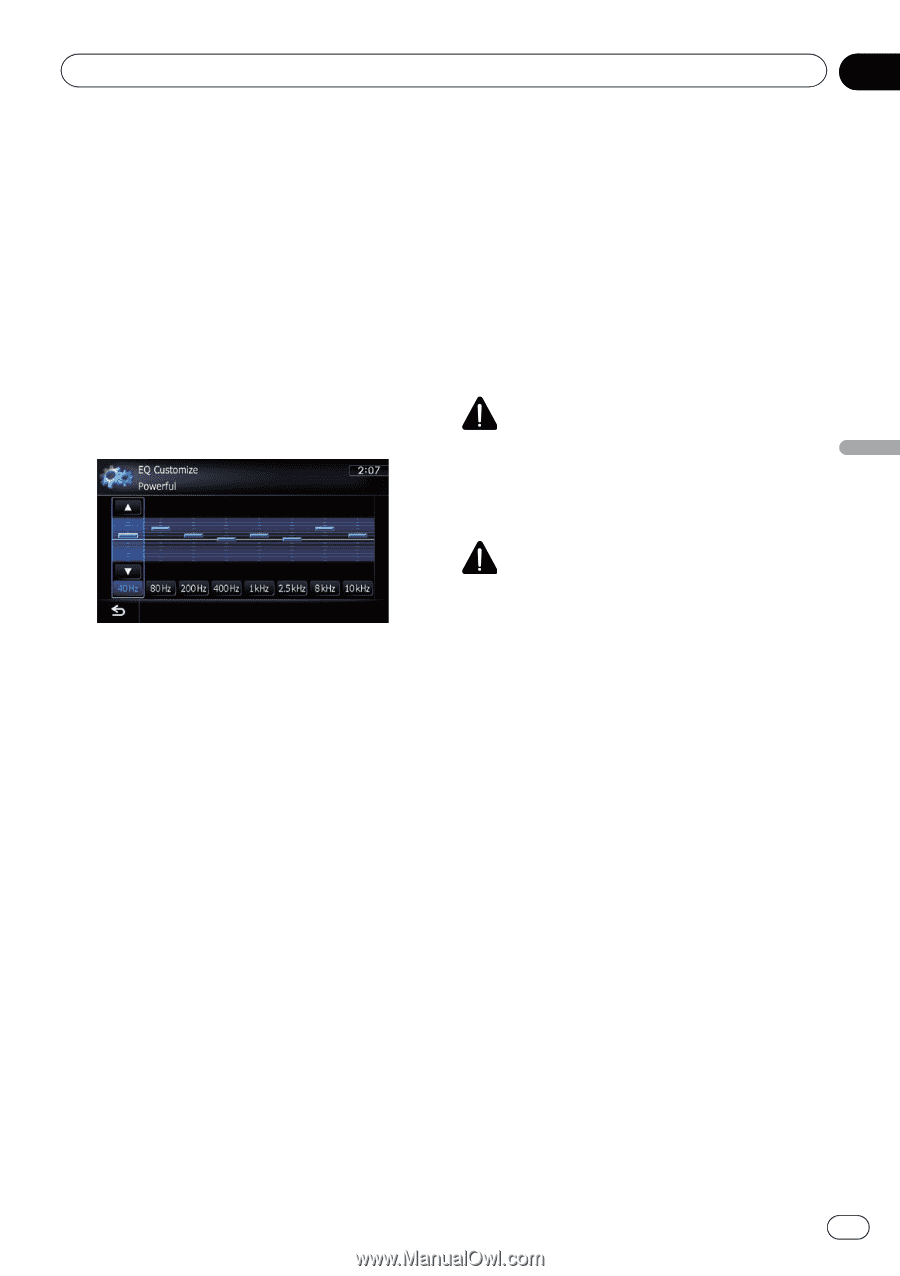
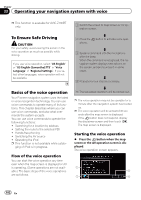
Customizing preferences Chapter 32 Customizing preferences 1 Display the "AV Sound Settings" screen. = For details, refer to Displaying the screen for AV sound settings on page 174. 2 Touch [EQ]. 3 Touch one of the keys to select a curve that you want to use as the basis of customizing. 4 Touch [Customize]. 5 Touch the frequency that you want to adjust the level. 3 Touch the key next to "Auto EQ" to turn the auto-adjusted equalizer on or off. 4 Select the equalizer curve. Adjusting the equalizer curve automatically (Auto EQ) By measuring the vehicle's acoustics, the equalizer curve can be adjusted automatically to suit the interior of the vehicle. WARNING A loud tone (noise) may be emitted from the speakers when measuring the vehicle's acoustics. Never perform the Auto EQ measurement while driving. 6 Touch [a] or [b] to adjust the level of the equalizer band. Each time you touch [a] or [b], the level of the equalizer band increases or decreases. Using the auto-adjusted equalizer You can set the auto-adjusted equalizer to suit the vehicle's acoustics. To use this function, the vehicle's acoustics must be measured in advance. = For details of the operations, refer to Adjust- ing the equalizer curve automatically (Auto EQ) on this page. p To manually adjust the equalizer curve, set "Auto EQ" to "Off". 1 Display the "AV Sound Settings" screen. = For details, refer to Displaying the screen for AV sound settings on page 174. 2 Touch [EQ]. CAUTION ! Thoroughly check the conditions before per- forming Auto EQ, as the speakers may be damaged if this is performed under the following conditions: - When the speakers are incorrectly con- nected. (For example, when a rear speaker is connected as a subwoofer output.) - When a speaker is connected to a power amp delivering output higher than the speaker's maximum input power capability. ! If the microphone for acoustical measurement (sold separately) is not placed in an appropriate location, the measurement tone may become loud and measurement may take a long time, resulting in battery drainage. Be sure to place the microphone in the specified location. En 177
-
 1
1 -
2
-
3
-
4
-
5
-
6
-
7
-
8
-
9
-
10
-
11
-
12
-
13
-
14
-
15
-
16
-
17
-
18
-
19
-
20
-
21
-
22
-
23
-
24
-
25
-
26
-
27
-
28
-
29
-
30
-
31
-
32
-
33
-
34
-
35
-
36
-
37
-
38
-
39
-
40
-
41
-
42
-
43
-
44
-
45
-
46
-
47
-
48
-
49
-
50
-
51
-
52
-
53
-
54
-
55
-
56
-
57
-
58
-
59
-
60
-
61
-
62
-
63
-
64
-
65
-
66
-
67
-
68
-
69
-
70
-
71
-
72
-
73
-
74
-
75
-
76
-
77
-
78
-
79
-
80
-
81
-
82
-
83
-
84
-
85
-
86
-
87
-
88
-
89
-
90
-
91
-
92
-
93
-
94
-
95
-
96
-
97
-
98
-
99
-
100
-
101
-
102
-
103
-
104
-
105
-
106
-
107
-
108
-
109
-
110
-
111
-
112
-
113
-
114
-
115
-
116
-
117
-
118
-
119
-
120
-
121
-
122
-
123
-
124
-
125
-
126
-
127
-
128
-
129
-
130
-
131
-
132
-
133
-
134
-
135
-
136
-
137
-
138
-
139
-
140
-
141
-
142
-
143
-
144
-
145
-
146
-
147
-
148
-
149
-
150
-
151
-
152
-
153
-
154
-
155
-
156
-
157
-
158
-
159
-
160
-
161
-
162
-
163
-
164
-
165
-
166
-
167
-
168
-
169
-
170
-
171
-
 172
172 -
 173
173 -
 174
174 -
 175
175 -
 176
176 -
 177
177 -
 178
178 -
 179
179 -
 180
180 -
 181
181 -
 182
182 -
183
-
184
-
185
-
186
-
187
-
188
-
189
-
190
-
191
-
192
-
193
-
194
-
195
-
196
-
197
-
198
-
199
-
200
-
201
-
202
-
203
-
204
-
205
-
206
-
207
-
208
-
209
-
210
-
211
-
212
-
213
-
214
-
215
-
216
-
217
-
218
-
219
-
220
-
221
-
222
-
223
-
224
-
225
-
226
-
227
-
228
-
229
-
230
-
231
-
232
 |
 |