Pioneer VSX-820-K Owner's Manual - Page 47
The Pre Out Setting, System Setup menu.
 |
UPC - 884938109277
View all Pioneer VSX-820-K manuals
Add to My Manuals
Save this manual to your list of manuals |
Page 47 highlights
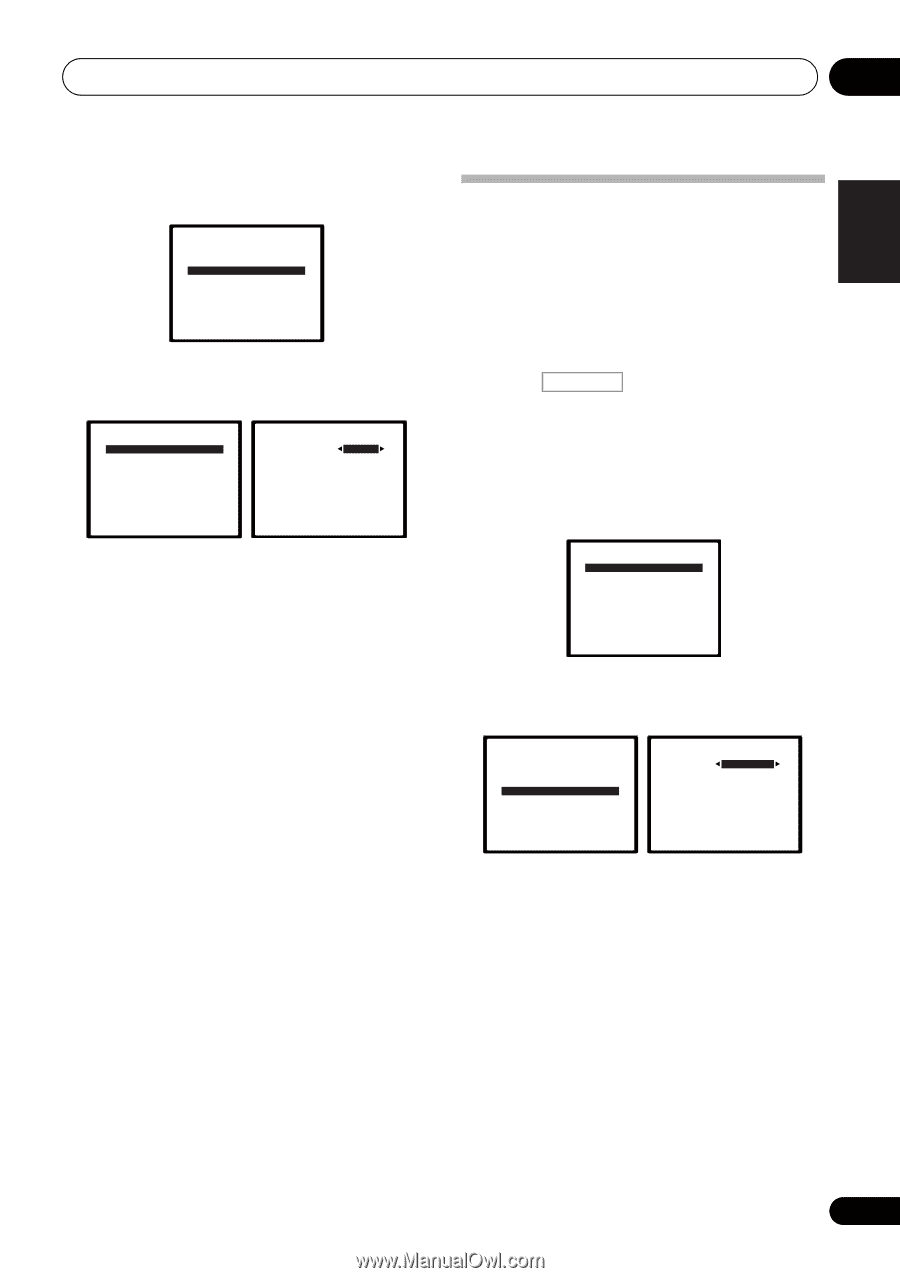
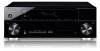
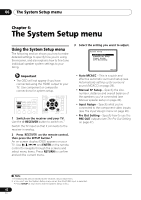
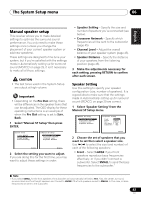
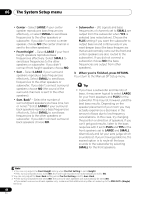
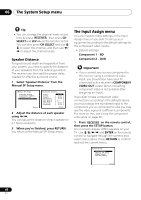
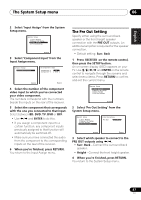
English Deutsch Français Italiano Nederlands Español The System Setup menu 06 2 Select 'Input Assign' from the System Setup menu. System Setup 1.Auto MCACC 2.Manual SP Setup 3.Input Assign 4.Pre Out Setting Return 3 Select 'Component Input' from the Input Assign menu. 3.Input Assign a.Component Input 3a.Component Input Component-1 BD Component-2 [ DVD ] Return Return 4 Select the number of the component video input to which you've connected your video component. The numbers correspond with the numbers beside the inputs on the rear of the receiver. 5 Select the component that corresponds with the one you connected to that input. Select between BD, DVD, TV, DVR or OFF. • Use / and ENTER to do this. • If you assign a component input to a certain function, any component inputs previously assigned to that function will automatically be switched off. • Make sure you have connected the audio from the component to the corresponding inputs on the rear of the receiver. 6 When you're finished, press RETURN. You return to the Input Assign menu. The Pre Out Setting Specify either using the surround back speaker or the front height speaker connection with the PRE OUT outputs. An additional amplifier is required for the speaker connection. • Default setting: Surr. Back 1 Press RECEIVER on the remote control, then press the SETUP button. An on-screen display (OSD) appears on your TV. Use and ENTER on the remote control to navigate through the screens and select menu items. Press RETURN to confirm and exit the current menu. System Setup 1.Auto MCACC 2.Manual SP Setup 3.Input Assign 4.Pre Out Setting Return 2 Select 'Pre Out Setting' from the System Setup menu. System Setup 1.Auto MCACC 2.Manual SP Setup 3.Input Assign 4.Pre Out Setting 4.Pre Out Setting Pre Out Surr. Back Return Return 3 Select which speaker to connect to the PRE OUT outputs using /. • Surr. Back - Connect the surround back speaker. • Height - Connect the front height speaker. 4 When you're finished, press RETURN. You return to the System Setup menu. 47 En
-
 1
1 -
2
-
3
-
4
-
5
-
6
-
7
-
8
-
9
-
10
-
11
-
12
-
13
-
14
-
15
-
16
-
17
-
18
-
19
-
20
-
21
-
22
-
23
-
24
-
25
-
26
-
27
-
28
-
29
-
30
-
31
-
32
-
33
-
34
-
35
-
36
-
37
-
38
-
39
-
40
-
41
-
 42
42 -
 43
43 -
 44
44 -
 45
45 -
 46
46 -
 47
47 -
 48
48 -
 49
49 -
 50
50 -
 51
51 -
 52
52 -
53
-
54
-
55
-
56
-
57
-
58
-
59
-
60
-
61
-
62
-
63
-
64
-
65
-
66
-
67
-
68
-
69
-
70
-
71
-
72
-
73
-
74
-
75
-
76
-
77
-
78
-
79
-
80
-
81
-
82
-
83
-
84
-
85
-
86
-
87
-
88
-
89
-
90
-
91
-
92
-
93
-
94
-
95
-
96
-
97
-
98
-
99
-
100
-
101
-
102
-
103
-
104
-
105
-
106
-
107
-
108
-
109
-
110
-
111
-
112
-
113
-
114
-
115
-
116
-
117
-
118
-
119
-
120
-
121
-
122
-
123
-
124
-
125
-
126
-
127
-
128
-
129
-
130
-
131
-
132
-
133
-
134
-
135
-
136
-
137
-
138
-
139
-
140
-
141
-
142
-
143
-
144
-
145
-
146
-
147
-
148
-
149
-
150
-
151
-
152
-
153
-
154
-
155
-
156
-
157
-
158
-
159
-
160
-
161
-
162
-
163
-
164
-
165
-
166
-
167
-
168
-
169
-
170
-
171
-
172
-
173
-
174
-
175
-
176
-
177
-
178
-
179
-
180
-
181
-
182
-
183
-
184
-
185
-
186
-
187
-
188
-
189
-
190
-
191
-
192
-
193
-
194
-
195
-
196
-
197
-
198
-
199
-
200
-
201
-
202
-
203
-
204
-
205
-
206
-
207
-
208
-
209
-
210
-
211
-
212
-
213
-
214
-
215
-
216
-
217
-
218
-
219
-
220
-
221
-
222
-
223
-
224
-
225
-
226
-
227
-
228
 |
 |