Pioneer VSX-823-K Owner's Manual - Page 45
Click Firmware Update. - factory reset
 |
View all Pioneer VSX-823-K manuals
Add to My Manuals
Save this manual to your list of manuals |
Page 45 highlights
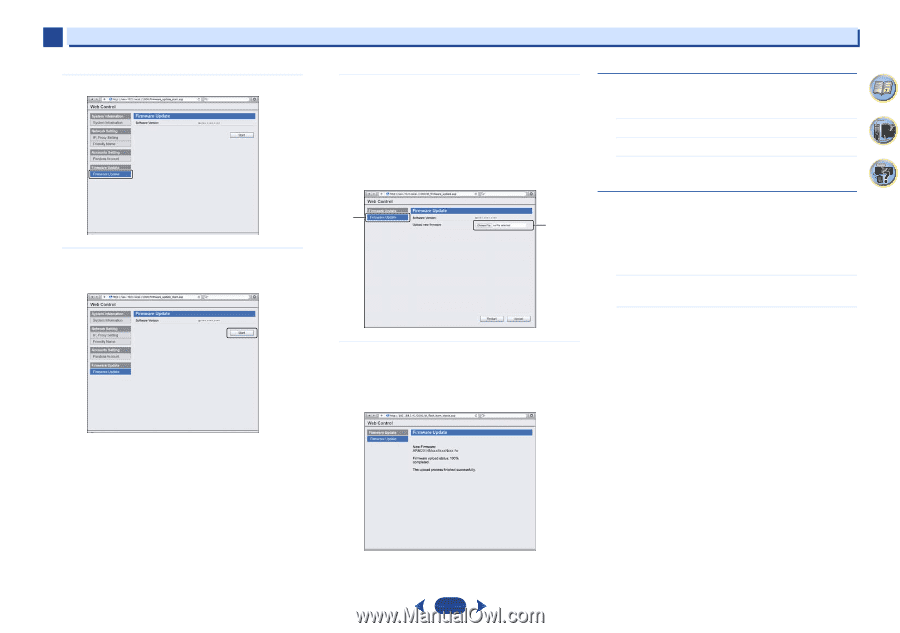
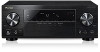
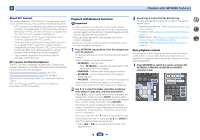
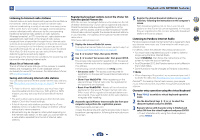
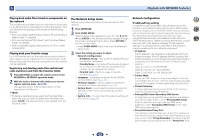
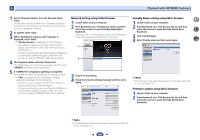
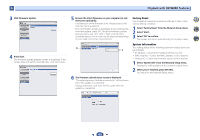
6 Playback with NETWORK features 3 Click Firmware Update. 4 Press Start. The firmware update prepare screen is displayed. If the screen does not switch automatically, click Click here. 5 Browse the latest firmware on your computer (a) and then press Upload (b). The extension of the firmware is fw. Please select a file that has the fw extension. The confirmation screen is displayed. If you continue the firmware update, press OK. Once the firmware update process starts, you can't stop it. Wait until the file is uploaded (about one minute may be required depending on your LAN connection environment). b a 6 The firmware upload status screen is displayed. "The upload process finished successfully." will be shown when the update is completed. Unplug the power cord from the AC outlet after the update is completed. Factory Reset Use to reset all network connection settings to their initial, factory-setting condition. 1 Select 'Factory Reset' from the Network Setup menu. 2 Select 'Start'. 3 Select 'OK' to confirm. The screen will return automatically to the play screen. 4 7 62 System Information The setting status of the following network-related items can be checked. • IP Address - Check the IP address of this receiver. • MAC Address - Check the MAC address of this receiver. • Release ID - Check the firmware version of this receiver. 1 Select 'System Info' from the Network Setup menu. Display the setting status of the network-related items. 2 When you're finished, press RETURN. You return to the Network Setup menu. 45
-
 1
1 -
2
-
3
-
4
-
5
-
6
-
7
-
8
-
9
-
10
-
11
-
12
-
13
-
14
-
15
-
16
-
17
-
18
-
19
-
20
-
21
-
22
-
23
-
24
-
25
-
26
-
27
-
28
-
29
-
30
-
31
-
32
-
33
-
34
-
35
-
36
-
37
-
38
-
39
-
 40
40 -
 41
41 -
 42
42 -
 43
43 -
 44
44 -
 45
45 -
 46
46 -
 47
47 -
 48
48 -
 49
49 -
 50
50 -
51
-
52
-
53
-
54
-
55
-
56
-
57
-
58
-
59
-
60
-
61
-
62
-
63
-
64
-
65
-
66
-
67
-
68
 |
 |