ProForm 10.5qm Uk Manual
ProForm 10.5qm Manual
 |
View all ProForm 10.5qm manuals
Add to My Manuals
Save this manual to your list of manuals |
ProForm 10.5qm manual content summary:
- ProForm 10.5qm | Uk Manual - Page 1
, Ltd. Customer Service Department Unit 4 Revie Road Industrial Estate Revie Road, Beeston Leeds, LS118JG UK email: [email protected] CAUTION Read all precautions and instructions in this manual before using this equipment. Save this manual for future reference. USER'S MANUAL Visit our website - ProForm 10.5qm | Uk Manual - Page 2
AND ADJUSTMENT 9 HOW TO FOLD AND MOVE THE TREADMILL 19 TROUBLESHOOTING 20 CONDITIONING GUIDELINES 23 ORDERING REPLACEMENT PARTS Back Cover Note: An EXPLODED DRAWING and a PART LIST are attached in the centre of this manual. PROFORM is a registered trademark of ICON Health & Fitness, Inc - ProForm 10.5qm | Uk Manual - Page 3
. Do not wear loose clothes that could become caught in the treadmill. Athletic support clothes are recommended for both men and women. Always wear athletic shoes. Never use the treadmill with bare feet, wearing only stockings, or in sandals. 10. When connecting the power cord (see page 9), plug the - ProForm 10.5qm | Uk Manual - Page 4
cord immediately after use, before cleaning the treadmill, and before performing the main- tenance and adjustment procedures de- scribed in this manual. Never remove the motor hood unless instructed to do so by an authorised service representative. Servicing other than the procedures in this - ProForm 10.5qm | Uk Manual - Page 5
exercising, the unique 10.5 QM treadmill can be folded up, requiring less than half the floor space of other treadmills. For your benefit, read this manual carefully before using the treadmill. If you have questions after read- ing this manual, please call our Customer Service Department at 08457 - ProForm 10.5qm | Uk Manual - Page 6
amount of lubricant may be transferred to the top of the walking belt or the shipping carton. This is a normal condition and does not affect treadmill performance. If there is lubricant on top of the walking belt, simply wipe off the lubricant with a soft cloth and a mild, non-abrasive cleaner - ProForm 10.5qm | Uk Manual - Page 7
step 4 and this step. Note: Extra screws may be included. 38 35 31 64 6. Make sure that all parts are tightened before you use the treadmill. Keep the included allen wrench in a secure place. The allen wrench is used to adjust the walking belt (see page 21). To protect the floor - ProForm 10.5qm | Uk Manual - Page 8
it to temperatures above 50° C (122° F) or below 10° C (14° F). • Do not excessively bend or stretch the the electrode areas are CHEST PULSE SENSOR TROUBLESHOOTING The instructions on the following pages explain how the problem, try relocating the treadmill. • The CR2032 battery may need to be - ProForm 10.5qm | Uk Manual - Page 9
. Select the one that will fit your outlet. Refer to drawing 1, and plug the indicated end of the power cord into the socket on the treadmill. Next, lift the indi- cated tab on the ferrite box and clamp the ferrite box around the power cord. The ferrite box should not be - ProForm 10.5qm | Uk Manual - Page 10
operating the treadmill. • treadmill treadmill as a personal trainer guides treadmill console offers a selection of features designed to help you get the most from your exercise. When the manual mode of the console is selected, the speed and incline of the treadmill treadmill use the manual mode - ProForm 10.5qm | Uk Manual - Page 11
, step onto the foot rails of the treadmill. Find the clip attached to the key (see the drawing on page 10), and slide the clip onto the waistband Display on page 12). For simplicity, all instructions in this manual refer to miles. HOW TO USE THE MANUAL MODE 1 Insert the key fully into the - ProForm 10.5qm | Uk Manual - Page 12
Time/Incline display- This display shows the elapsed time and the incline level of the treadmill. The display will alternate between one number and the other every few seconds, as shown by the arrows in the display. Note: When the Incline - ProForm 10.5qm | Uk Manual - Page 13
CD player. See pages 13 and 14 for connecting instructions. To use iFIT.com videocassettes, the treadmill must be connected to your VCR. See page 15 for connecting instructions. To use iFIT.com programs directly from our internet site, the treadmill must be connected to your home computer. See page - ProForm 10.5qm | Uk Manual - Page 14
B. Note: If your computer has a 3.5mm LINE OUT jack, see instruction A. If your computer has only a PHONES jack, see instruction B. A. Plug one end of the audio cable into the jack on the front of the treadmill near the power cord. Plug the other end of the cable into the adaptor. Plug the - ProForm 10.5qm | Uk Manual - Page 15
with a variety of PROFORM treadmills. Some instructions may not apply to this treadmill. 1 Insert the key fully into the console. When the key is inserted, the four displays and various indicators on the console will light. 2 Press the Mode button. When the key is inserted, the manual mode will be - ProForm 10.5qm | Uk Manual - Page 16
trainer will begin guiding you through your workout. Simply follow your personal trainer's instructions. Note: If you when the speed and/or incline of the treadmill is about to change. CAUTION: Always listen for are too high or too low, you can manually override the settings at any time by pressing - ProForm 10.5qm | Uk Manual - Page 17
connection and an internet service provider. A list of the key is inserted, the manual mode will be selected. To instructions for using a program. 6 Follow the on-line instructions to start the program. When you start the program, an on-screen countdown will begin. 7 Return to the treadmill - ProForm 10.5qm | Uk Manual - Page 18
"demo" mode. Refer to the instructions at the right and turn off the demo mode. When you are finished using the treadmill, move the on/off switch near information mode that keeps track of the total number of hours that the treadmill has been operated and the total number of miles that the walking - ProForm 10.5qm | Uk Manual - Page 19
, unplug the power cord. CAUTION: You must be able to safely lift 20 kg (45 lbs.) in order to raise, lower, or move the treadmill. 1. Hold the treadmill with your hands in the locations shown. CAUTION: To decrease the possibility of injury, bend your legs and keep your back straight. As you - ProForm 10.5qm | Uk Manual - Page 20
TROUBLESHOOTING Most treadmill problems can be solved by following the steps below. Find the symptom that applies, and follow the steps listed. If further assistance is needed, please call our Customer Service Department. PROBLEM: The power does not turn on SOLUTION: a. Make sure that the power - ProForm 10.5qm | Uk Manual - Page 21
cord, insert the key and run the treadmill for a few minutes. Repeat until the walking belt is properly tightened. b 7-10 cm Rear Roller Adjustment Bolts c. If the walking belt still slows when walked on, call our Customer Service Department, toll-free. PROBLEM: The walking belt is off-centre - ProForm 10.5qm | Uk Manual - Page 22
and then return to the minimum level. This will recalibrate the incline. PROBLEM: The heart rate monitor does not function properly SOLUTION: a. If the heart rate monitor does not function properly, refer to CHEST PULSE SENSOR TROUBLESHOOTING on page 8. b. If the heart rate monitor still does not - ProForm 10.5qm | Uk Manual - Page 23
by using your heart rate as a guide. The chart below shows recommended heart rates adjust the speed and incline of the treadmill until your heart rate is near the 10 minutes of stretching to cool down. This will increase the flexibility of your muscles and will help prevent post-exercise problems - ProForm 10.5qm | Uk Manual - Page 24
give the following information: • The MODEL NUMBER of the product (PETL61020) • The NAME of the product (PROFORM® 10.5 QM treadmill) • The SERIAL NUMBER of the product (see the front cover of this manual) • The KEY NUMBER and the DESCRIPTION of the part(s) (see the PART LIST and the EXPLODED DRAWING - ProForm 10.5qm | Uk Manual - Page 25
REMOVE THIS EXPLODED DRAWING AND PART LIST FROM THE MANUAL Save this EXPLODED DRAWING and PART LIST for future reference. Note: Specifications are subject to change without notice. For information about ordering replacement parts, see the back cover of the User's Manual. 34 - ProForm 10.5qm | Uk Manual - Page 26
Screw 9 4 Console Screw 54 2 Motor Pivot Bushing 99 1 Latch Plate 10 1 Front Roller Adj. Bolt 55 2 Extension Leg 100* 2 Extension Leg Guide # 1 4" Black Wire, 2F 29 1 Power Board Bracket 74 4 Belt Guide Screw # 1 4" Red Wire, M/F 30 1 Key/Clip 75 4 Platform Screw # 1 User's Manual 31 - ProForm 10.5qm | Uk Manual - Page 27
82 82 30 24 50 39 111 24 2 18 21 22 20 23 27 33 35 29 8 3 4 16 17 15 2 14 86 3 54 12 54 10 5* 70 75 33 72 6 7 101 78 77 11 3 8 76 28 35 31 85 34 35 46 32 35 64 100* 75 56 53 3 55 70
-
 1
1 -
 2
2 -
 3
3 -
 4
4 -
 5
5 -
 6
6 -
 7
7 -
8
-
9
-
10
-
11
-
12
-
13
-
14
-
15
-
16
-
17
-
18
-
19
-
20
-
21
-
22
-
23
-
24
-
25
-
26
-
27
 |
 |
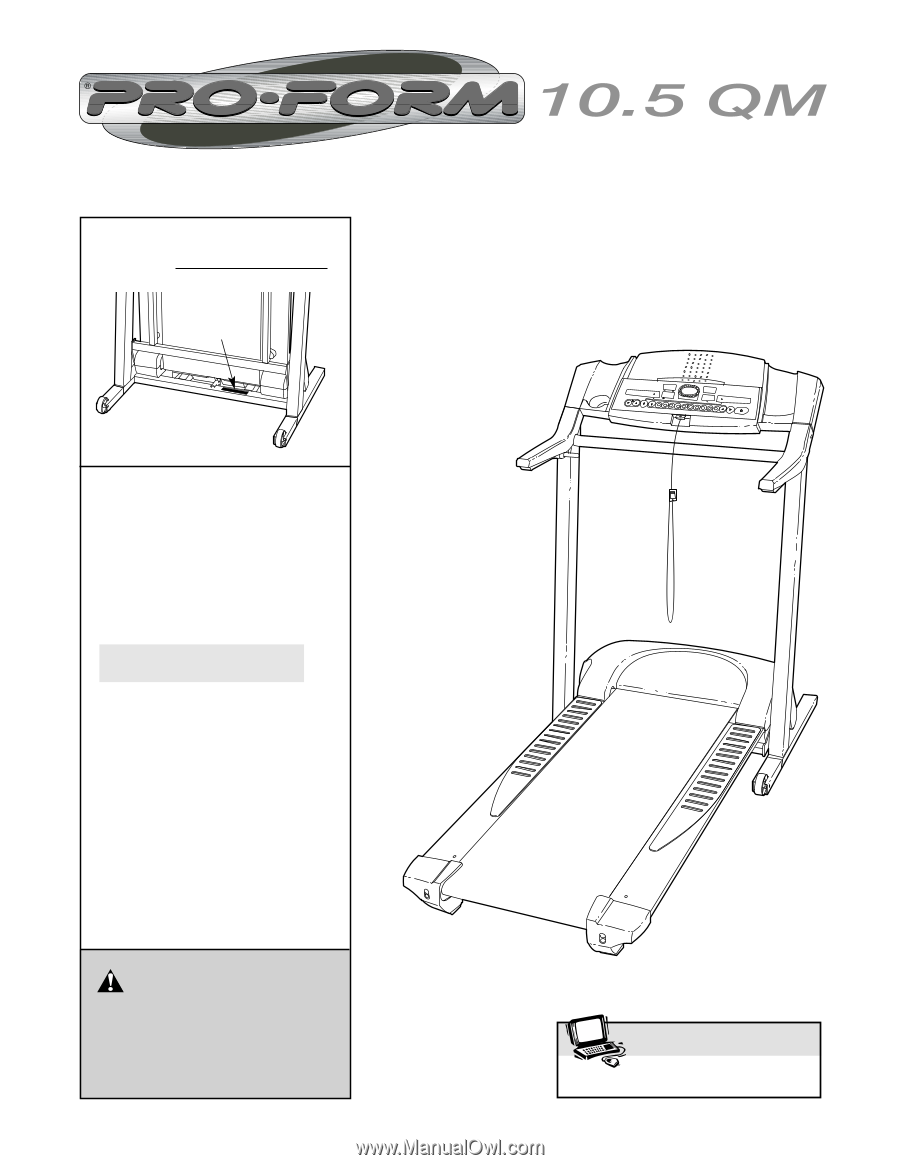
USER'S MANUAL
www.iconeurope.com
Visit our website at
Serial
Number
Decal
Model No. PETL61020
Serial No.
CAUTION
Read all precautions and instruc-
tions in this manual before using
this equipment. Save this manual
for future reference.
QUESTIONS?
As a manufacturer, we are com-
mitted to providing complete
customer satisfaction. If you
have questions, or if there are
missing or damaged parts,
please call:
Or write:
ICON Health & Fitness, Ltd.
Customer Service Department
Unit 4
Revie Road Industrial Estate
Revie Road, Beeston
Leeds, LS118JG
UK
email: [email protected]
08457 089 009