ProForm 650 Lt Treadmill English Manual
ProForm 650 Lt Treadmill Manual
 |
View all ProForm 650 Lt Treadmill manuals
Add to My Manuals
Save this manual to your list of manuals |
ProForm 650 Lt Treadmill manual content summary:
- ProForm 650 Lt Treadmill | English Manual - Page 1
.com/ registration. CUSTOMER CARE For service at any time, go to www.proformservice.com. Or call 1-888-533-1333 Mon.-Fri. 6 a.m.-6 p.m. MT Sat. 8 a.m.-12 p.m. MT Please do not contact the store. CAUTION Read all precautions and instructions in this manual before using this equipment. Save this - ProForm 650 Lt Treadmill | English Manual - Page 2
ASSEMBLY 8 HOW TO USE THE TREADMILL 17 FCC INFORMATION 24 HOW TO FOLD AND MOVE THE TREADMILL 25 MAINTENANCE AND TROUBLESHOOTING of this manual and request a free be shown at actual size. PROFORM is a registered trademark of BLUETOOTH® word mark and logos are registered trademarks of Bluetooth - ProForm 650 Lt Treadmill | English Manual - Page 3
all important precautions and instructions in this manual and all warnings on your treadmill before using your treadmill. ICON assumes no specifications described on page 17. To purchase a surge suppressor, see your local PROFORM dealer, call the telephone number on the front cover of this manual - ProForm 650 Lt Treadmill | English Manual - Page 4
before clean- ing the treadmill, and before performing the maintenance and adjustment procedures described in this manual. Never remove the motor hood unless instructed to do so by an authorized service representative. Servicing other than the procedures in this manual should be performed by - ProForm 650 Lt Treadmill | English Manual - Page 5
STANDARD SERVICE PLANS all 5 - ProForm 650 Lt Treadmill | English Manual - Page 6
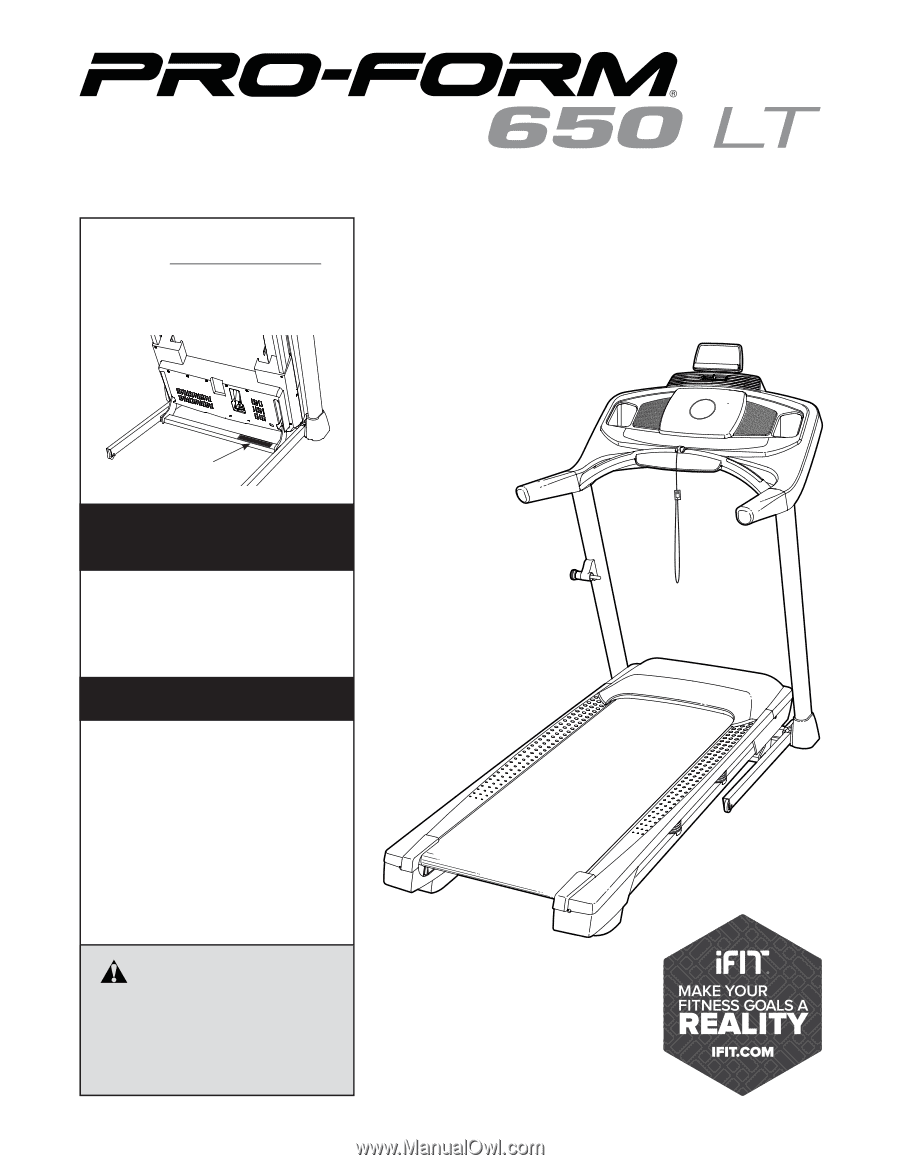
BEFORE YOU BEGIN Thank you for selecting the new PROFORM® 650 LT treadmill. The 650 LT treadmill provides an impressive selection of features designed to make your workouts at home more effective and enjoyable. manual. To help us assist you, note the product model number and serial number before - ProForm 650 Lt Treadmill | English Manual - Page 7
parentheses below each drawing is the key number of the part, from the PART LIST near the end of this manual. The number following the key number is the quantity used for assembly. Note: If a part is not in the hardware kit, check to see whether it is preattached. Extra parts may - ProForm 650 Lt Treadmill | English Manual - Page 8
If there is an oily substance on the treadmill, wipe it off with a soft cloth and a mild, non-abrasive cleaner. • Left parts are marked "L" or "Left" and right parts are marked "R" or "Right." • To identify small parts, see page 7. • Assembly requires the following tools: the included hex keys one - ProForm 650 Lt Treadmill | English Manual - Page 9
2. Make sure that the power cord is unplugged. Remove the tie securing the Upright Wire (81) to the front of the Base (94). Next, identify the Right Upright (90). Have a second person hold the Right Upright near the Base (94). See the inset drawing. Tie the wire tie (A) in the Right Upright (90) - ProForm 650 Lt Treadmill | English Manual - Page 10
4. Hold the Right Upright (90) against the Base (94). Make sure not to pinch the Upright 4 Wire (81). Attach the Right Upright (90) with two 3/8" x 2 1/4" Screws (7), a 3/8" x 1 1/4" Screw (63), a 3/8" x 1 3/4" Screw (62), and four 3/8" Star Washers (13) as shown; do not fully tighten the Screws - ProForm 650 Lt Treadmill | English Manual - Page 11
6. Attach a Handrail (84) to the Right Upright (90) with a 5/16" x 2 1/2" Screw (28) and a 5/16" Star Washer (11) in the location shown. Make sure not to pinch the Upright Wire (81). Do not fully tighten the Screw yet. Attach the other Handrail (not shown) to the Left Upright (89) in the same way. - ProForm 650 Lt Treadmill | English Manual - Page 12
). Next, attach the Right Tray (27) with four #8 x 3/8" Screws (105). 8 105 27 2 105 64 36 2 9. With the help of a second person, hold the console assembly (F) near the right Handrail (84) and the Left Handrail (not shown). See the inset drawing. Connect the Upright Wire (81) to the console wire - ProForm 650 Lt Treadmill | English Manual - Page 13
of the Right Handrail Cover; do not fully tighten the Screws. Next, slide the Right Handrail Cover (31) forward until it slides under the console assembly (F). Then, tighten the three #8 x 1/2" Screws (1); do not overtighten the Screws. Attach the Left Handrail Cover (87) in the same way. 11 87 84 - ProForm 650 Lt Treadmill | English Manual - Page 14
the Handrail Grips (74, 79) with two #8 x 1/2" Screws (1); do not overtighten the Screws. F 79 1 1 74 13. Hold the Pulse Bar (85) near the console assembly (F). Connect the two pulse wires (G) and the Console Ground Wire (58). Attach the Pulse Bar (85) to the Pulse Crossbar (93) with eleven - ProForm 650 Lt Treadmill | English Manual - Page 15
14. Orient the Latch Assembly (52) as shown. Attach the Latch Assembly to the Left 14 Upright (89) with two 1/4" x 4 1/2" Screws (6) and two 1/4" Star Washers (26); do not over- tighten the Screws. 6 26 89 52 15. Firmly - ProForm 650 Lt Treadmill | English Manual - Page 16
16. Attach the Tablet Holder (25) to the console assembly (F) with four #8 x 5/8" Machine Screws (8). Note: sure that all parts are properly tightened before you use the treadmill. If there are sheets of plastic on the treadmill decals, remove the plastic. To protect the floor or carpet, place a - ProForm 650 Lt Treadmill | English Manual - Page 17
AFCI-equipped outlet and your circuit breaker trips repeatedly when the treadmill is used, see the front cover of this manual to purchase an arc filter. 1 Grounded Outlet Grounding Pin Grounding Pin Surge Suppressor The treadmill must be grounded. If it should malfunction or break down, grounding - ProForm 650 Lt Treadmill | English Manual - Page 18
you use the manual mode, you can change the speed and incline of the treadmill with the controls the speed and incline of the treadmill as it guides you through an effective exercise session. INFORMATION MODE on page 24. For simplicity, all instructions in this section refer to miles. IMPORTANT: If - ProForm 650 Lt Treadmill | English Manual - Page 19
the Incline decrease button or the lowest Quick incline button to set the treadmill to its lowest setting. When the frame stops moving, the treadmill is ready for use. Press the Manual Control button to select the manual mode. 3. Enter your weight. Press the Wt increase or decrease button to enter - ProForm 650 Lt Treadmill | English Manual - Page 20
the Watts/Kg increase or decrease button. The speed and/or incline settings of the treadmill will automatically increase or decrease to reach the desired intensity level. The console is compatible with all BLUETOOTH® Smart heart rate monitors. To connect your heart rate monitor to the console, see - ProForm 650 Lt Treadmill | English Manual - Page 21
setting is too high or too low at any time during the workout, you can manually override the setting by pressing the Speed or Incline buttons; however, when the next segment of the workout begins, the treadmill will automatically adjust to the speed and incline settings for the next segment. To stop - ProForm 650 Lt Treadmill | English Manual - Page 22
app and to compatible heart rate monitors. Note: Other BLUETOOTH connections are not supported. 1. Download and install the iFit app on your enabled on your smart device. Then, open the iFit app and follow the instructions to set up an iFit account and customize settings. To change the settings at - ProForm 650 Lt Treadmill | English Manual - Page 23
Bluetooth button on the console to confirm the connection; the LED on the console will then turn solid blue. 3. Record and track your workout information. Follow the instructions see the front cover of this manual. Note: The console is compatible with all BLUETOOTH Smart heart rate monitors. HOW TO - ProForm 650 Lt Treadmill | English Manual - Page 24
mode that keeps track of treadmill usage information and allows installed and used in accordance with the instructions, may cause harmful interference to radio to operate this equipment. IMPORTANT: To satisfy exposure compliance requirements, the antenna and transmitter in the console must be at - ProForm 650 Lt Treadmill | English Manual - Page 25
, fold it as described at the left. CAUTION: Make sure that the latch knob is in the storage position. Moving the treadmill may require two people. 1. Hold the frame and one of the handrails, and place one foot against a wheel. 1 Frame 1 Frame Handrail Wheel 2. Hold the frame firmly with - ProForm 650 Lt Treadmill | English Manual - Page 26
, thoroughly dry the treadmill with a soft towel. c Tripped Reset SYMPTOM: The power turns off during use TROUBLESHOOTING SYMPTOM: The power does it. d. If the treadmill still will not run, please see the front cover of this manual. SYMPTOM: The incline of the treadmill does not change correctly - ProForm 650 Lt Treadmill | English Manual - Page 27
2-3 in. Idler Roller Screws c. Your treadmill features a walking belt coated with high-performance lubricant. IMPORTANT: Never apply silicone spray or other substances to the walking belt or the walking platform unless instructed to do so by an authorized service representative. Such substances may - ProForm 650 Lt Treadmill | English Manual - Page 28
over age 35 or persons with pre-existing health problems. The heart rate monitor is not a medical . You can use your heart rate as a guide to find the proper intensity level. The chart below perform aerobic exercise, which is activity that requires large amounts of oxygen for prolonged periods of - ProForm 650 Lt Treadmill | English Manual - Page 29
SUGGESTED STRETCHES The correct form for several basic stretches is shown at the right. Move slowly as you stretch-never bounce. 1. Toe Touch Stretch Stand with your knees bent slightly and slowly bend forward from your hips. Allow your back and shoulders to relax as you reach down toward 1 - ProForm 650 Lt Treadmill | English Manual - Page 30
Left Foot Rail Caution Decal Walking Platform Walking Belt Belt Guide Right Rear Foot Cable Tie Model No. PFTL70015.0 R1215A Key No. Qty. 49 1 50 2 Description Drive Roller/Pulley Base Pad Spacer 9/32" Plastic Bushing Latch Assembly 1/4" x 1 1/4" Screw Drive Motor Motor Belt Frame Left Rear - ProForm 650 Lt Treadmill | English Manual - Page 31
3/8" Plastic Bushing Roller Spacer 104 1 105 8 106 4 107 1 108 1 * - Power Cord Grommet #8 x 3/8" Screw #8 x 3/8" Fan Screw Fan Fan Grill User's Manual Note: Specifications are subject to change without notice. For information about ordering replacement parts, see the back cover of this - ProForm 650 Lt Treadmill | English Manual - Page 32
99 103 15 23 98 73 95 95 53 51 37 21 59 30 34 14 19 46 97 39 66 54 55 Model No. PFTL70015.0 R1215A EXPLODED DRAWING A - ProForm 650 Lt Treadmill | English Manual - Page 33
EXPLODED DRAWING B Model No. PFTL70015.0 R1215A 4 4 4 65 71 4 68 4 4 67 102 29 96 33 69 70 16 32 33 33 33 96 102 67 71 4 72 68 68 4 75 76 104 95 68 4 78 68 4 4 4 33 - ProForm 650 Lt Treadmill | English Manual - Page 34
EXPLODED DRAWING C Model No. PFTL70015.0 R1215A 28 79 9 85 5 95 11 58 1 88 1 87 84 28 11 26 1 93 1 2 1 28 1 1 9 5 1 11 1 52 6 74 26 1 1 31 28 84 11 26 2 81 - ProForm 650 Lt Treadmill | English Manual - Page 35
EXPLODED DRAWING D 105 36 105 Model No. PFTL70015.0 R1215A 80 27 18 105 105 92 4 92 4 4 25 92 4 8 8 64 1 106 106 107 4 108 92 4 4 1 4 4 1 4 4 1 86 4 35 - ProForm 650 Lt Treadmill | English Manual - Page 36
be free from defects in workmanship and material, under normal use and service conditions. The frame is warranted for the lifetime of the original purchaser product is purchased or transported outside the USA, if all instructions in this manual are not followed, if the product is abused or improperly
-
 1
1 -
 2
2 -
 3
3 -
 4
4 -
 5
5 -
 6
6 -
 7
7 -
8
-
9
-
10
-
11
-
12
-
13
-
14
-
15
-
16
-
17
-
18
-
19
-
20
-
21
-
22
-
23
-
24
-
25
-
26
-
27
-
28
-
29
-
30
-
31
-
32
-
33
-
34
-
35
-
36
 |
 |
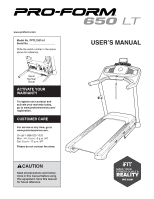
USER’S MANUAL
www.proform.com
Model No. PFTL70015.0
Serial No.
Write the serial number in the space
above for reference.
CAUTION
Read all precautions and instruc-
tions in this manual before using
this equipment. Save this manual
for future reference.
Serial
Number
Decal
To register your product and
activate your warranty today,
go to www.proformservice.com/
registration.
For service at any time, go to
www.proformservice.com.
Or call 1-888-533-1333
Mon.–Fri. 6 a.m.–6 p.m. MT
Sat. 8 a.m.–12 p.m. MT
Please do not contact the store.
ACTIVATE YOUR
WARRANTY
CUSTOMER CARE