Pyle PRJ3D99TU PRJ3D99TU Manual 1 - Page 18
Obtaining, Obtaining a preferred, preferred, preferred screen, screen, screen size
 |
View all Pyle PRJ3D99TU manuals
Add to My Manuals
Save this manual to your list of manuals |
Page 18 highlights
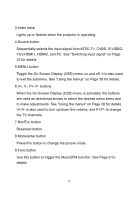
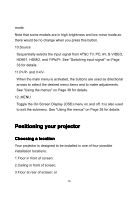
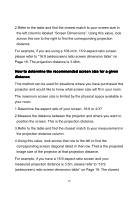
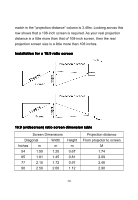
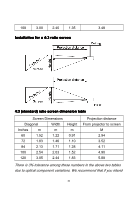
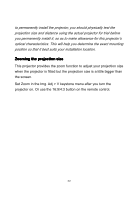
suggested Ceiling Mounting are required for this installation location. Set Ceiling Rear in the Setup > PROJECTION menu after you turn the projector on. Note: There are four screws for ceiling mount in the accessories bag, which are specially supplied for this projector. See "Shipping contents" on Page 8 for details. Obtaining a preferred screen size The distance from the projector to the screen, the zoom setting, and the video format each factors in the projected image size. We have provided separate tables of dimensions for both 16:9 and 4:3 screen ratios to assist you in determining the ideal location for your projector. The projector should always be placed horizontally level (like flat on a table), and positioned directly perpendicular (90 right-angle square) to the horizontal center of the screen. This prevents image distortion caused by angled projections (or projecting onto angled surfaces). If the projector is mounted on a ceiling, it must be mounted upside-down so that it projects at a slightly downward angle. This projector has the function of zoom. See "Zooming the projection size" on Page 21 for details. How to determine the position of the projector for a given screen size 1.Determine the aspect ratio of your screen, 16:9 or 4:3? 18
-
 1
1 -
2
-
3
-
4
-
5
-
6
-
7
-
8
-
9
-
10
-
11
-
12
-
 13
13 -
 14
14 -
 15
15 -
 16
16 -
 17
17 -
 18
18 -
 19
19 -
 20
20 -
 21
21 -
 22
22 -
 23
23 -
24
-
25
-
26
-
27
-
28
-
29
-
30
-
31
-
32
-
33
-
34
-
35
-
36
-
37
-
38
-
39
-
40
-
41
-
42
-
43
-
44
-
45
-
46
-
47
-
48
-
49
-
50
 |
 |