RCA L22HD32D User Guide & Warranty
RCA L22HD32D - LCD/DVD Combo HDTV Manual
 |
UPC - 846042700627
View all RCA L22HD32D manuals
Add to My Manuals
Save this manual to your list of manuals |
RCA L22HD32D manual content summary:
- RCA L22HD32D | User Guide & Warranty - Page 1
OWNER'S MANUAL 22" TFT LCD DIGITAL TV WITH DVD PLAYER L22HD32D ATTENTION If you purchase a universal remote control from your local retailer, please contact the remote manufacturer for the required programming code. AIR/CABLE MODE SELECTION When shipped from the factory, the Signal Type option is - RCA L22HD32D | User Guide & Warranty - Page 2
may also be registered at www.rca.com/television. Registering this product allows us to contact you if needed. Product Information Keep your sales receipt to obtain warranty parts and service and for proof of purchase. Attach it here and record the serial and model numbers in case you need them - RCA L22HD32D | User Guide & Warranty - Page 3
's instructions. with the cart, stand, tripod, bracket, Do not overload wall outlets and extension connection to grounding electrodes, and requirements for the grounding electrode. NEC-NATIONAL ELECTRICAL CODE S2898A GROUND CLAMPS POWER SERVICE GROUNDING ELECTRODE SYSTEM (NEC ART 250, PART - RCA L22HD32D | User Guide & Warranty - Page 4
power and unplug all of the equipment from the wall outlet. Failure to do so may cause an electric shock and serious personal injury. Read the owner's manual of the other equipment carefully and follow the instructions when making any connections. 24) Reduce the volume to the minimum level before - RCA L22HD32D | User Guide & Warranty - Page 5
. When placing on a shelf leave 10 cm (4 inches) free space around the entire unit. 10cm 10cm Notes when mounting the LCD TV/DVD on a wall If the unit is to be mounted on the wall, contact the retailer where you purchased the LCD TV/DVD for advice, and have the equipment professionally installed - RCA L22HD32D | User Guide & Warranty - Page 6
Adjustments Using The Remote Control - The On-Screen display allows precise remote control adjustment of BRIGHTNESS, CONTRAST, COLOR, TINT and SHARPNESS. Programmable TV Sleep Timer - Operable from the remote control, the TV can be programmed for up to 120 minutes to turn off automatically. On - RCA L22HD32D | User Guide & Warranty - Page 7
Night Mode 33 Digital Out 33 Parental control 33 Temporary disabling of rating level by DVD disc 34 Additional information Language code list 35 Connections to other equipment 36 Reception disturbances 39 Problems and troubleshooting 40 Specifications 42 Limited Warranty 43 51H0101A_eng - RCA L22HD32D | User Guide & Warranty - Page 8
will cause errors. • This unit is to be used exclusively with the NTSC color system. PAL and SECAM system discs cannot be used with this unit. • Some CD-R/RWs and DVD-R/RW can not be played back depending on the recording conditions. Region Number Region number (Regional restriction code) is built - RCA L22HD32D | User Guide & Warranty - Page 9
Location of controls Front Remote sensor Left side POWER indicator DISC slot EJECT button VOLUME +/- buttons CHANNEL /1 (PLAY) button CHANNEL /3 (STOP) button MENU button INPUT/ENTER button POWER button To display the menu screen. Press MENU button to display the menu screen. CHANNEL / buttons, - RCA L22HD32D | User Guide & Warranty - Page 10
Location of controls Rear side (continued) COMPONENT/AUDIO IN jacks VIDEO IN jacks (VIDEO/S-VIDEO/AUDIO(L/R)) HEAD PHONE jack AC INPUT jack PC MONITOR IN jack RF (ANT) IN jack PC/DVI AUDIO IN jack COAXIAL DIGITAL AUDIO OUT jack HDMI/DVI IN jack 10 51H0101A_eng.indd 10 2/26/08 9:47:34 AM - RCA L22HD32D | User Guide & Warranty - Page 11
Remote control POWER Power On/Off DISPLAY/- Call TV information Call DVD information Input "-" for digital channels TV/DVD Switch between TV/AV and DVD (EJECT) Eject a disc 0-9 Direct channel selection of TV Input setting Enter a password VOL +/- Adjust volume of TV MUTE Switch off - RCA L22HD32D | User Guide & Warranty - Page 12
AC cord plug into this unit's AC IN jack. 2. Connect the AC cord into an AC outlet. AC Outlet Wider Hole and Blade AC cord (supplied) AC 120V, 60Hz NOTE: • Please make sure to insert the cord securely at both the LCD TV/DVD and the wall outlet. • The AC Cord has a grounding-type AC - RCA L22HD32D | User Guide & Warranty - Page 13
, follow the instructions below that correspond to your antenna system. If you are using a Cable TV service, see page 14 for Cable TV connections. Combination VHF/UHF Antenna (Single 75 ohm cable or 300 ohm twin-lead wire) Antenna Jack 75 ohm Coaxial Cable Connect the 75 ohm cable from the - RCA L22HD32D | User Guide & Warranty - Page 14
to a Cable TV service in which basic channels are unscrambled and premium channels require the use of a Converter/Descrambler box, you may wish to use a signal Splitter and an A/B Switch box (available from the Cable TV company or an electronics supply store). Follow the connections shown below - RCA L22HD32D | User Guide & Warranty - Page 15
menu options. 1 To turn on the TV, press POWER. (POWER on screen.) 2 Press TV/DVD to select TV mode. 3 Press SETUP/TV MENU. The TV menu screen will appear. Cable Stop Analog Channel Found : 0 Digital Channel Found : 0 : Select ENTER:Cancel 5 The TV will begin memorizing all the channels - RCA L22HD32D | User Guide & Warranty - Page 16
be accomplished while a station is broadcasting a digital signal to set that channel into memory. • If you are unsure of the digital channels available in your area, you may visit www.antennaweb.org to receive a list based on your address or zip code. • New digital channels may be added to your area - RCA L22HD32D | User Guide & Warranty - Page 17
-1 Digital Air No Program Information is available Sleep Timer Off English Full 1080i • Channel number • Station name • Channel label (if preset) • Broadcast program name • V-Chip rating • Signal type • Sleep timer • Audio language • Program guide • Picture size • Resolution When the TV - RCA L22HD32D | User Guide & Warranty - Page 18
- VCR DVD DTV SAT CBL HD : Uses the default label name : Video cassette recorder : DVD video : Digital TV set-top box : Satellite box : Cable box : can reset it. Turn the volume all the way down using VOLUME - on the TV. Continue holding the button and press 0 on the remote control at the same time - RCA L22HD32D | User Guide & Warranty - Page 19
• The V-Chip rating information and system are not determined or controlled by the TV. • The standard V-Chip rating system is available whether your TV is receiving a digital signal or not, and will block both analog and digital programs. To set the restriction level using the standard V-Chip rating - RCA L22HD32D | User Guide & Warranty - Page 20
Captioned television programs. cable systems and copy protection systems may interfere with the Closed Captioned signal. • If using an indoor antenna or if TV This feature is designed to customize Digital Captions only. 1 Press SETUP/TV MENU in the digital channel. The TV menu screen will appear. 2 - RCA L22HD32D | User Guide & Warranty - Page 21
adjustment" below). 5 After your desired setting, press EXIT/CANCEL to return to the normal screen. Picture control adjustment 1 Press SETUP/TV MENU in the TV mode. The TV menu screen will appear. 2 Press ▲ or ▼ to select "Picture", then press ▶ or ENTER. 3 Press ▲ or ▼ to select "Picture Setting - RCA L22HD32D | User Guide & Warranty - Page 22
SCREEN SIZE on the remote control. 4 Press EXIT/CANCEL letter box programs) 22 The entire picture programs) Full will display the picture at the maximum size. NOTE: • Some High Definition and/or Digital On" when you view a DVD. 1 Press SETUP/TV MENU in the TV mode. The TV menu screen will appear. 2 - RCA L22HD32D | User Guide & Warranty - Page 23
input modes. DNR DNR (Digital Noise Reduction) can reduce the roughness to return to the normal screen. Sound control adjustment 1 Press SETUP/TV MENU in the TV mode. The TV menu screen will appear. 2 Press ▲ Selecting Stereo/Second Audio Program (SAP) The multi-channel TV sound (MTS) feature provides - RCA L22HD32D | User Guide & Warranty - Page 24
second audio program instead of normal audio. Selecting the audio language When two or more audio languages are included in a digital signal, you can select one of the audio language. (This function is available only for digital broadcast.) 1 Press SETUP/TV MENU in the digital channel. The TV menu - RCA L22HD32D | User Guide & Warranty - Page 25
pressing POWER. NOTE: • When connecting to other equipment, unplug the unit from the AC outlet. 2 Press POWER on the unit or on the remote control to turn on the unit. The POWER indicator will change to green. • Each time you turn the unit ON, the TV/DVD starts from the TV mode. • When using an - RCA L22HD32D | User Guide & Warranty - Page 26
the stopped point. 5 Press (EJECT). Remove the disc and then press POWER. The unit turns off. When you eject the disc, you may hear mechanism noise, but it is not malfunction. NOTE: • If a non-compatible disc is loaded, "Incorrect Disc", "Region Code Error" or "Parental Error" will appear on the TV - RCA L22HD32D | User Guide & Warranty - Page 27
, its file name must include 3-digit extension letters, "mp3", "wma", on the TV screen. Reading time will depend on the STOP again or unload the disc, the unit will clear the stopped point. NOTE: • During MP3/WMA/JPEG-Playback, you cannot use JUMP and A-B Repeat functions. • You can use Program - RCA L22HD32D | User Guide & Warranty - Page 28
To display a thumbnail list, press DVD MENU. Press to select the desired play back all JPEG files automatically. 1 Press SETUP/TV MENU in the stop mode. Press ▲ or ▼ to select option, in 15 second intervals. 4 Press SETUP/TV MENU to remove the menu screen. Program playback (CD) You can arrange the - RCA L22HD32D | User Guide & Warranty - Page 29
program list in stop mode In the Edit Mode, switch to Program View. Select the files you want to remove, then press ENTER. Select "Clear Program" and press ENTER. Marked file is removed from program list. NOTE: • The program is cancelled when you eject the disc or turn center part of the - RCA L22HD32D | User Guide & Warranty - Page 30
DVD. • A-B Repeat does not work with an interactive DVD, MP3/MPEG/WMA/JPEG-CD. Marking desired scenes The TV/DVD Returning to the scenes: 1 Press MARKER during playback or stop mode. 2 Press ▲ or ▼ to select the turn the power off. • Some subtitles recorded around the marker may fail to appear. [DVD - RCA L22HD32D | User Guide & Warranty - Page 31
The current soundtrack language will appear. 1/2 Eng Dolby Digital 2 Press AUDIO repeatedly until the desired language is • Some functions may not work on some DVDs.You may not be able to turn subtitles on or off or change subtitles. While playing the DVD, the subtitle may change when: - you eject - RCA L22HD32D | User Guide & Warranty - Page 32
Other language can be selected (see the "Language code list" on page 35). Original (Audio): The on or off when you press the DISPLAY button. 1 Press SETUP/TV MENU in the stop mode or No Disc. Press ▲ or ▼ to select option, source content in pictures recorded in DVD video discs: film content (pictures - RCA L22HD32D | User Guide & Warranty - Page 33
Screen : 16:9 Display Picture Mode JPEG Interval : On Auto Film Video Digital Out You can select the digital output sound format corresponding to your system connection. 1 Press SETUP/TV MENU in the stop mode or No Disc. Press ▲ or ▼ to select option, then press ◀/▶ or ENTER. 2 Press ▲ or ▼ to - RCA L22HD32D | User Guide & Warranty - Page 34
disc in the player and in DVD mode, press STOP on the unit. Continue holding the button and press 7 on the remote control at the same time. Enter entering, press RETURN. Enter Password Setting the new password: 1 Press SETUP/TV MENU in the stop mode or No Disc. Press ▲ or ▼ to select option, then - RCA L22HD32D | User Guide & Warranty - Page 35
Scots Gaelic 2131 Serbian 2225 Serbo-Croatian 2211 Shona 2232 Sindhi Code Language Name 2224 Singhalese 2230 Slovak 2321 Slovenian 2317 Somali 2329 Volapük 2911 Welsh 1714 Wolof 2928 Xhosa 2918 Yiddish 2924 Yoruba 2914 Zulu Code 2919 2921 2922 2925 1529 2931 2933 2932 3022 3017 3011 3030 3015 3018 - RCA L22HD32D | User Guide & Warranty - Page 36
various video and audio components to this unit is dependent on the model and features of each component. Check the Owner's Manual provided with each component for the location of video and audio inputs and outputs. To connect the LCD TV/DVD to a VCR Rear of the unit To VIDEO/AUDIO IN To Audio - RCA L22HD32D | User Guide & Warranty - Page 37
Otherwise you will only see the image with no sound. • If you connect an external component (cable box, satellite receiver, etc.) to this LCD TV using an HDMI cable or a DVI to HDMI cable, the image will not display if the output resolution of the component is set to 480i. To receive the picture you - RCA L22HD32D | User Guide & Warranty - Page 38
suggested connection diagrams. You'll need to consult each component's Owner's Manual for additional information. Rear of the unit To VIDEO/AUDIO IN To Audio/Video OUT Audio/Video cord or (not supplied) To connect the TV/DVD to a PC (Personal Computer) Before you connect this TV/DVD to your - RCA L22HD32D | User Guide & Warranty - Page 39
television interference are shown below. If one of these symptoms appear when the TV is connected to a Cable TV system, the disturbance may be caused by the local Cable TV AND MAINTENANCE To prevent fire or shock hazard, disconnect the TV from the power source before cleaning. The finish on the - RCA L22HD32D | User Guide & Warranty - Page 40
station tuned. • Sleep Timer is set. • Power interrupted. Closed - Caption is not activated. • TV station experiencing problems or program tuned is not closed captioned. Try another channel. • Check Cable TV connection or VHF/UHF antenna, reposition or rotate antenna. • Set Closed caption in the - RCA L22HD32D | User Guide & Warranty - Page 41
troubleshooting (continued) SYMPTOMS DVD Playback doesn't start. No picture. No sound. Picture is distorted during CUE or REVIEW. Stopping playback, search, slow-motion play, repeat play, or program play, etc. cannot be performed. No on-screen display. No surround sound. The unit or remote Turn - RCA L22HD32D | User Guide & Warranty - Page 42
: Power consumption: Weight: Dimensions: Operating temperature: Operating humidity: AC 120V 60Hz Operation: 65W Stand by: 1W 5.8 kg (12.8 lbs) Width: 536.5 mm (21-1/8 inches) Height: 439.5 mm (17-5/16 inches) Depth: 207 mm (8-1/8 inches) 5˚C - 40˚C Less than 80% TELEVISION Type: Display method - RCA L22HD32D | User Guide & Warranty - Page 43
unit. • A representative will troubleshoot your problem over the phone. • If it is determined that your unit requires service, the service location will be at the sole discretion of TTE based upon the TTE Limited Warranty statement. • At the sole discretion of TTE, television screen sizes 32" and - RCA L22HD32D | User Guide & Warranty - Page 44
materials or workmanship are not covered by this warranty. Costs of such service calls are the sole responsibility of the purchaser. Visit the RCA website at www.rca.com/television Please do not send any products to the Indianapolis address listed in this manual or on the carton. This will only add
-
 1
1 -
 2
2 -
 3
3 -
 4
4 -
 5
5 -
 6
6 -
 7
7 -
8
-
9
-
10
-
11
-
12
-
13
-
14
-
15
-
16
-
17
-
18
-
19
-
20
-
21
-
22
-
23
-
24
-
25
-
26
-
27
-
28
-
29
-
30
-
31
-
32
-
33
-
34
-
35
-
36
-
37
-
38
-
39
-
40
-
41
-
42
-
43
-
44
 |
 |
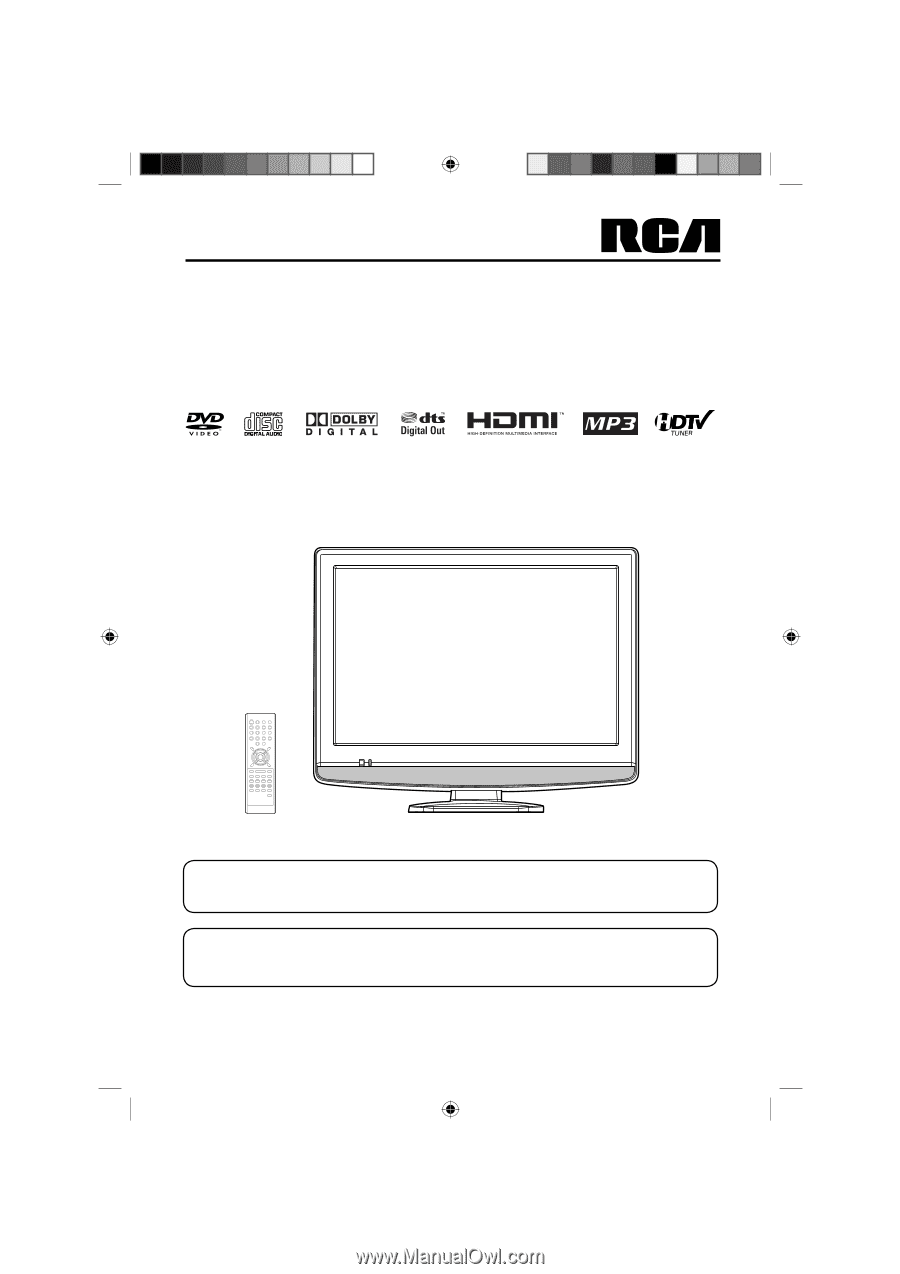
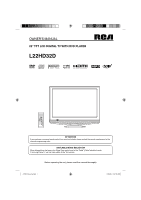
22” TFT LCD DIGITAL TV WITH DVD PLAYER
OWNER’S MANUAL
ATTENTION
If you purchase a universal remote control from your local retailer, please contact the remote manufacturer for the
required programming code.
AIR/CABLE MODE SELECTION
When shipped from the factory, the Signal Type option is set to the “Cable” (Cable Television) mode.
If not using Cable TV, set this menu option to the “Air” position.
Before operating the unit, please read this manual thoroughly.
L22HD32D
51H0101A_eng.indd 1
51H0101A_eng.indd
1
2/26/08 9:47:28 AM
2/26/08
9:47:28 AM