RCA RP5120 Quick Start - RP5120 - Page 1
RCA RP5120 - RP 256 MB Digital Voice Recorder Manual
 |
UPC - 044319751352
View all RCA RP5120 manuals
Add to My Manuals
Save this manual to your list of manuals |
Page 1 highlights
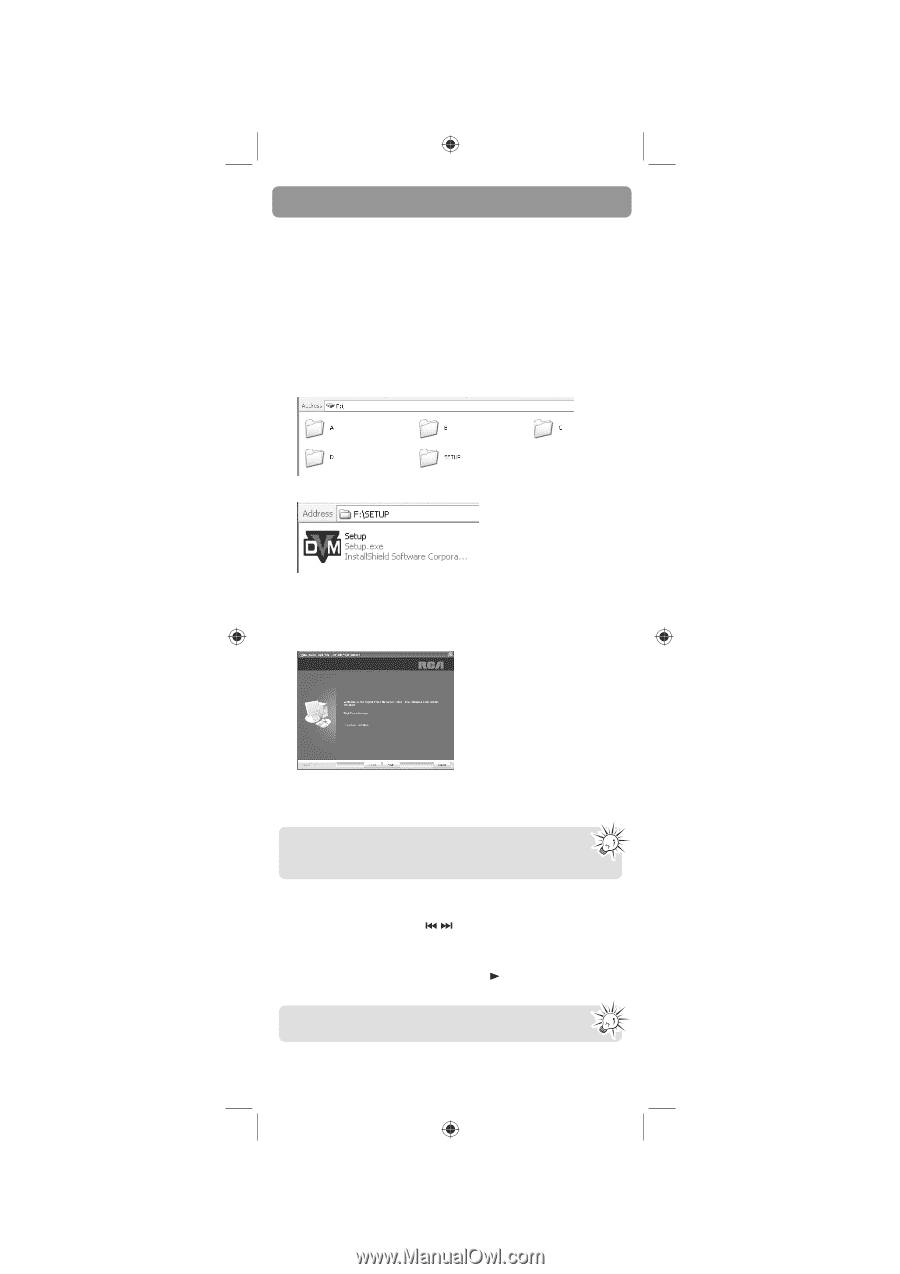
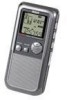
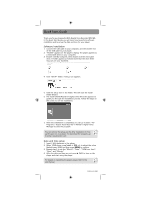
Quick Start Guide Thank you for purchasing the RCA Digital Voice Recorder (RP5120). In this Quick Start Guide, you will learn how to perform software installation and to set up the date and time for your player. Software installation 1. Connect the USB cable to your computer, and the smaller end of the USB cable to your player. 2. "PCLINK" appears on the player's display. The player appears as a removable drive on your computer. 3. Double click My Computer, then double click the removable drive. A folder appears as follows (note that the drive letter may vary on your machine): 4. Click "SETUP" folder. A Setup icon appears. 5. Click the Setup icon in the folder. This will start the install Shield Wizard. 6. The Install Shield Wizard for Digital Voice Recorder appears to guide you through the installation process. Follow the steps on the screen to run the installation. 7. After the installation is completed, you can go to Start > All Programs > Digital Voice Recorder > RP5120 > Digital Voice Manager to start the program. You can remove the setup.exe file after installation to free up the space on your player. To download the program, go to www.rcaaudiovideo.com. Date and time setup 1. Insert 2 AAA batteries in the player. 2. When YEAR shows, press / or VOL +/- to adjust the value (default year: 2008) and then press MENU to confirm. 3. Repeat step 2 to set the "Month", "Date", "12/24 hour time", "Hour" and "Minute" 4. After the date and time are set, press PLAY to turn on the player and start using the player. For details on operating the player, please refer to the user manual. RP5120 v1.0 (EN/E)
-
 1
1 -
 2
2
 |
 |