RCA RTD317 RTD317 Product Manual
RCA RTD317 Manual
 |
UPC - 044319751321
View all RCA RTD317 manuals
Add to My Manuals
Save this manual to your list of manuals |
RCA RTD317 manual content summary:
- RCA RTD317 | RTD317 Product Manual - Page 1
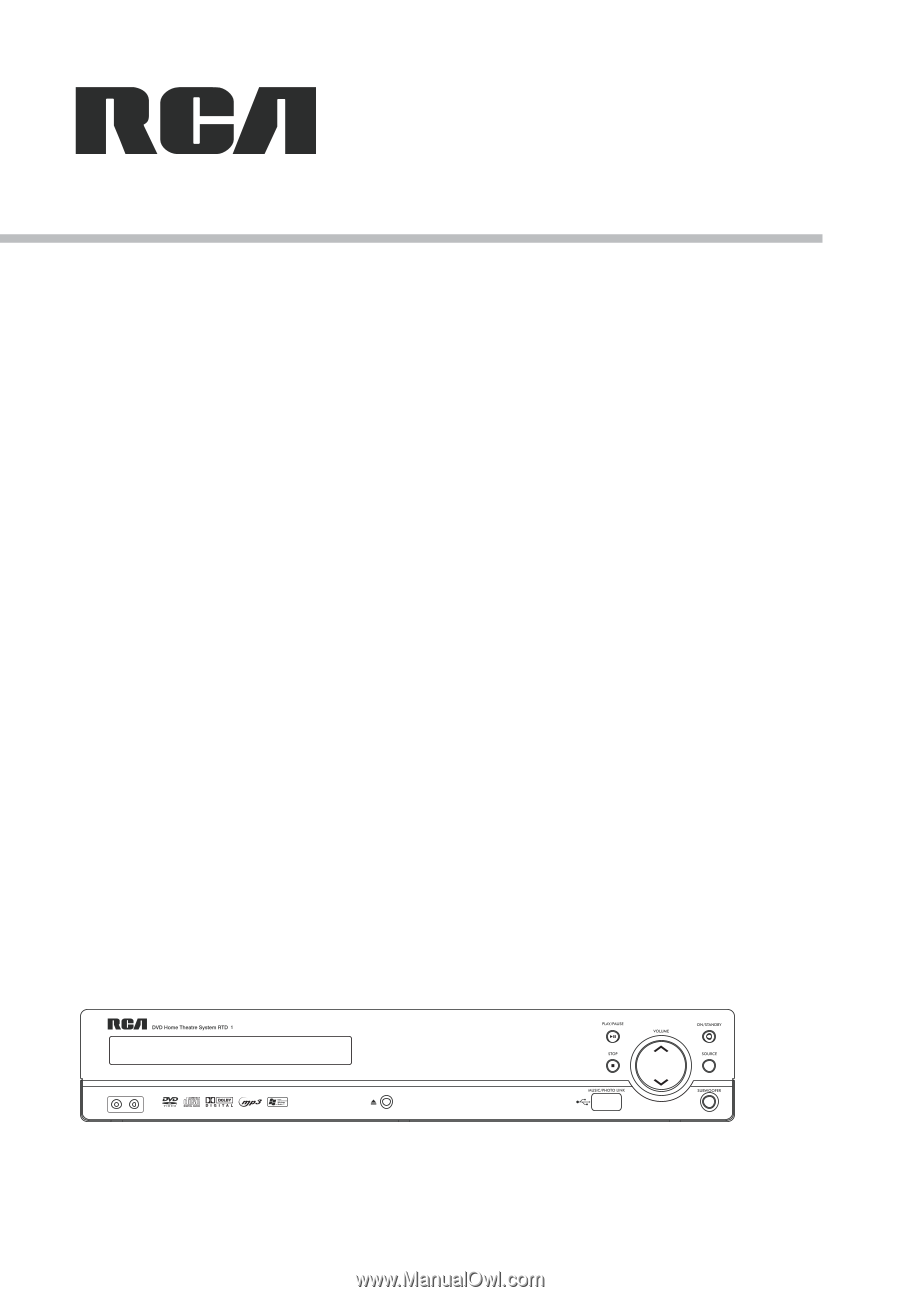
User manual RTD317 37 AUX IN 2 It is important to read this instruction book prior to using your new product for the first time. - RCA RTD317 | RTD317 Product Manual - Page 2
with the instructions, may Reorient or relocate the receiving antenna. • Increase the separation between could void the user's authority to diagram. 10 cm 7 cm 10 cm 10 cm 7 cm This product complies with DHHS Rules 21 CFR Subchapter J. Applicable at the date of manufacture. This Home Theater - RCA RTD317 | RTD317 Product Manual - Page 3
only by qualified technicians to prevent accidents caused by the laser beam. DVD copy protection In accordance with the DVD standard, your DVD player is equipped with a Copy Protection system, which can be switched on and off by the DVD disc itself, in order to make any recording of the relevant - RCA RTD317 | RTD317 Product Manual - Page 4
batteries. observe the polarities indicated inside the battery compartment. Replace only with the type of batteries specified. Do not dispose controls or adjustments or performance of procedures other than those specified herein may result in open covers and do not repair yourself. Refer servicing - RCA RTD317 | RTD317 Product Manual - Page 5
the manufacturer's liquids, such as vases, shall be placed on the instructions. apparatus. • Do not install near any heat sources such as the cabinet. an electrician for replacement of the This product does not contain customer obsolete outlet. serviceable components. • Protect the power - RCA RTD317 | RTD317 Product Manual - Page 6
Default Lanugage Setup 20 Player Menu Audio Subtitles Disc Menu Audio Setup 21 Night Mode Distance Test Tone Video Setup 22 Video TV Type HDMI Setup Brightness Additional Information 23 Troubleshooting Precautions 24 Compatible Formats 25 Sound Enhancement Systems 26 Technical Specifications - RCA RTD317 | RTD317 Product Manual - Page 7
Connections and Setup Accessories provided EN + + - Remote control and 2 AAA batteries Left and right front speakers Center speaker Subwoofer Left and right Surround Speakers One external AM loop antenna Composite Video Cable One Pig-Tail antenna wire Things to consider before you connect - RCA RTD317 | RTD317 Product Manual - Page 8
Setup Connecting the antennas EN FM 75 Ω Whit e Antenna GN D The AM and FM antennas connect to the AM and FM terminals on the system's back panel. They must be hooked up in order to receive clear reception. AM Loop Antenna 1. Uncoil the AM Antenna wire. 2. Press down on the Antennas -coded - RCA RTD317 | RTD317 Product Manual - Page 9
(not supplied) HDMI 1 VIDEO OUT Notes: • Refer to the owner's manual of the connected TV as well. • When using HDMI cable, do not • Audio cables (color-coded in red and white) (not included) are required. • Press either SOURCE on the main unit or AUX1/ 2 on the remote control to select AUX1 IN or - RCA RTD317 | RTD317 Product Manual - Page 10
/Grey or Black Striped Press Release Rear Speakers (Surround Sound) Note: When connecting the speakers, make sure the polarities ("+" speaker wire to "+" on the receiver. For example, red wire to red terminal on the receiver) of speaker wires and terminals match. If the cords are reversed, the - RCA RTD317 | RTD317 Product Manual - Page 11
Connections and Setup Positioning speakers 3 1 2 Front speaker placement For best results, 3 4 Courtesy Dolby Laboratories 1. Left, Right (Front Speakers) Front speakers carry primarily music and sound effects. 2. Center In surround mode, the center speaker carries most of the dialog as well as - RCA RTD317 | RTD317 Product Manual - Page 12
not down at viewers, to help create a more open, spacious surround sound field. Alternative Surround Placement Rear wall If rear wall mounting is the only . As the signal "travels" from channel to channel, adjust the level controls until each channel plays at the same lodness level (see page 20). - RCA RTD317 | RTD317 Product Manual - Page 13
Remote control functions in DVD/CD mode ON•OFF - Switches the unit on and off (p.9). DVD - Selects the DVD mode (p.9). TUNER - Selects the TUNER and selects between FM the sound. SETUP - Enters Setup menu (p.19). RETURN - In DVD mode, returns to the previous menu. VOL +/- - Adjusts the sound volume. - RCA RTD317 | RTD317 Product Manual - Page 14
value using VOL +/-. SURROUND - Changes the Surround sound setting. In DVD mode, press the button to select between Dolby Digital Remote control functions in tuner mode TUNER - Selects the TUNER and switch between FM/AM (p.16). VOL+/- - Adjusts the sound volume. MUTE - Mutes and Restores the sound - RCA RTD317 | RTD317 Product Manual - Page 15
navigate Note: through the on-screen menus Insert 2 "AAA"("UM-4"/"R03") Use and OK on the remote control to navigate through the on-screen displays (the DVD player's menu, batteries to the remote control prior to use. EN the Info Display that appears during playback, or a disc's menu). Use - RCA RTD317 | RTD317 Product Manual - Page 16
menus • Disc menu - The appearance and contents of this menu varies according to the type of disc you have inserted. It is separate from the Setup menu. • Info menu - The unit's Info menu appears at the top of the screen while the disc is playing. Press INFO on the - RCA RTD317 | RTD317 Product Manual - Page 17
more than five The Info Menu Using the Info menu 1. Press INFO on the remote while a disc is playing to display the Info menu. The first banner shows user interaction, a screen saver is activated. At the end of 30 minutes without any user interaction, the unit switches off automatically. EN DVD - RCA RTD317 | RTD317 Product Manual - Page 18
(DVD) Some discs have several audio tracks used for different languages or different audio formats. To change the language or audio format during playback: 1. Press the INFO button twice. 2. Use the left/right arrow buttons to select the Audio icon, or press the AUDIO button on the remote control - RCA RTD317 | RTD317 Product Manual - Page 19
To change the camera angle, press the CDs and DVD discs) EN ANGLE button on the remote or press the To use program play mode, you sequence between points A and B, choose the A-B repeat option, and then follow the instructions If you want to cancel the list, repeat steps 1 and 2 to select CLEAR - RCA RTD317 | RTD317 Product Manual - Page 20
the Info menu. Sleep 1. Press INFO twice for CD and three times for DVD. Select Sleep icon with the left/right arrow buttons. 2. Select one of the available options using the OK button or pressing the SLEEP button on the remote: Off, 30, 60, 90 or 120 minutes. Note: This function is not - RCA RTD317 | RTD317 Product Manual - Page 21
CH- button to go back to the previous personal computer in user friendly picture or the CH+ button to go to the compressed the up/down arrow 7. Press STOP to end playback. buttons on the remote, then press the left arrow button to move to the music/picture icons Setup menu (see page 19). 15 - RCA RTD317 | RTD317 Product Manual - Page 22
is found, ST is displayed. • When you manually tune into a weak FM station, press AUDIO on remote control to switch from Stereo to Mono mode. This will reduce the background noise. • If there is any interference, change the antenna's position until ideal sound reception is obtained. TV and other - RCA RTD317 | RTD317 Product Manual - Page 23
5. You may also follow the playback instruction steps 3-7 on playing mp3/WMA files and jpeg files on P.14. Note: The unit only support mp3/ WMA/jpeg files on USB SOURCE on the main unit or AUX1/2 on the remote control to select AUX1 IN or AUX2 IN mode. Sound output in Aux-In mode • You may change - RCA RTD317 | RTD317 Product Manual - Page 24
allows you to rip tracks on CD to EN USB device. This unit supports Mass Storage Class (MSC) devices. Connect the USB device first before ripping. Ripping CD to USB device 1. During CD playback, press REC on the remote to activate the Ripping Menu. 2. Select one of the menu items using the - RCA RTD317 | RTD317 Product Manual - Page 25
option using the General Setup You can control access to the unit DVDs that may not be suitable for all audiences by using the rating level encoded on the disc (not all discs are rated). If the rating level of the disc is higher than the preset level, playback is prohibited unless a General Setup - RCA RTD317 | RTD317 Product Manual - Page 26
Setup • The disc publisher is responsible for coding , or language. Language Setup Player Menu Audio Subtitles Disc Menu 1. Select the Language Setup icon in the main DVD and use the left/right arrow buttons to highlight the Audio icon. Press the up/down arrow buttons or AUDIO on the remote control - RCA RTD317 | RTD317 Product Manual - Page 27
EN Setup menu. To change the language of the subtitles 1. Select the Audio Setup icon in the main during playback, press INFO twice for DVD menu remote control. Otherwise, the subtitle language indicated on the disc is selected. Night Mode You can use this function to control the different sound - RCA RTD317 | RTD317 Product Manual - Page 28
Video Setup Video TV Type HDMI Setup Brightness 480p 720p 1080i 1080p Off • Supported HD JPEG mode: 480p, 720p, 1080i and 1080p. Brightness This option lets you adjust the video brightness level on a scale of 0 to 12, with 12 being the brightest. TV Type Depending on the format of the DVD disc - RCA RTD317 | RTD317 Product Manual - Page 29
Additional Information Troubleshooting No surround sound. The unit does not switch on. • Check the speaker configuration in the • Make sure it is plugged in. • Press the ON•OFF button on the remote Setup menu (See Positioning speaker on pages 4-5 or Audio Setup on page 19). EN control or the - RCA RTD317 | RTD317 Product Manual - Page 30
the unit, unplug it immediately and have it checked by an authorized servicer or service center. Handling and caring for discs • Handle your discs with care in the holder. • Do not play cracked, chipped or warped discs nor try to repair them with adhesive tape or glue. • Do not write on a disc. • Do - RCA RTD317 | RTD317 Product Manual - Page 31
and the disc used, you In order to ensure playback, discs must conform with DVD or CD standards. This unit may not play some recordings or files due to 128 kB/sec (kilobytes/second) when recording mp3 files. Sound quality with mp3 files basically depends on the rate of compression/ decompression you choose - RCA RTD317 | RTD317 Product Manual - Page 32
• Do not record copyright-protected mp3 files. "Securized" files are encrypted and code protected to prevent illegal copying. EN Sound Enhancement Systems This receiver is equipped with several built-in sound enhancement systems. jpeg files CD-R and CD-RW with jpeg files. Certain jpeg files, - RCA RTD317 | RTD317 Product Manual - Page 33
4Ohm) Front and Center Channel: 40 Watts per channel (1KHz, 4Ohm) Subwoofer Channel: 50Watts (100Hz, 3Ohm) Total RMS Output Power, Dolby Digital FM Tuner Section: Frequency Response: 15kHz +/-3dB, 1kHz ref. Quieting: 24dB Signal to Noise: 62dB(stereo) / 65dB(mono) IF Rejection: 70dB mode: 250Watts - RCA RTD317 | RTD317 Product Manual - Page 34
of repair or replacement. The Customer will be required to ship the unit to the Service Center indicated at the time Customer Support is contacted to make the necessary repairs. The customer is responsible for all transportation charges to the service facility. Packaging and Shipping Instruction - RCA RTD317 | RTD317 Product Manual - Page 35
- RCA RTD317 | RTD317 Product Manual - Page 36
AVC Multimedia Inc. Unit 6, 170 Esna Park Drive, Markham, Ontario L3R 1E3 © 2008 AVC Multimedia Inc. Trademark(s)® Registered Marque (s)® de commerce enregistrée (s) Marca(s) Registrada(s) Printed in China RTD317 IB V1.0 (EN)
-
 1
1 -
 2
2 -
 3
3 -
 4
4 -
 5
5 -
 6
6 -
 7
7 -
8
-
9
-
10
-
11
-
12
-
13
-
14
-
15
-
16
-
17
-
18
-
19
-
20
-
21
-
22
-
23
-
24
-
25
-
26
-
27
-
28
-
29
-
30
-
31
-
32
-
33
-
34
-
35
-
36
 |
 |
It is important to read this instruction book prior to using your new product for the first time.
User manual
AUX IN
2
3
RTD317
7