Reebok 200s Treadmill English Manual
Reebok 200s Treadmill Manual
 |
View all Reebok 200s Treadmill manuals
Add to My Manuals
Save this manual to your list of manuals |
Reebok 200s Treadmill manual content summary:
- Reebok 200s Treadmill | English Manual - Page 1
missing, PLEASE CONTACT OUR CUSTOMER SERVICE DEPARTMENT DIRECTLY. CALL TOLL-FREE: 1-877-994-4999 Mon.-Fri., 6 a.m.-6 p.m. MST ON THE WEB: www.reebokservice.com CAUTION Read all precautions and instructions in this manual before using this equipment. Save this manual for future reference. Visit our - Reebok 200s Treadmill | English Manual - Page 2
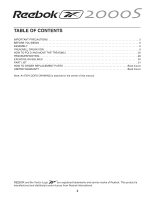
AND MOVE THE TREADMILL 26 TROUBLESHOOTING 28 EXERCISE GUIDELINES 30 PART LIST 31 HOW TO ORDER REPLACEMENT PARTS Back Cover LIMITED WARRANTY Back Cover Note: An EXPLODED DRAWING is attached in the center of this manual. REEBOK and the Vector Logo are registered trademarks and service marks of - Reebok 200s Treadmill | English Manual - Page 3
described on page 9. To purchase a surge suppressor, see your local REEBOK dealer or call the toll-free telephone number on the front cover of this manual and order part number 146148, or see your local electronics store. 15. The treadmill is capable of high speeds. Adjust the speed in small - Reebok 200s Treadmill | English Manual - Page 4
hood unless instructed to do so by an authorized service representative. Servicing other than the procedures in this manual should be performed by an authorized service representative only. 26. The treadmill is intended for in-home use only. Do not use the treadmill in any commercial, rental - Reebok 200s Treadmill | English Manual - Page 5
service needed under warranty, you must register the treadmill at www.reebokservice.com/registration. For your benefit, read this manual carefully before you use the treadmill. If you have questions after reading this manual, please see the front cover of this Before reading further, please review - Reebok 200s Treadmill | English Manual - Page 6
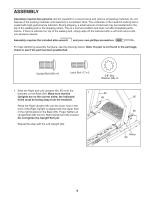
the shipping carton. This is a normal condition and does not affect treadmill performance. If there is lubricant on top of the walking belt, simply on the correct sides; the indicated holes must be facing away from the treadmill. Raise the Right Upright (95) until the lower hole in the - Reebok 200s Treadmill | English Manual - Page 7
2. Attach the Latch Housing (89) to the Left Upright (90) 2 with two Latch Bolts (77). Do not overtighten the Latch Bolts. 89 90 77 3. Have a second person hold the Handrails (114) near the Right and Left Uprights (90, 95). Feed the Upright Wire Harness (108) down into the Right Upright, and - Reebok 200s Treadmill | English Manual - Page 8
sixteen Upright Bolts (86) used in steps 3 and 5. 95 88 86 86 99 6. Make sure that all parts are properly tightened before you use the treadmill. Note: Extra hardware may be included. Keep the included allen wrenches in a secure place. The large allen wrench is used to adjust the walking belt - Reebok 200s Treadmill | English Manual - Page 9
being damaged, always use a surge suppressor with your treadmill (see drawing 1 at the right). To purchase a surge suppressor, see your local REEBOK dealer or call the toll-free telephone number on the front cover of this manual and order part number 146148, or see your local electronics store - Reebok 200s Treadmill | English Manual - Page 10
, call the tollfree telephone number on the front cover of this manual. In addition, the console offers ten preset programs. Each program automatically controls the speed and incline of the treadmill as it guides you through an effective workout. Two heart rate programs are also offered - Reebok 200s Treadmill | English Manual - Page 11
Position Stand on the foot rails of the treadmill. Find the clip attached to the key ( Select the manual mode. When the key is inserted, the manual mode will be selected and the Manual Control SPEED DISPLAY on page 12). For simplicity, all instructions in this section refer to miles. To stop the - Reebok 200s Treadmill | English Manual - Page 12
change by 0.5%. Note: After the buttons are pressed, it may take a moment for the treadmill to reach the selected incline setting. 6 Follow your progress with the matrix and the displays. The matrix-When the manual mode or the iFIT.com mode is selected, the matrix will show a track that represents - Reebok 200s Treadmill | English Manual - Page 13
onto the foot rails, press the Stop button, and adjust the incline of the treadmill to the lowest setting. The incline must be at the lowest setting when the treadmill is folded to the storage position or the treadmill will be damaged. Next, remove the key from the console and put it in - Reebok 200s Treadmill | English Manual - Page 14
move one column to the left. The speed setting for the second segment will then be shown in the flashing Current Segment column and the treadmill will automatically adjust to the speed and incline settings for the second segment. Note: If all of the indicators in the Current Segment column are - Reebok 200s Treadmill | English Manual - Page 15
Segment column, an additional indicator may light or darken in those columns as well.) Note: If you manually override the speed or incline setting, when the next segment begins, the treadmill will automatically adjust to the speed and incline settings for the next segment. To stop the program - Reebok 200s Treadmill | English Manual - Page 16
in the matrix.) To program a speed setting and an incline setting for the first segment, simply adjust the speed and in- cline of the treadmill as desired by pressing the Speed and Incline buttons. Every few times a Speed button is pressed, an additional indicator will light or darken in - Reebok 200s Treadmill | English Manual - Page 17
move one column to the left. The speed setting for the second segment will then be shown in the flashing Current Segment column and the treadmill will automatically adjust to the second speed and incline settings that you programmed. The program will continue in this way until the speed setting for - Reebok 200s Treadmill | English Manual - Page 18
a heart rate program. 1 Put on the optional chest pulse sensor. See the instructions included with the optional chest pulse sensor. 2 Insert the key into the console. the program. A moment after the button is pressed, the treadmill will automatically adjust to the first speed and incline settings of - Reebok 200s Treadmill | English Manual - Page 19
the letters "PLS" will flash in the Pulse/Pace display, and the speed and incline of the treadmill may automatically decrease until your pulse is detected. If this occurs, see the instructions included with the optional chest pulse sensor. To stop the program temporarily, press the Stop button. The - Reebok 200s Treadmill | English Manual - Page 20
: If your CD player has separate LINE OUT and PHONES jacks, see instruction A below. If your CD player has only one jack, see instruction B. A. Plug one end of the audio cable into the jack on the front of the treadmill near the power cord. Plug the other end of the cable into the - Reebok 200s Treadmill | English Manual - Page 21
B. Note: If your computer has a 3.5mm LINE OUT jack, see instruction A. If your computer has only a PHONES jack, see instruction B. A. Plug one end of the audio cable into the jack on the front of the treadmill near the power cord. Plug the other end of the cable into the included adapter - Reebok 200s Treadmill | English Manual - Page 22
free telephone number on the front cover of this manual. Follow the steps below to use an iFIT. will begin guiding you through your workout. Simply follow your personal trainer's instructions. Note: you when the speed and/or incline of the treadmill is about to change. CAUTION: Always listen for - Reebok 200s Treadmill | English Manual - Page 23
or incline settings are too high or too low, you can manually override the settings by pressing the Speed or Incline buttons on the the key and go to step 1 on page 22. Note: If the speed or incline of the treadmill does not change when a "chirp" is heard: • Make sure that the indicator on the iFIT. - Reebok 200s Treadmill | English Manual - Page 24
have an internet connection and an internet service provider. A list of specific system requirements high or too low, you can manually override the settings by pressing the instructions to start the program. When you start the program, an on-screen countdown will begin. 7 Return to the treadmill - Reebok 200s Treadmill | English Manual - Page 25
mode that keeps track of the total number of hours that the treadmill has been used and the total number of miles that the walking belt pulse sensor, call the toll-free telephone number on the front cover of this manual. IMPORTANT: The Calories display should be blank. If a "d" appears in the - Reebok 200s Treadmill | English Manual - Page 26
, unplug the power cord. CAUTION: You must be able to safely lift 45 pounds (20 kg) to raise, lower, or move the treadmill. 1. Hold the end of the treadmill near the location indicated by the arrow at the right. To decrease the possibility of injury, bend your legs and keep your back - Reebok 200s Treadmill | English Manual - Page 27
left hand, pull the latch knob to the left and hold it. Pivot the treadmill down until the frame is past the latch pin. Slowly release the latch knob. 2. Hold the treadmill firmly with both hands, and lower the treadmill to the floor. To decrease the possibility of injury, bend your legs and - Reebok 200s Treadmill | English Manual - Page 28
TROUBLESHOOTING Most treadmill problems can be solved by following the steps below. Find the symptom that applies, and follow the steps listed. If further assistance is needed, see the front cover of this manual. PROBLEM: The power does not turn on SOLUTION: a. Make sure that the power cord is - Reebok 200s Treadmill | English Manual - Page 29
power cord, insert the key, and run the treadmill for a few minutes. Repeat until the walking belt is properly tightened. b 3-4" Rear Roller Adjustment Bolts c. If the walking belt still slows when walked on, see the front cover of this manual. PROBLEM: The walking belt is off-center or slips - Reebok 200s Treadmill | English Manual - Page 30
be found by using your heart rate as a guide. The chart below shows recommended heart rates for exercise, adjust the speed or incline of the treadmill until your heart rate is near the highest number muscles and will help prevent post-exercise problems. To measure your heart rate during exercise - Reebok 200s Treadmill | English Manual - Page 31
(REEBOK® 2000 S treadmill), the SERIAL NUMBER of the product (see the front cover of this manual), Manual; notify our Customer Service Department of any defect within 10 days after discovery of the defect; as instructed or problem and a copy of your proof of purchase if you believe the service is - Reebok 200s Treadmill | English Manual - Page 32
locate the parts listed below, see the EXPLODED DRAWING attached in the center of this manual. Key No. Qty. Description Key No. Qty. Description Key No. Qty. Description Belt Walking Platform Frame Belt Guide Left Endcap Rear Roller Wheel Endcap Screw Isolator Guide Front Roller Magnet Nut Frame - Reebok 200s Treadmill | English Manual - Page 33
EXPLODED DRAWING-Model No. RBTL12204.0 R0505A To identify the parts shown on this EXPLODED DRAWING, see the PART LIST on page 31. 2 2 119 1 2 3 22 56 7 2 21 4 8 21 17 9 2 78 21 16 11 13 15 41 40 34 35 37 36 50 33 32 21 28 29 12 31 25 30 31 28 27 26 24 25 23 21 42 44 45 - Reebok 200s Treadmill | English Manual - Page 34
EXPLODED DRAWING-Model No. RBTL12204.0 R0505A 80 81 38 43 82 83 83 83 117 83 83 83 83 83 86 83 88 89 77 83 84 86 83 86 86 88 90 86 92 85 88 91 93 94 20 25 114 109 39 120 110 113 112 111 110 112 113 110 111 110 109 83 83 116 108 101 104 97 98 25 108 100 105 103
-
 1
1 -
 2
2 -
 3
3 -
 4
4 -
 5
5 -
 6
6 -
 7
7 -
8
-
9
-
10
-
11
-
12
-
13
-
14
-
15
-
16
-
17
-
18
-
19
-
20
-
21
-
22
-
23
-
24
-
25
-
26
-
27
-
28
-
29
-
30
-
31
-
32
-
33
-
34
 |
 |
®
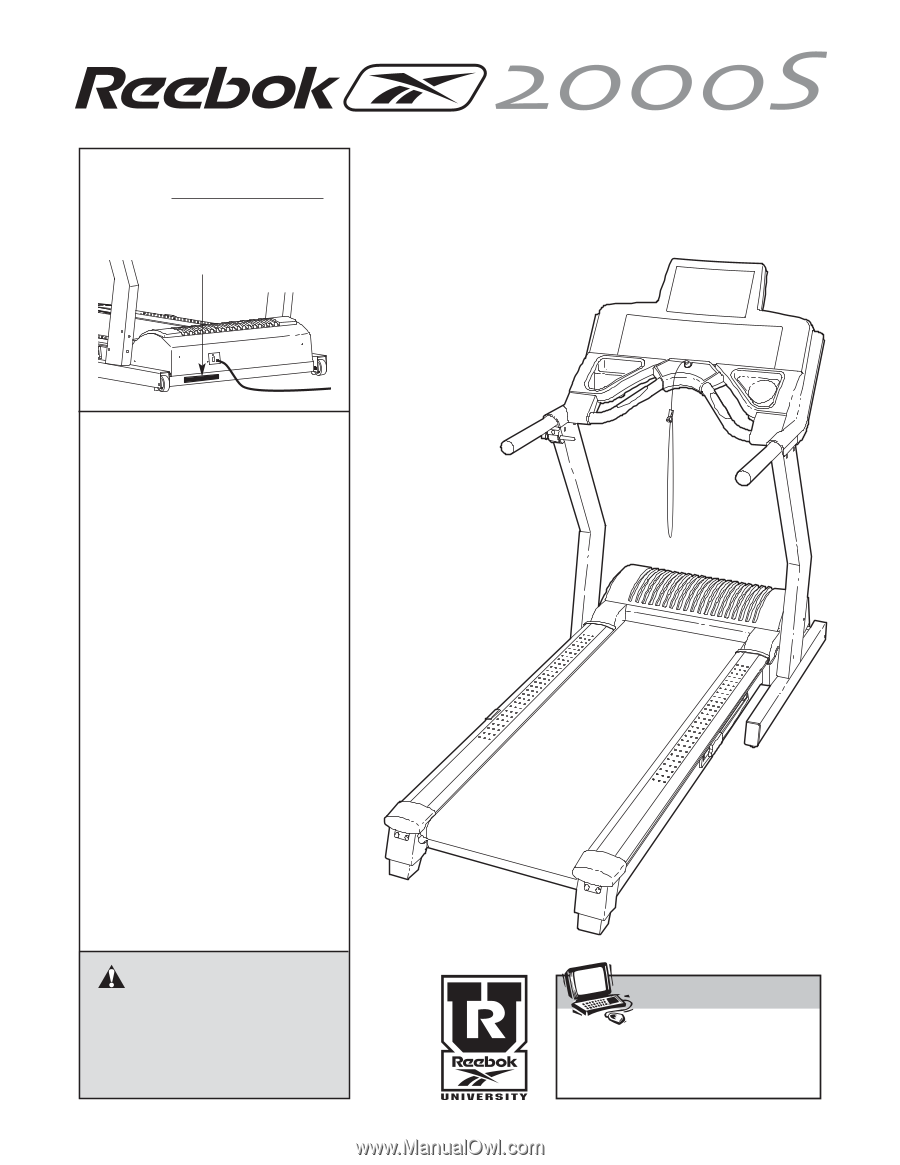
USER'S MANUAL
Model No. RBTL12204.0
Serial No.
CAUTION
Read all precautions and instruc-
tions in this manual before using
this equipment. Save this man-
ual for future reference.
Write the serial number in the space
above for future reference.
Serial Number Decal
QUESTIONS?
As a manufacturer, we are com-
mitted to providing complete
customer satisfaction. If you
have questions, or if parts are
damaged or missing, PLEASE
CONTACT OUR CUSTOMER
SERVICE DEPARTMENT DI-
RECTLY.
CALL TOLL-FREE:
1-877-994-4999
Mon.–Fri., 6 a.m.–6 p.m. MST
ON THE WEB:
www.reebokservice.com
Visit our website at
www.reebokhomefitness.com
new products, prizes,
fitness tips, and much more!
®
®