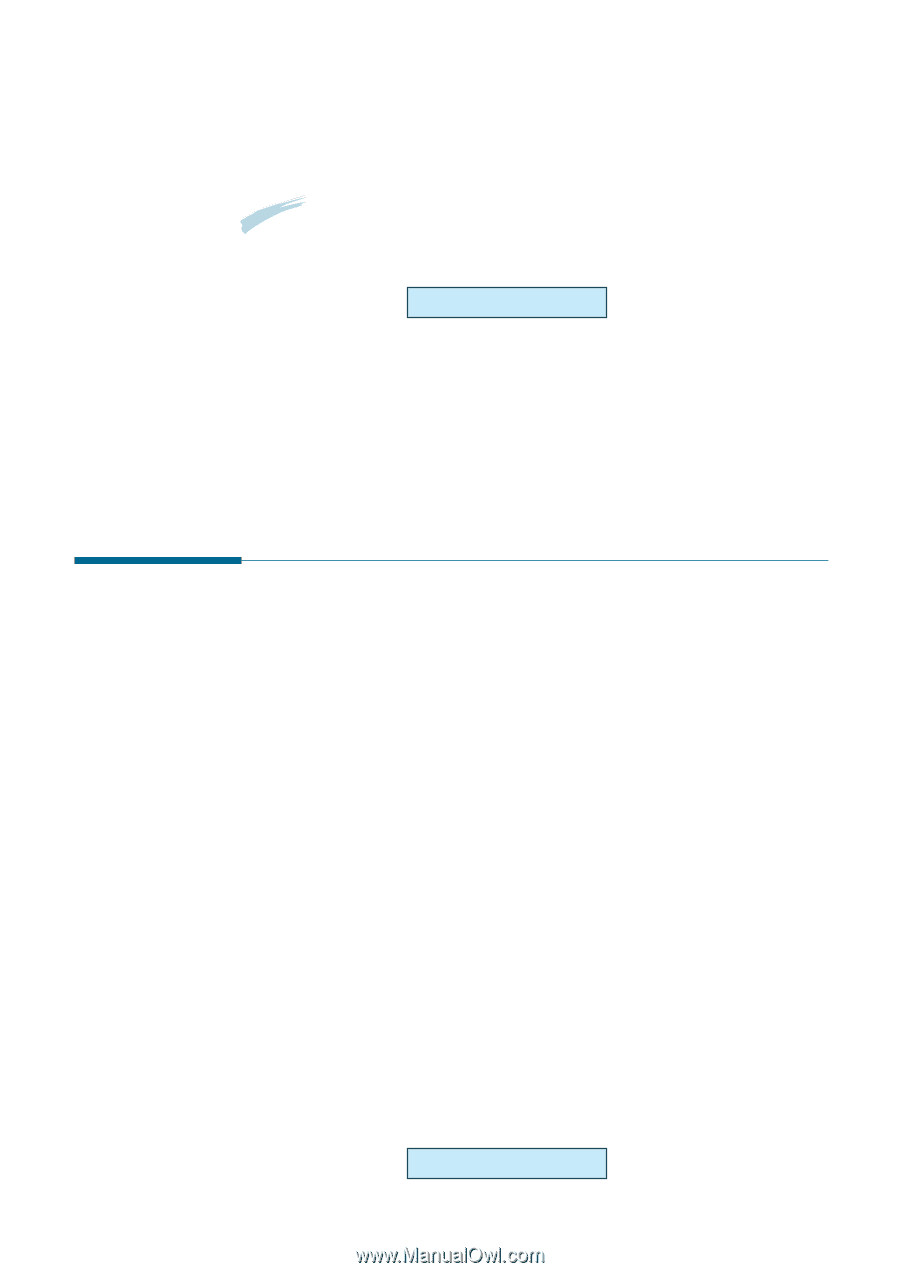
Ricoh 1160L User Guide - Page 57
Delayed Fax, face down, Trans. Option, Start/Enter, Speed
 |
View all Ricoh 1160L manuals
Add to My Manuals
Save this manual to your list of manuals |
Page 57 highlights
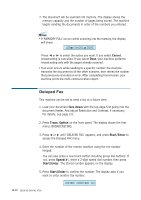
7. The document will be scanned into memory. The display shows the memory capacity and the number of pages being stored. The machine begins sending the documents in order of the numbers you entered. Notes: • If 'MEMORY FULL' occurs while scanning into the memory, the display will show: JOB❿CANCEL❿DONE Press ➛¤or ❿ to select the option you want. If you select Cancel, broadcasting is cancelled. If you select Done, your machine performs broadcasting only with the pages already scanned. • If an error occurs while sending to a specific number, the machine transmits the document to all the other numbers, then retries the number that previously recorded an error. After completing transmission, your machine prints the multi-communication report. Delayed Fax This machine can be set to send a fax at a future time. 1. Load your document face down with the top edge first going into the document feeder. And adjust Resolution and Contrast, if necessary. For details, see page 2.8. 2. Press Trans. Option on the front panel. The display shows the first menu; BROADCASTING. 3. Press ➛ or ❿ until 'DELAYED FAX' appears, and press Start/Enter to access the Delayed FAX menu. 4. Enter the number of the remote machine using the ten number keypad. You can also press a one-touch button including group dial buttons. If not, press Speed(#), enter a 2-digit speed dial number, then press Start/Enter. The stored number appears on the display. 5. Press Start/Enter to confirm the number. The display asks if you want to enter another fax number. 2.26 Stand-alone Fax ENTER ANOTHER NO
-
 1
1 -
2
-
3
-
4
-
5
-
6
-
7
-
8
-
9
-
10
-
11
-
12
-
13
-
14
-
15
-
16
-
17
-
18
-
19
-
20
-
21
-
22
-
23
-
24
-
25
-
26
-
27
-
28
-
29
-
30
-
31
-
32
-
33
-
34
-
35
-
36
-
37
-
38
-
39
-
40
-
41
-
42
-
43
-
44
-
45
-
46
-
47
-
48
-
49
-
50
-
51
-
 52
52 -
 53
53 -
 54
54 -
 55
55 -
 56
56 -
 57
57 -
 58
58 -
 59
59 -
 60
60 -
 61
61 -
 62
62 -
63
-
64
-
65
-
66
-
67
-
68
-
69
-
70
-
71
-
72
-
73
-
74
-
75
-
76
-
77
-
78
-
79
-
80
-
81
-
82
-
83
-
84
-
85
-
86
-
87
-
88
-
89
-
90
-
91
-
92
-
93
-
94
-
95
-
96
-
97
-
98
-
99
-
100
-
101
-
102
-
103
-
104
-
105
-
106
-
107
-
108
-
109
-
110
-
111
-
112
-
113
-
114
-
115
-
116
-
117
-
118
-
119
-
120
-
121
-
122
-
123
-
124
-
125
-
126
-
127
-
128
-
129
-
130
-
131
-
132
-
133
-
134
-
135
-
136
-
137
-
138
-
139
-
140
-
141
-
142
-
143
-
144
-
145
 |
 |