Ricoh Aficio MP C4502 General Settings Guide - Page 77
Address Book: Edit Title, Address Book: Select Title, Auto Delete File in Document Server, Delete
 |
View all Ricoh Aficio MP C4502 manuals
Add to My Manuals
Save this manual to your list of manuals |
Page 77 highlights
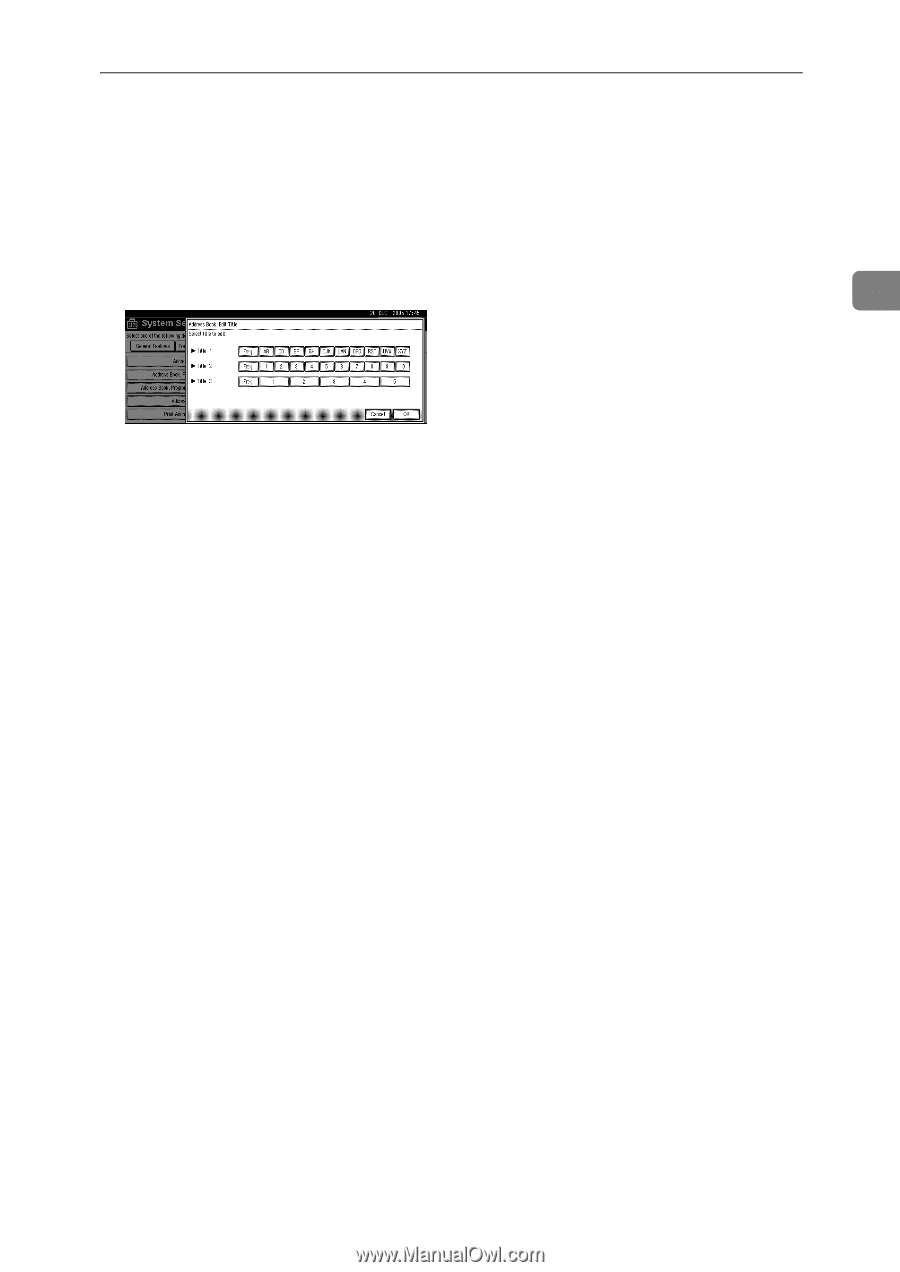
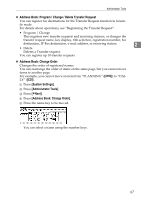
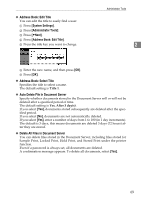
❖ Address Book: Edit Title You can edit the title to easily find a user. A Press [System Settings]. B Press [Administrator Tools]. C Press [TNext]. D Press [Address Book: Edit Title]. E Press the title key you want to change. Administrator Tools 2 F Enter the new name, and then press [OK]. G Press [OK]. ❖ Address Book: Select Title Specifies the title to select a name. The default setting is Title 1. ❖ Auto Delete File in Document Server Specify whether documents stored in the Document Server will or will not be deleted after a specified period of time. The default setting is Yes, After 3 day(s). If you select [Yes], documents stored subsequently are deleted after the specified period. If you select [No], documents are not automatically deleted. If you select [Yes], enter a number of days from 1 to 180 (in 1 day increments). The default is 3 days, this means documents are deleted 3 days (72 hours) after they are stored. ❖ Delete All Files in Document Server You can delete files stored in the Document Server, including files stored for Sample Print, Locked Print, Hold Print, and Stored Print under the printer function. Even if a password is always set, all documents are deleted. A confirmation message appears. To delete all documents, select [Yes]. 69
-
 1
1 -
2
-
3
-
4
-
5
-
6
-
7
-
8
-
9
-
10
-
11
-
12
-
13
-
14
-
15
-
16
-
17
-
18
-
19
-
20
-
21
-
22
-
23
-
24
-
25
-
26
-
27
-
28
-
29
-
30
-
31
-
32
-
33
-
34
-
35
-
36
-
37
-
38
-
39
-
40
-
41
-
42
-
43
-
44
-
45
-
46
-
47
-
48
-
49
-
50
-
51
-
52
-
53
-
54
-
55
-
56
-
57
-
58
-
59
-
60
-
61
-
62
-
63
-
64
-
65
-
66
-
67
-
68
-
69
-
70
-
71
-
 72
72 -
 73
73 -
 74
74 -
 75
75 -
 76
76 -
 77
77 -
 78
78 -
 79
79 -
 80
80 -
 81
81 -
 82
82 -
83
-
84
-
85
-
86
-
87
-
88
-
89
-
90
-
91
-
92
-
93
-
94
-
95
-
96
-
97
-
98
-
99
-
100
-
101
-
102
-
103
-
104
-
105
-
106
-
107
-
108
-
109
-
110
-
111
-
112
-
113
-
114
-
115
-
116
-
117
-
118
-
119
-
120
-
121
-
122
-
123
-
124
-
125
-
126
-
127
-
128
-
129
-
130
-
131
-
132
-
133
-
134
-
135
-
136
-
137
-
138
-
139
-
140
-
141
-
142
-
143
-
144
-
145
-
146
-
147
-
148
-
149
-
150
-
151
-
152
-
153
-
154
-
155
-
156
-
157
-
158
-
159
-
160
-
161
-
162
-
163
-
164
-
165
-
166
-
167
-
168
-
169
-
170
-
171
-
172
-
173
-
174
-
175
-
176
-
177
-
178
-
179
-
180
-
181
-
182
-
183
-
184
-
185
-
186
-
187
-
188
-
189
-
190
-
191
-
192
-
193
-
194
-
195
-
196
-
197
-
198
-
199
-
200
-
201
-
202
-
203
-
204
-
205
-
206
-
207
-
208
-
209
-
210
-
211
-
212
-
213
-
214
-
215
-
216
-
217
-
218
-
219
-
220
-
221
-
222
-
223
-
224
-
225
-
226
-
227
-
228
-
229
-
230
-
231
-
232
-
233
-
234
-
235
-
236
-
237
-
238
-
239
-
240
-
241
-
242
-
243
-
244
-
245
-
246
-
247
-
248
-
249
-
250
-
251
-
252
-
253
-
254
-
255
-
256
-
257
-
258
-
259
-
260
-
261
-
262
-
263
-
264
-
265
-
266
-
267
-
268
-
269
-
270
-
271
-
272
-
273
-
274
-
275
-
276
-
277
-
278
-
279
-
280
-
281
-
282
-
283
-
284
-
285
-
286
-
287
-
288
-
289
-
290
-
291
-
292
-
293
-
294
-
295
-
296
 |
 |