Roku HD1000 User Guide - Page 11
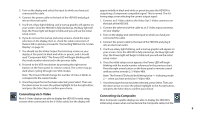
Connecting via S-Video, Connecting via Composite
 |
UPC - 029610841001
View all Roku HD1000 manuals
Add to My Manuals
Save this manual to your list of manuals |
Page 11 highlights
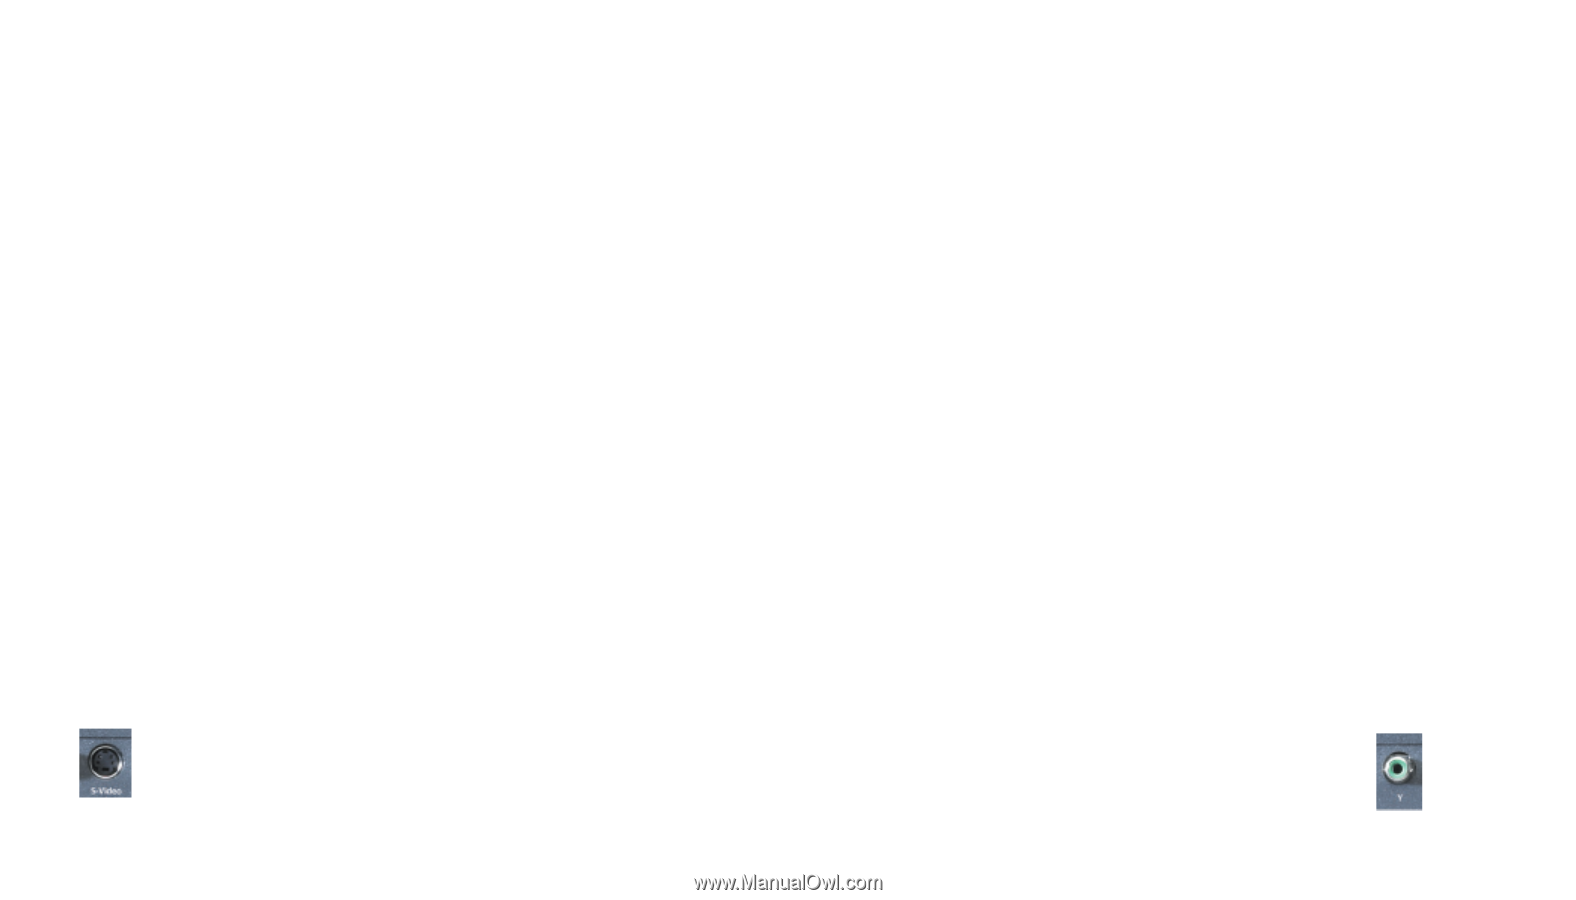
3. Turn on the display and select the input to which you have just connected the cable. 4. Connect the power cable to the back of the HD1000 and plug it into an electrical outlet. 5. You'll see a Busy light blinking, and a startup graphic will appear on your screen. Once the HD1000 is fully started up, the Busy light will stop, the Power light will begin to blink and you will see the initial setup screen. 6. If you do not see the startup and setup screens, check the input selection on the display, then re-check the cable connection. If there is still no picture, proceed to "Connecting Without On-Screen Display" on page 10. 7. You should see the Video Output Format setup screen on your display at this point (in black and white or green), and it should read "Component 480i." The Power LED will begin blinking with the mode number referenced in the previous table. 8. Proceed to the VGA resolutions by pressing the right arrow button on the front panel or remote control. The screen may go dark when cycling through non-VGA modes. Note: The Power LED will change the number of times it blinks to correspond to the current mode. 9. Once the proper format has been selected, press Select. Then use the down arrow to move the yellow highlight to the Accept button, and press the Select key to confirm your choice. appear initially in black and white or green because the HD1000 is outputting a Component compatible signal. This is normal. The following steps cover selecting the correct output signal: 1. Connect an S-Video cable to the Video Out S-Video connector on the back of the HD1000. 2. Connect the other end of the cable to an S-Video input connector on your display. 3. Turn on the display and select the input to which you have just connected the cable. 4. Connect the power cable to the back of the HD1000 and plug it into an electrical outlet. 5. You'll see a Busy light blinking, and a startup graphic will appear on your screen. Once the HD1000 is fully started up, the Busy light will stop, the Power light will begin to blink and you will see the initial setup screen. 6. Once the initial setup screen appears, the Power LED will begin blinking with the mode number referenced in the previous chart. Press the right arrow button on the front panel or remote control until you arrive at mode 2: S-Video 480i. Note: The Power LED should be blinking twice - indicating mode 2 - when you have arrived on S-Video 480i. 7. Once the proper format has been selected, press Select. Then use the down arrow to move the yellow highlight to the Accept button, and press the Select key to confirm your choice. Connecting via S-Video Most S-Video displays are able to display the HD1000's initial setup screens when connected via the S-Video cable, but the display will Connecting via Composite Most Composite capable displays are able to display the HD1000's initial setup screen when connected via the Composite cable, but the 9
-
 1
1 -
2
-
3
-
4
-
5
-
 6
6 -
 7
7 -
 8
8 -
 9
9 -
 10
10 -
 11
11 -
 12
12 -
 13
13 -
 14
14 -
 15
15 -
 16
16 -
17
-
18
-
19
-
20
-
21
-
22
-
23
-
24
-
25
-
26
-
27
-
28
-
29
-
30
-
31
-
32
-
33
-
34
-
35
 |
 |