Ryobi P1810 Operation Manual
Ryobi P1810 Manual
 |
View all Ryobi P1810 manuals
Add to My Manuals
Save this manual to your list of manuals |
Ryobi P1810 manual content summary:
- Ryobi P1810 | Operation Manual - Page 1
Drill-Driver Safety Warnings 3 Symbols 4 Assembly 5 Operation 5-7 Maintenance 7 Illustrations 8-9 Parts Ordering and Service Back risk of injury, the user must read and understand the operator's manual before using this product. AVERTISSEMENT : Pour réduire les risques de - Ryobi P1810 | Operation Manual - Page 2
instructions for future reference. The term "power tool" in the warnings refers to your mainsoperated (corded) power tool or battery-operated (cordless) drawn into air vents. Do not use on a ladder or unstable support. Stable footing on a solid surface enables better control of the power tool in - Ryobi P1810 | Operation Manual - Page 3
servicing a power tool, use only identical replacement parts. Follow instructions in the Maintenance section of this manual. Use of unauthorized parts or failure to follow Maintenance instructions may create a risk of shock or injury. DRILL injury, never use any cordless product in the presence of - Ryobi P1810 | Operation Manual - Page 4
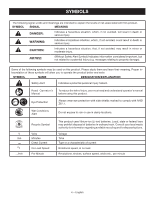
. SYMBOL NAME DESIGNATION/EXPLANATION Safety Alert Indicates a potential personal injury hazard. Read Operator's Manual To reduce the risk of injury, user must read and understand operator's manual before using this product. Eye Protection Always wear eye protection with side shields marked - Ryobi P1810 | Operation Manual - Page 5
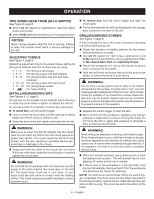
to remove the battery pack. For complete charging instructions, see the operator's manuals for your battery pack and charger. VARIABLE SPEED Running at low speeds under constant usage may cause the drill to become overheated. If this occurs, cool the drill by running it without a load and at full - Ryobi P1810 | Operation Manual - Page 6
speeds while the tool is running. Failure to obey this caution could result in serious damage to the drill. ADJUSTING TORQUE See Figure 4, page 8. Rotate the adjustment ring to the proper torque setting for the type of material and size of screw you are using. • 1-4 • 5-8 • 9 - 12 • 13 - 16 • 17 - Ryobi P1810 | Operation Manual - Page 7
bearings; • Bend or burn bits; and • Produce off-center or irregular-shaped holes. When drilling large holes in metal, start with a small bit, then finish with a larger bit. MAINTENANCE WARNING: When servicing, use only identical replacement parts. Use of any other part could create a hazard or - Ryobi P1810 | Operation Manual - Page 8
graves. Ne pas utiliser l'outil sur une échelle ou un support instable. Une bonne tenue et un bon équilibre permettent de mieux contr familiarisé avec l'outil ou ces instructions utiliser l'outil. Dans les mains de personnes n'ayant pas reçu des instructions adéquates, les outils sont dangereux - Ryobi P1810 | Operation Manual - Page 9
consulter fréquemment et les utiliser pour instruire les autres utilisateurs éventuels. Si cet outil est prêté, il doit être accompagné de ces instructions. d'incendie, de choc électrique et de blessures graves. Ne pas placer les outils électriques sans fil ou leurs piles à proximité de flammes - Ryobi P1810 | Operation Manual - Page 10
SYMBOLES Les termes de mise en garde suivants et leur signification ont pour but d'expliquer le degré de risques associé à l'utilisation de ce produit. SYMBOLE SIGNAL SIGNIFICATION DANGER : Indique une situation dangereuse qui, si elle n'est pas évitée, aura pour conséquences des blessures - Ryobi P1810 | Operation Manual - Page 11
rer la pile dans l'outil comme illustré. S'assurer que les loquets de chaque côté de la pile s'enclenchent en place et que la pile est bien fixée à l'outil avant de mettre l'outil en marche. Relâcher les loquets pour retirer le bloc-piles. Pour prendre connaissance des consignes de chargement - Ryobi P1810 | Operation Manual - Page 12
UTILISATION AVIS : Pour éviter des dommages aux engrenages, toujours laisser le mandrin parvenir à l'arrêt complet avant de changer de sens de rotation. AVERTISSEMENT : Veiller à insérer le foret ou l'embout droit dans les mors du mandrin. Ne pas insérer un foret dans les mors en serrant. Le foret - Ryobi P1810 | Operation Manual - Page 13
UTILISATION AVERTISSEMENT : Lors du perçage, se tenir prêt pour un blocage lorsque le foret traverse le matériau. Dans ces situations, la perceuse à tendance â être propulsée dans le sens contraire à la rotation, ce qui peut causer la perte de contrôle. Si l'opérateur n'est pas préparé, cette perte - Ryobi P1810 | Operation Manual - Page 14
ADVERTENCIAS DE SEGURIDAD GENERALES PARA LA HERRAMIENTA ELÉCTRICA ADVERTENCIA Lea todas las advertencias de seguridad y las instrucciones. El incumplimiento de las advertencias e instrucciones puede ocasionar descarga eléctrica, fuego o lesiones graves. Guarde todas las advertencias e instrucciones - Ryobi P1810 | Operation Manual - Page 15
metálicas expuestas de la herramienta y da una descarga eléctrica al operador. Familiarícese con su herramienta eléctrica. Lea cuidadosamente el manual del operador. Aprenda sus usos y limitaciones, así como los posibles peligros específicos de esta herramienta eléctrica. Con el cumplimiento de - Ryobi P1810 | Operation Manual - Page 16
ÓN/EXPLICACIÓN Alerta de seguridad Indica un peligro posible de lesiones personales. Lea el manual del operador Para reducir el riesgo de lesiones, el usuario debe leer y comprender el manual del operador antes de usar este producto. Protección ocular Siempre póngase protección ocular - Ryobi P1810 | Operation Manual - Page 17
a utilizarla. Oprima los pestillos para extraer el paquete de baterías. ADVERTENCIA: Para obtener instrucciones específicas de carga, lea el manual del operador que se incluye con el cargador y la batería. Siempre póngase protección ocular con protección lateral con la marca de cumplimiento - Ryobi P1810 | Operation Manual - Page 18
FUNCIONAMIENTO Ubique el selector de sentido de rotación a la izquierda del gatillo del interruptor para taladrar hacia adelante. Ubique el selector a la derecha del gatillo del interruptor para taladrar hacia atrás. NOTA: El taladro no funciona a menos que se empuje el selector de dirección de - Ryobi P1810 | Operation Manual - Page 19
FUNCIONAMIENTO ADVERTENCIA: No introduzca tornillos donde pudiera haber cables ocultos detrás de la superficie. Todo contacto de una herramienta con un cable cargado carga las piezas metálicas expuestas de la herramienta y da una descarga eléctrica posiblemente al operador. Si debe introducir - Ryobi P1810 | Operation Manual - Page 20
P209 D B C A Fig. 1 Fig. 3 B 2 C A 1 B C F E G A - Keyless chuck (mandrin sans clé, portabrocas de apriete sin llave) B - Torque adjustment ring (bague de réglage du couple, anillo de ajuste de fuerza de torsión) C - Two-speed gear train (HI-LO) (train d'engrenages à deux vitesses [haute - Ryobi P1810 | Operation Manual - Page 21
Fig. 5 A B Fig. 6 C D E RIGHT / CORRECT / FORMA CORRECTA A - Keyless chuck (mandrin sans clé, portabrocas de apriete sin llave) B - Unlock (release) (desserer, desasegurar) C - Chuck jaws (mors du mandrin, mordazas del portabrocas) D- Lock (tighten) (serrer, asegurar) E - Chuck collar (Collier du - Ryobi P1810 | Operation Manual - Page 22
NOTES/NOTAS 10 - Ryobi P1810 | Operation Manual - Page 23
NOTES/NOTAS 11 - Ryobi P1810 | Operation Manual - Page 24
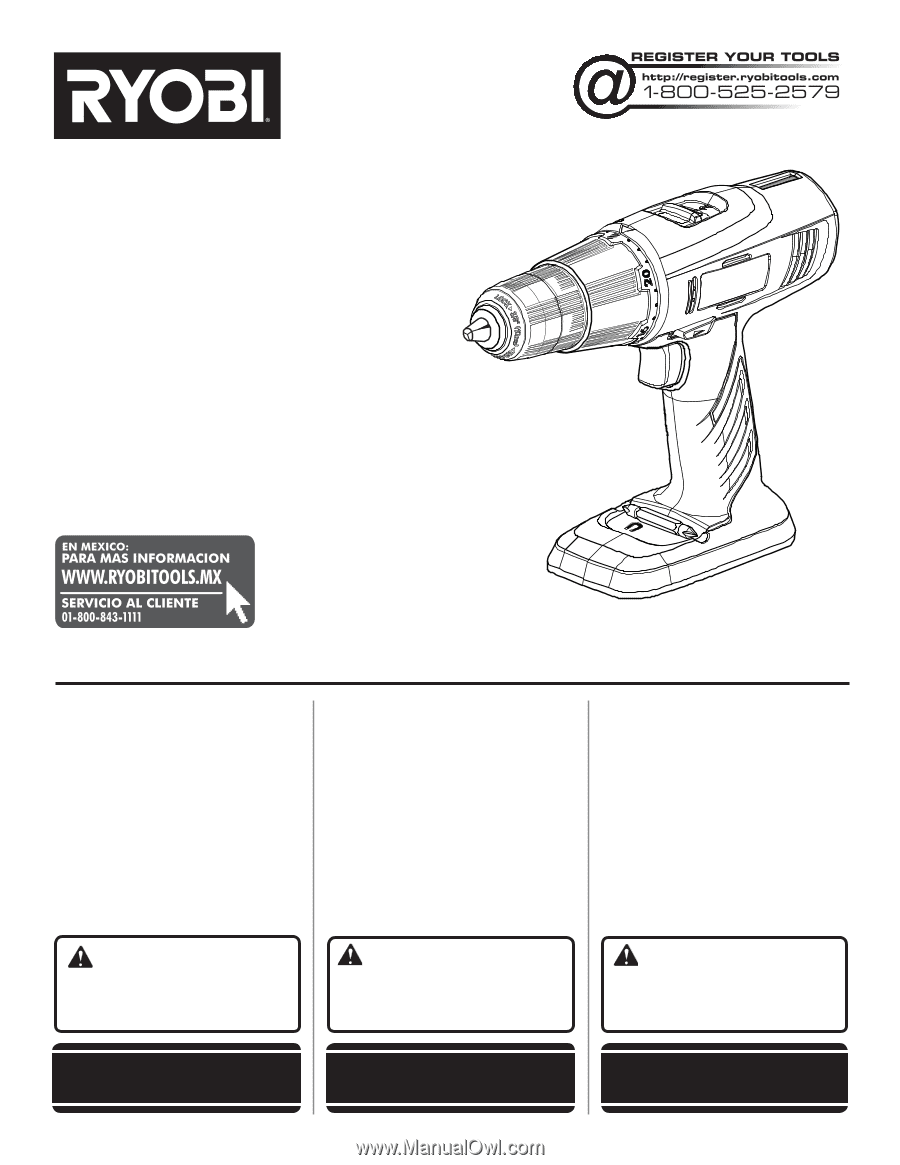
OPERATOR'S MANUAL / 18 VOLT DRILL-DRIVER MANUEL D'UTILISATION / PERCEUSE-TOURNEVIS 18 V MANUAL DEL OPERADOR / TALADRO-DESTORNILLADOR DE 18 V P209 To request service, purchase replacement parts, locate an Authorized Service Center and obtain Customer or Technical Support: Visit www.ryobitools.com or
-
 1
1 -
 2
2 -
 3
3 -
 4
4 -
 5
5 -
 6
6 -
 7
7 -
8
-
9
-
10
-
11
-
12
-
13
-
14
-
15
-
16
-
17
-
18
-
19
-
20
-
21
-
22
-
23
-
24
 |
 |
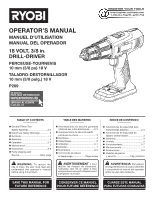
OPERATOR’S MANUAL
MANUEL D’UTILISATION
MANUAL DEL OPERADOR
18 VOLT, 3/8 in.
DRILL-DRIVER
PERCEUSE-TOURNEVIS
10 mm (3/8 po) 18 V
TALADRO-DESTORNILLADOR
10 mm (3/8 pulg.) 18 V
P209
WARNING:
To reduce the
risk of injury, the user must read and
understand the operator’s manual
before using this product.
SAVE THIS MANUAL FOR
FUTURE REFERENCE
ADVERTENCIA:
Para reducir
el riesgo de lesiones, el usuario debe leer
y comprender el manual del operador
antes de usar este producto.
AVERTISSEMENT :
Pour
réduire les risques de blessures,
l’utilisateur doit lire et veiller à bien
comprendre le manuel d’utilisation avant
d’employer ce produit.
GUARDE ESTE MANUAL
PARA FUTURAS CONSULTAS
CONSERVER CE MANUEL
POUR FUTURE RÉFÉRENCE
TABLE OF CONTENTS
****************
General Power Tool
Safety Warnings
..............................
2-3
Drill-Driver Safety Warnings
...............
3
Symbols
..............................................
4
Assembly
............................................
5
Operation
.........................................
5-7
Maintenance
.......................................
7
Illustrations
......................................
8-9
Parts Ordering and
Service
.................................
Back page
TABLE DES MATIÈRES
****************
Avertissements de sécurité générales
relatives aux outils électriques
........
2-3
Avertissements de sécurité relatifs
perceuse-tournevis
.............................
3
Symboles
............................................
4
Assemblage
........................................
5
Utilisation
........................................
5-7
Entretien
.............................................
7
Illustrations
......................................
8-9
Commande de pièces
et dépannage
....................
Page arrière
ÍNDICE DE CONTENIDO
****************
Advertencias de seguridad para
herramientas eléctrica
...................
2-3
Advertencias de seguridad de
taladro-destornillador
........................
3
Símbolos
............................................
4
Armado
..............................................
5
Funcionamiento
.............................
5-7
Mantenimiento
...................................
7
Illustraciones
..................................
8-9
Pedidos de piezas
y servicio
.......................
Pág. posterior