Samsung CLX-3185FN User Manual (user Manual) (ver.2.00) (English) - Page 44
Network setup CLX-3185N/CLX-3185WK/CLX-3185FN/CLX-3185FW only, Install Software Only - clx 3185fw drivers
 |
View all Samsung CLX-3185FN manuals
Add to My Manuals
Save this manual to your list of manuals |
Page 44 highlights
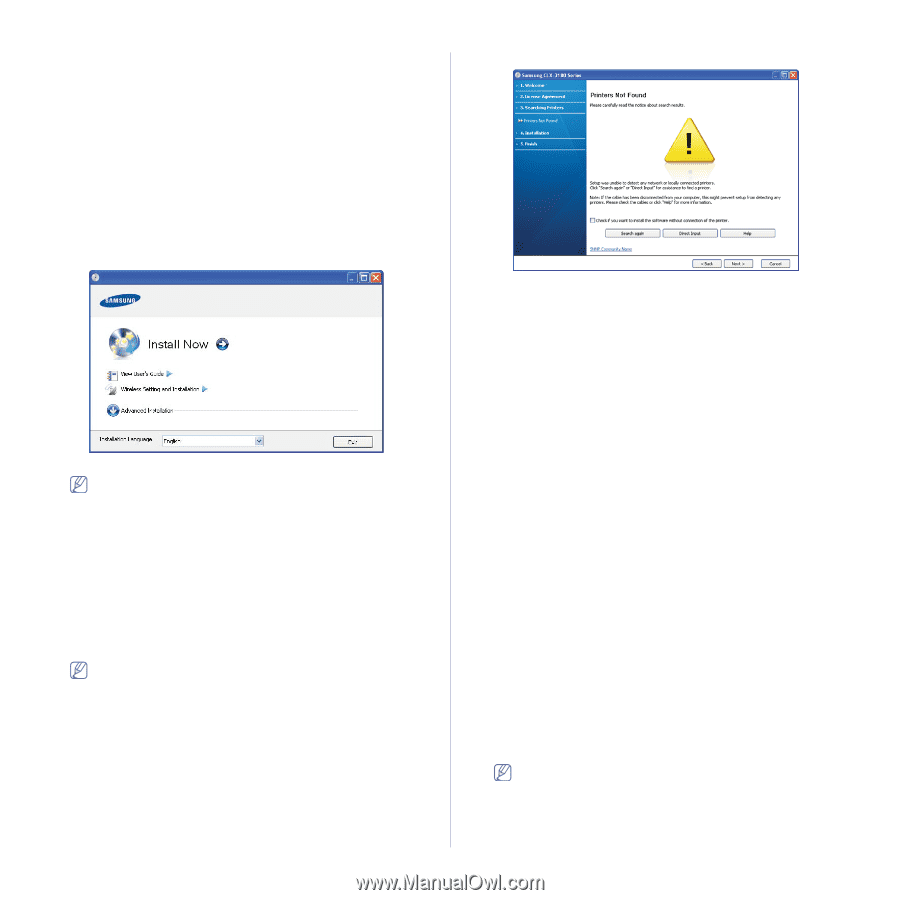
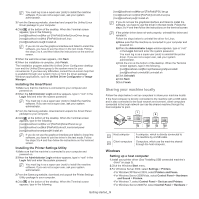
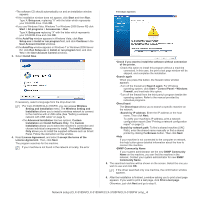
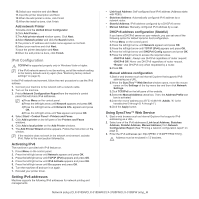
•The software CD should automatically run and an installation window appears. •If the installation window does not appear, click Start and then Run. Type X:\Setup.exe, replacing "X" with the letter which represents your CD-ROM drive. Click OK. •If you use Windows Vista, Windows 7 or Windows 2008 Server R2 click Start > All programs > Accessories > Run. Type X:\Setup.exe replacing "X" with the letter which represents your CD-ROM drive and click OK. •If the AutoPlay window appears in Windows Vista, click Run Setup.exe in Install or run program field, and click Continue in the User Account Control windows. •If the AutoPlay window appears in Windows 7 or Windows 2008 Server R2, click Run Setup.exe in Install or run program field, and click Yes in the User Account Control windows. 3. Select Install Now. If necessary, select a language from the drop-down list. •For CLX-3185WK/CLX-3185FW, you can access Wireless Setting and Installation menu. The Wireless Setting and Installation allows you to install a wireless network to connect to the machine with a USB cable (See "Setting a wireless network with USB cable" on page 3). •The Advanced Installation has two options, Custom Installation and Install Software Only. The Custom Installation allows you to select the machine's connection and choose individual component to install. The Install Software Only allows you to install the supplied software such as Smart Panel. Follow the instruction on the window. 4. Read License Agreement, and select I accept the terms of the License Agreement. Then, click Next. The program searches for the machine. If your machine is not found in the network or locally, the error message appears. •Check if you want to install the software without connection of the printer. -Check this option to install this program without a machine connected. In this case, the print a test page window will be skipped, and completes the installation. •Search again When you press this button, the firewall notice window appears. -Turn off the firewall and Search again. For Windows operating system, click Start > Control Panel > Windows Firewall, and inactivate this option. -Turn off the firewall from the third party's program beside the operating system. Refer to the manual provided by individual programs. •Direct Input The Direct Input allows you to search a specific machine on the network. -Search by IP address: Enter the IP address or the host name. Then click Next. To verify your machine's IP address, print a network configuration report (See "Printing a network configuration report" on page 2). -Search by network path: To find a shared machine (UNC Path), enter the shared name manually or find a shared printer by clicking the Browse button. Then click Next. •Help If your machine is not connected to the computer or network, this help button gives detailed information about the how to connect the machine. •SNMP Community Name If your system administrator set the new SNMP Community Name on the machine, you can find the machine in the network. Contact your system administrator for new SNMP Community Name. 5. The searched machine will be shown on the screen. Select the one you wish to use and click OK. If the driver searched only one machine, the confirmation window appears. 6. After the installation is finished, a window asking you to print a test page appears. If you want to print a test page, click Print a test page. Otherwise, just click Next and go to step 8. Network setup (CLX-3185N/CLX-3185WK/CLX-3185FN/CLX-3185FW only)_ 4
-
 1
1 -
2
-
3
-
4
-
5
-
6
-
7
-
8
-
9
-
10
-
11
-
12
-
13
-
14
-
15
-
16
-
17
-
18
-
19
-
20
-
21
-
22
-
23
-
24
-
25
-
26
-
27
-
28
-
29
-
30
-
31
-
32
-
33
-
34
-
35
-
36
-
37
-
38
-
 39
39 -
 40
40 -
 41
41 -
 42
42 -
 43
43 -
 44
44 -
 45
45 -
 46
46 -
 47
47 -
 48
48 -
 49
49 -
50
-
51
-
52
-
53
-
54
-
55
-
56
-
57
-
58
-
59
-
60
-
61
-
62
-
63
-
64
-
65
-
66
-
67
-
68
-
69
-
70
-
71
-
72
-
73
-
74
-
75
-
76
-
77
-
78
-
79
-
80
-
81
-
82
-
83
-
84
-
85
-
86
-
87
-
88
-
89
-
90
-
91
-
92
-
93
-
94
-
95
-
96
-
97
-
98
-
99
-
100
-
101
-
102
-
103
-
104
-
105
-
106
-
107
-
108
-
109
-
110
-
111
-
112
-
113
-
114
-
115
-
116
-
117
-
118
-
119
-
120
-
121
-
122
-
123
-
124
-
125
-
126
-
127
-
128
-
129
-
130
-
131
-
132
-
133
-
134
-
135
-
136
-
137
-
138
-
139
-
140
-
141
-
142
-
143
-
144
-
145
-
146
-
147
-
148
-
149
-
150
-
151
 |
 |