Samsung SCH-I220 User Manual (user Manual) (ver.f7) (English) - Page 90
Recording Mode, Size, White Balance
 |
View all Samsung SCH-I220 manuals
Add to My Manuals
Save this manual to your list of manuals |
Page 90 highlights
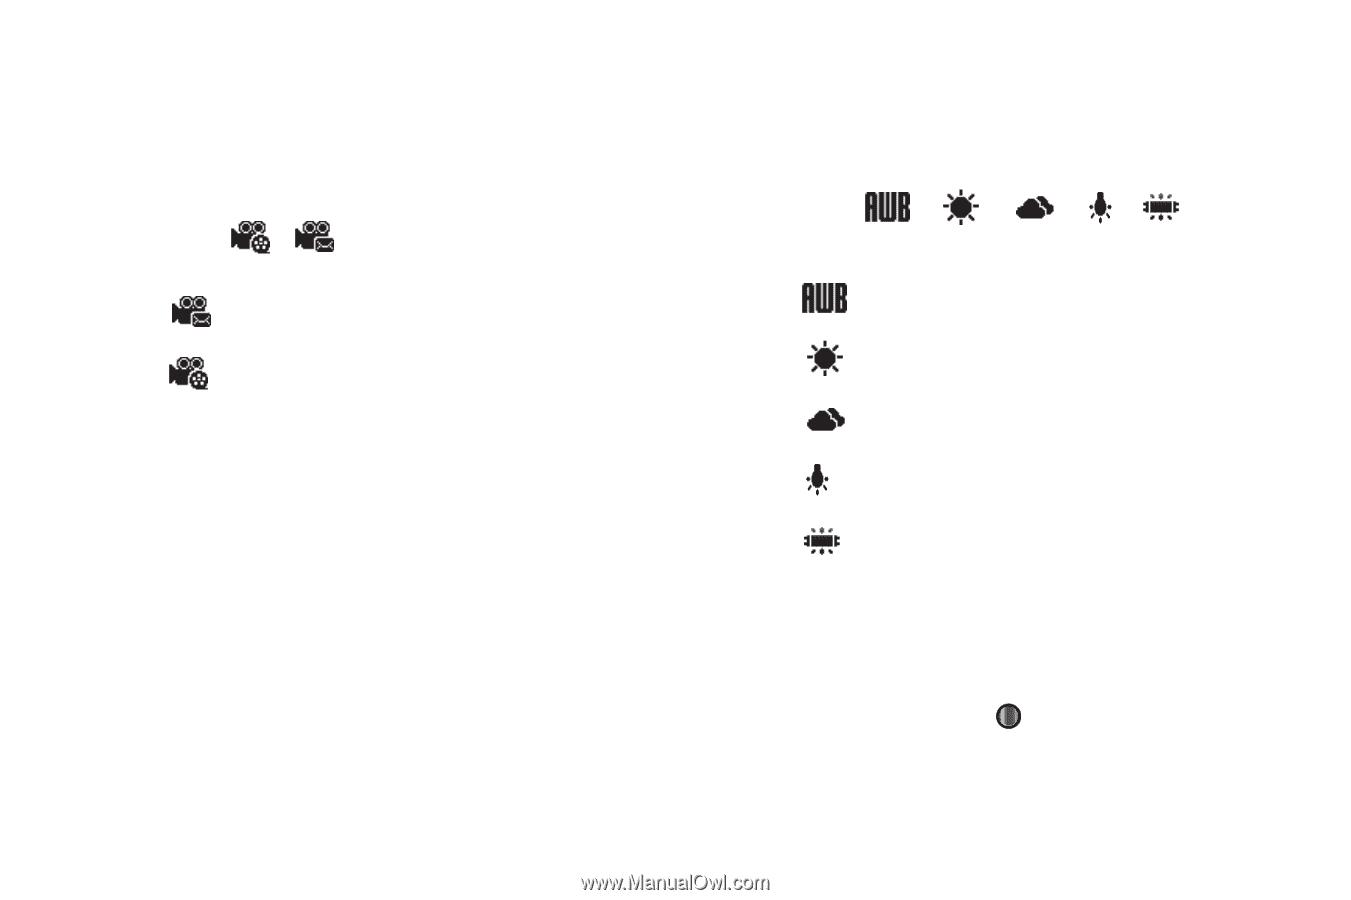
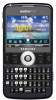
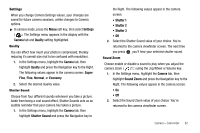
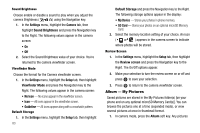
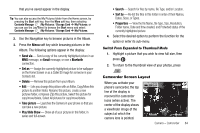
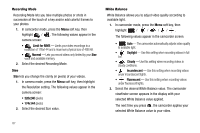
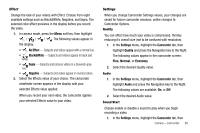
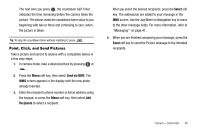
Recording Mode Recording Mode lets you take multiple photos or shots in succession at the touch of a key and/or add colorful frames to your photos. 1. In camcorder mode, press the Menu soft key, then highlight / . The following values appear in the camera screen: • Limit for MMS - Limits your video recordings to a resolution of 176x144 and a maximum physical size of 495 KB. • Normal - Lets you record videos only limited by your Size value and available memory. 2. Select the desired Recording Mode. Size Size lets you change the clarity (in pixels) of your videos. 1. In camera mode, press the Menu soft key, then highlight the Resolution setting. The following values appear in the camera screen: • 320x240 (pixels) • 174x144 (pixels) 2. Select the desired Size value. White Balance White Balance allows you to adjust video quality according to available light. 1. In camcorder mode, press the Menu soft key, then highlight / / // . The following values appear in the camcorder screen: • Auto - The camcorder automatically adjusts video quality to available light. • Daylight - Use this setting when recording videos in full sun. • Cloudy - Use this setting when recording videos in cloudy conditions. • Incandescent - Use this setting when recording videos under incandescent lights. • Fluorescent - Use this setting when recording videos under fluorescent lights. 2. Select the desired White Balance value. The camcorder viewfinder screen appears in the display with your selected White Balance value applied. The next time you press , the camcorder applies your selected White Balance value to your video. 87
-
 1
1 -
2
-
3
-
4
-
5
-
6
-
7
-
8
-
9
-
10
-
11
-
12
-
13
-
14
-
15
-
16
-
17
-
18
-
19
-
20
-
21
-
22
-
23
-
24
-
25
-
26
-
27
-
28
-
29
-
30
-
31
-
32
-
33
-
34
-
35
-
36
-
37
-
38
-
39
-
40
-
41
-
42
-
43
-
44
-
45
-
46
-
47
-
48
-
49
-
50
-
51
-
52
-
53
-
54
-
55
-
56
-
57
-
58
-
59
-
60
-
61
-
62
-
63
-
64
-
65
-
66
-
67
-
68
-
69
-
70
-
71
-
72
-
73
-
74
-
75
-
76
-
77
-
78
-
79
-
80
-
81
-
82
-
83
-
84
-
 85
85 -
 86
86 -
 87
87 -
 88
88 -
 89
89 -
 90
90 -
 91
91 -
 92
92 -
 93
93 -
 94
94 -
 95
95 -
96
-
97
-
98
-
99
-
100
-
101
-
102
-
103
-
104
-
105
-
106
-
107
-
108
-
109
-
110
-
111
-
112
-
113
-
114
-
115
-
116
-
117
-
118
-
119
-
120
-
121
-
122
-
123
-
124
-
125
-
126
-
127
-
128
-
129
-
130
-
131
-
132
-
133
-
134
-
135
-
136
-
137
-
138
-
139
-
140
-
141
-
142
-
143
-
144
-
145
-
146
-
147
-
148
-
149
-
150
-
151
-
152
-
153
-
154
-
155
-
156
-
157
-
158
-
159
-
160
-
161
 |
 |