Samsung SCX 4826FN User Manual (ENGLISH) - Page 117
Uninstalling Samsung SmarThru Office, Using Onscreen Help File - scan to pdf
 |
UPC - 635753614824
View all Samsung SCX 4826FN manuals
Add to My Manuals
Save this manual to your list of manuals |
Page 117 highlights
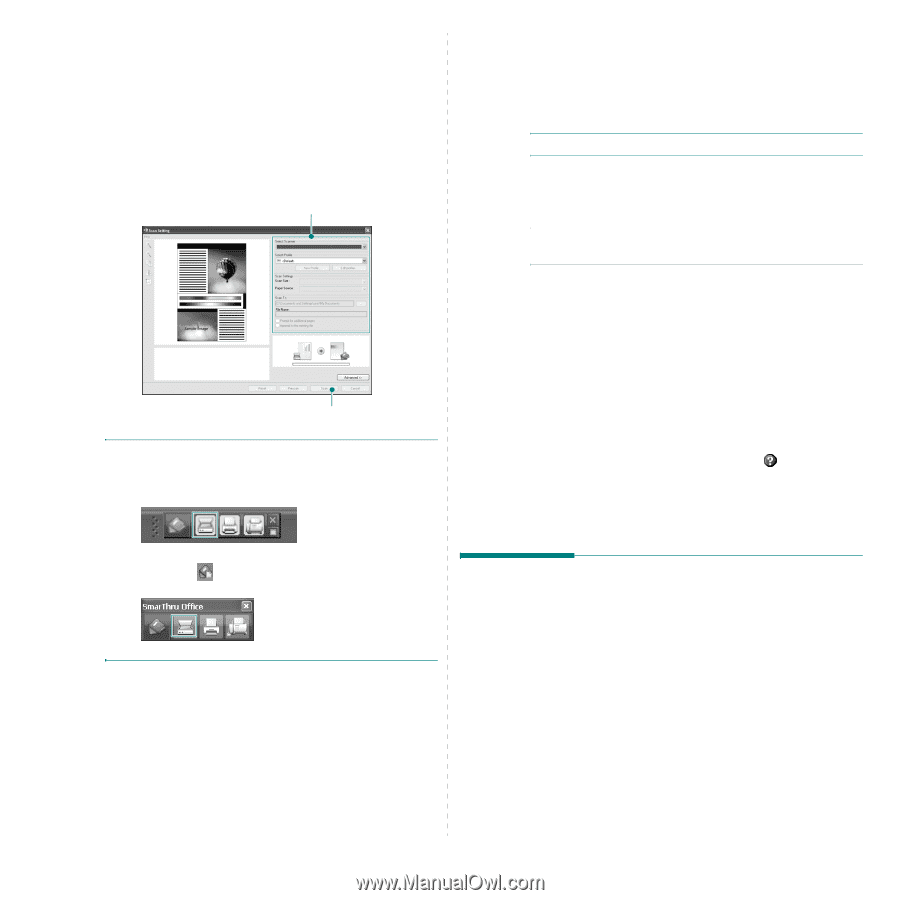
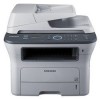
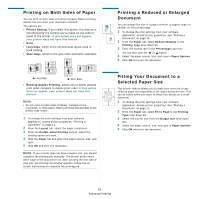
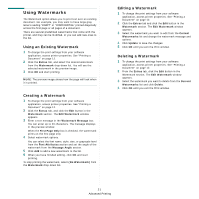
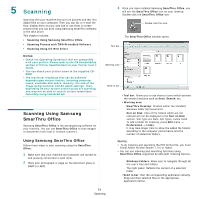
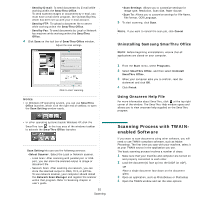
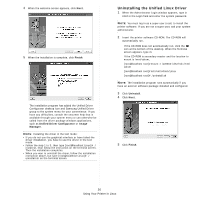
- Send by E-mail: To send documents by E-mail while working within the SmarThru Office. To send scanned images or documents by e-mail, you must have a mail client program, like Outlook Express, which has been set up with your e-mail account. - Send by FTP: To upload a document file to server while working within the SmarThru Office. - Send by Fax: To send documents by Local or Network fax machine while working within the SmarThru Office. 4 Click Scan on the tool bar of SmarThru Office window. Adjust the scan settings. Click to start scanning. NOTES: • In Windows XP operating system, you can use SmarThru Office launcher, which is on the right end of taskbar, to open the Scan Setting window easily. • In other operating systems beside Windows XP, click the SmarThru icon in the tray area of the windows taskbar to activate the SmarThru Office launcher. Scan Setting lets you use the following services: •Select Scanner: Select the Local or Network scanner. - Local Scan: After scanning with parallel port or USB port, you can store the scanned output in image or document file. - Network Scan: After scanning via network, you can store the scanned output in JPEG, TIFF, or pdf file. To use network scanner, your computer should install the Network Scan Manager and register the scanner within that program. Refer to Scanning chapter in user's guide. 25 Scanning •Scan Settings: Allows you to customize settings for Image type, Resolution, Scan Size, Paper Source. •Scan To: Allows you to customize settings for File Name, File Format, OCR Language. 5 To start scanning, click Scan. NOTE: If you want to cancel the scan job, click Cancel. Uninstalling Samsung SmarThru Office NOTE: Before beginning uninstallation, ensure that all applications are closed on your computer. 1 From the Start menu, select Programs. 2 Select SmarThru Office, and then select Uninstall SmarThru Office. 3 When your computer asks you to confirm, read the statement and click OK. 4 Click Finish. Using Onscreen Help File For more information about SmarThru, click at the top right corner of the window. The SmarThru Help window opens and allows you to view onscreen help supplied on the SmarThru program. Scanning Process with TWAINenabled Software If you want to scan documents using other software, you will need to use TWAIN-compliant software, such as Adobe Photoshop. The first time you scan with your machine, select it as your TWAIN source in the application you use. The basic scanning process involves a number of steps: 1 Make sure that your machine and computer are turned on and properly connected to each other. 2 Load the document(s) face up into the DADF (or ADF). OR Place a single document face down on the document glass. 3 Open an application, such as PhotoDeluxe or Photoshop. 4 Open the TWAIN window and set the scan options.
-
 1
1 -
2
-
3
-
4
-
5
-
6
-
7
-
8
-
9
-
10
-
11
-
12
-
13
-
14
-
15
-
16
-
17
-
18
-
19
-
20
-
21
-
22
-
23
-
24
-
25
-
26
-
27
-
28
-
29
-
30
-
31
-
32
-
33
-
34
-
35
-
36
-
37
-
38
-
39
-
40
-
41
-
42
-
43
-
44
-
45
-
46
-
47
-
48
-
49
-
50
-
51
-
52
-
53
-
54
-
55
-
56
-
57
-
58
-
59
-
60
-
61
-
62
-
63
-
64
-
65
-
66
-
67
-
68
-
69
-
70
-
71
-
72
-
73
-
74
-
75
-
76
-
77
-
78
-
79
-
80
-
81
-
82
-
83
-
84
-
85
-
86
-
87
-
88
-
89
-
90
-
91
-
92
-
93
-
94
-
95
-
96
-
97
-
98
-
99
-
100
-
101
-
102
-
103
-
104
-
105
-
106
-
107
-
108
-
109
-
110
-
111
-
 112
112 -
 113
113 -
 114
114 -
 115
115 -
 116
116 -
 117
117 -
 118
118 -
 119
119 -
 120
120 -
 121
121 -
 122
122 -
123
-
124
-
125
-
126
-
127
-
128
-
129
-
130
-
131
-
132
-
133
-
134
-
135
-
136
-
137
-
138
 |
 |