Samsung WB110 User Manual Ver.1.0 (English) - Page 6
Indicators used in this manual, Smart Auto, Program, Scene, DUAL IS, Panorama, Magic Plus, Settings - case
 |
View all Samsung WB110 manuals
Add to My Manuals
Save this manual to your list of manuals |
Page 6 highlights
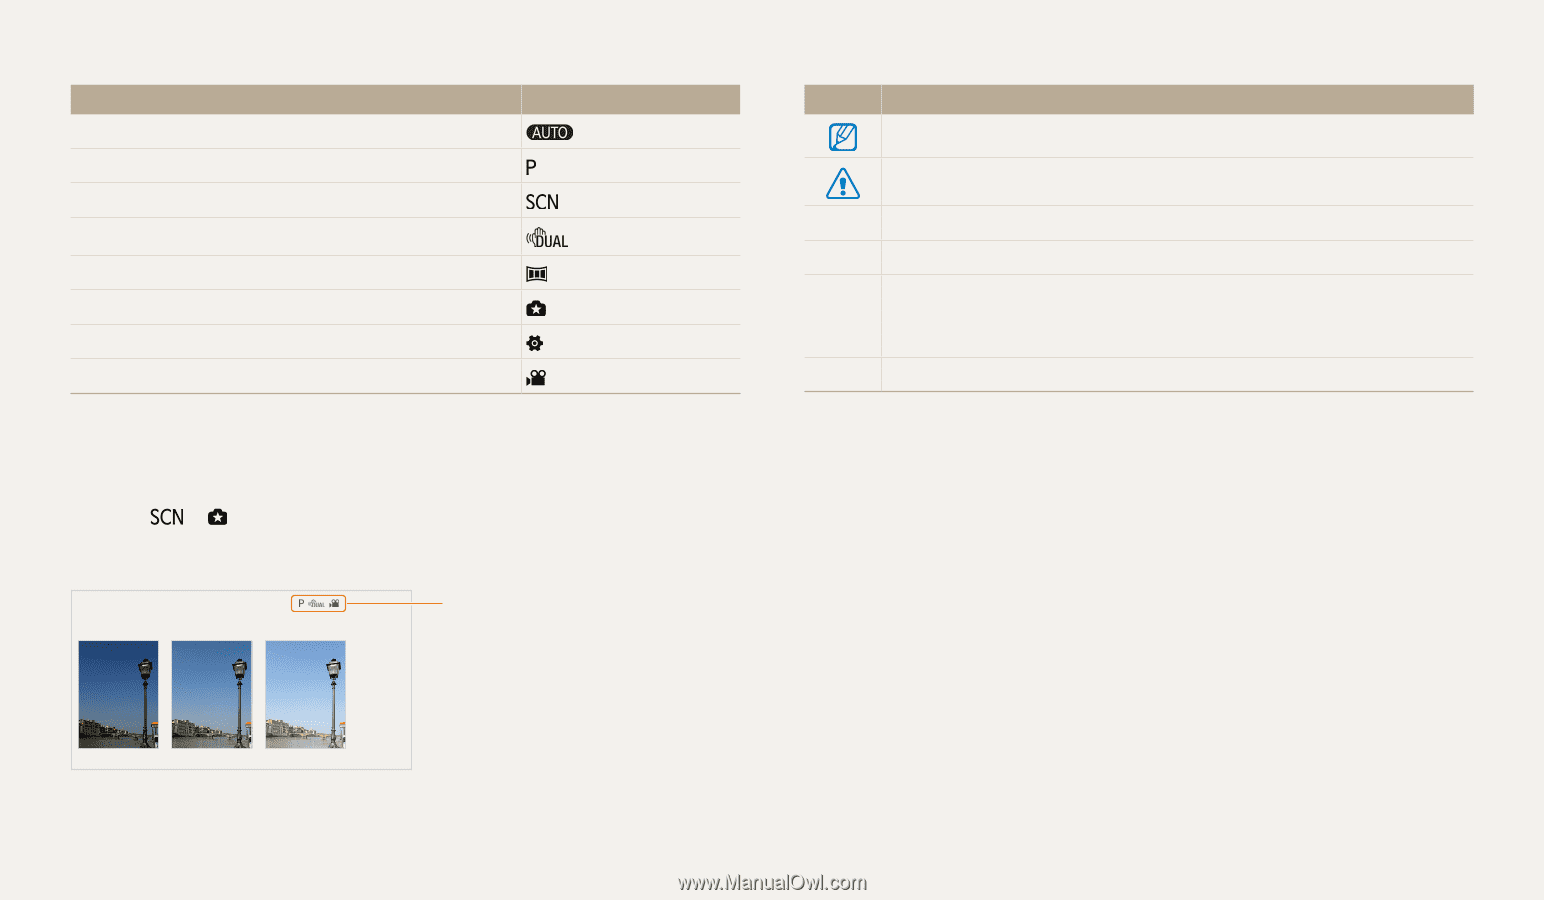
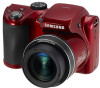
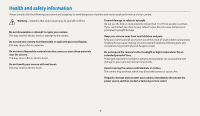
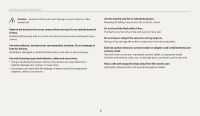
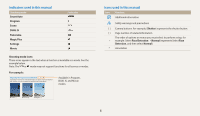
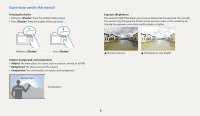
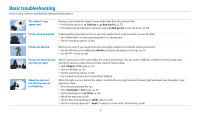
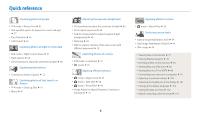
Indicators used in this manual Shooting mode Smart Auto Program Scene DUAL IS Panorama Magic Plus Settings Movie Indicator Icons used in this manual Icon Function Additional information Safety warnings and precautions [ ] Camera buttons. For example, [Shutter] represents the shutter button. ( ) Page number of related information The order of options or menus you must select to perform a step; for → example: Select Face Detection → Normal (represents Select Face Detection, and then select Normal). * Annotation Shooting mode icons These icons appear in the text when a function is available in a mode. See the example below. Note: The or mode may not support functions for all scenes or modes. FAodrjeuxsatimngplber:ightness and color Learn how to adjust the brightness and color for better image quality. Adjusting the exposure manually (EV) Depending on the intensity of the ambient light, your photos may be too bright or dark. In these cases, you can adjust the exposure to get a better photo. 3APvreasisl[aFb/tle] toinadjPusrtothge erxapmosu,re. • The photo will be brighter as the exposure value increases. DUAL IS, and Movie modes EV : +1 Darker (-) Neutral (0) Brighter (+) 1 In Shooting mode, press [m]. 2 Select EV. Cancel Set 4 Press [o] to save your settings. • Once you adjust the exposure, the setting will be stored automatically. You may need to change the exposure value later to avoid overexposure or underexposure. • If you cannot decide on an appropriate exposure, select AE Bracket, and then capture bracketed photos. The camera will capture 3 consecutive photos, each with a different exposure: normal, underexposed, and overexposed. (p. 76) 5
-
 1
1 -
 2
2 -
 3
3 -
 4
4 -
 5
5 -
 6
6 -
 7
7 -
 8
8 -
 9
9 -
 10
10 -
 11
11 -
 12
12 -
13
-
14
-
15
-
16
-
17
-
18
-
19
-
20
-
21
-
22
-
23
-
24
-
25
-
26
-
27
-
28
-
29
-
30
-
31
-
32
-
33
-
34
-
35
-
36
-
37
-
38
-
39
-
40
-
41
-
42
-
43
-
44
-
45
-
46
-
47
-
48
-
49
-
50
-
51
-
52
-
53
-
54
-
55
-
56
-
57
-
58
-
59
-
60
-
61
-
62
-
63
-
64
-
65
-
66
-
67
-
68
-
69
-
70
-
71
-
72
-
73
-
74
-
75
-
76
-
77
-
78
-
79
-
80
-
81
-
82
-
83
-
84
-
85
-
86
-
87
-
88
-
89
-
90
-
91
-
92
-
93
-
94
-
95
-
96
-
97
-
98
-
99
-
100
-
101
-
102
-
103
-
104
-
105
-
106
-
107
-
108
-
109
-
110
-
111
-
112
-
113
-
114
-
115
-
116
-
117
-
118
-
119
-
120
-
121
-
122
-
123
-
124
-
125
-
126
-
127
-
128
-
129
-
130
-
131
-
132
 |
 |