Sanyo CE26LD47-B Instruction Manual
Sanyo CE26LD47-B Manual
 |
View all Sanyo CE26LD47-B manuals
Add to My Manuals
Save this manual to your list of manuals |
Sanyo CE26LD47-B manual content summary:
- Sanyo CE26LD47-B | Instruction Manual - Page 1
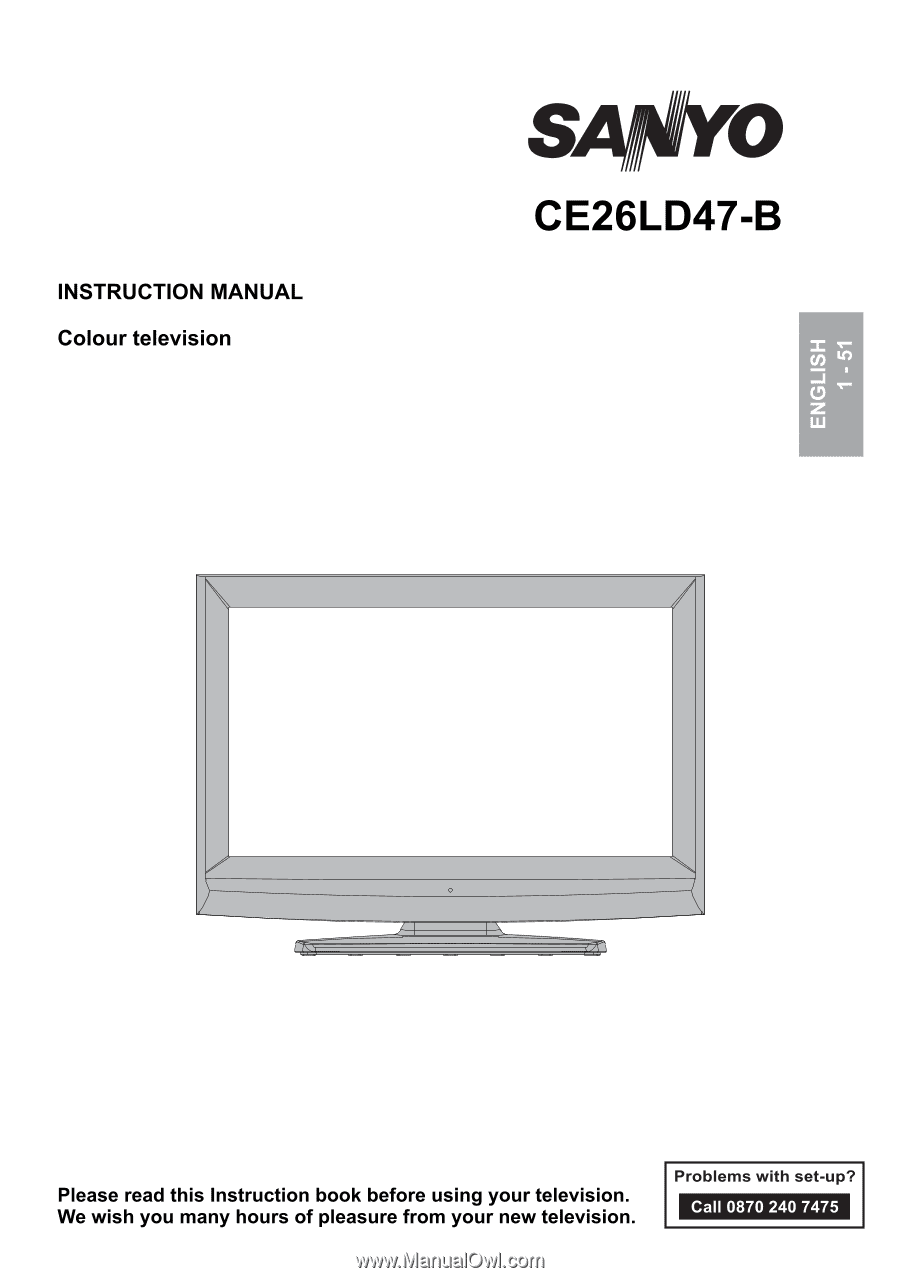
INSTRUCTION MANUAL Colour television CE26LD47-B ENGLISH 1 - 51 Please read this Instruction book before using your television. We wish you many hours of pleasure from your new television. Problems with set-up? Call 0870 240 7475 - Sanyo CE26LD47-B | Instruction Manual - Page 2
4 Cleaning 4 Heat and Flames 4 Lightning 4 Replacement Parts 4 Servicing 5 Waste Disposal 5 FOR EU USERS 5 Disconnecting the Device 5 Headphone Volume 5 Installation 5 LCD Screen 5 Warning 5 Overview of the Remote Control 6 LCD TV and Operating Buttons 7 Viewing the Connections- Back - Sanyo CE26LD47-B | Instruction Manual - Page 3
Zoom 41 Screen Care 43 Image Persistence 43 No Power 43 Poor Picture 43 No Picture 43 Sound 43 Remote Control 43 Input Sources 43 Appendix A: PC Input Typical Display Modes....... 44 Appendix B: Supported DVI Resolutions 45 Appendix C: AV and HDMI Signal Compatibility (Input Signal Types - Sanyo CE26LD47-B | Instruction Manual - Page 4
Remote controlled colour LCD TV. • Fully integrated digital TV Forward or backward manual tuning. • Sleep timer. • Child lock. • Automatic sound mute when no + SWAP P - Sanyo CE26LD47-B | Instruction Manual - Page 5
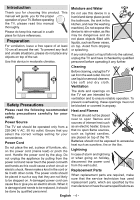
manual will guide you for the proper operation of your TV. Before operating the TV, please read this manual thoroughly. Please do keep this manual top of the TV. Batteries should not be exposed Parts When replacement parts are required, make sure that the service technician has used replacement parts - Sanyo CE26LD47-B | Instruction Manual - Page 6
to the wall in accordance with the installation instructions when mounted to the wall (if the option is available). LCD Screen The LCD panel is a very high technology product with about a million thin film transistors, giving you fine picture details. Occasionally, a few non-active pixels may appear - Sanyo CE26LD47-B | Instruction Manual - Page 7
Overview of the Remote Control 1. Standby 2. Cursor up 3. Cursor right 4. Info 5. Numeric buttons 6. Exit (in DTV mode) 7. Programme up / Page down (in DTV mode) 8. Volume up 9. TV / Digital TV 10. AV / Source 11. Yellow (Feature menu) / Current language (*) 12. Blue (Installation menu) / Favourite - Sanyo CE26LD47-B | Instruction Manual - Page 8
LCD TV and Operating Buttons FRONT VIEW 1. Standby button 2. TV/AV button 3. Programme Up/ Down buttons 4. Volume Up/Down buttons Note: Press V+/Vbuttons at the same time to view main menu. SIDE VIEW REAR VIEW English - 7 - - Sanyo CE26LD47-B | Instruction Manual - Page 9
set to a subwoofer unit. 3. Audio Line Outs output audio signals to an external device such as an optional sound system. To connect the external speakers to your TV, use AUDIO LINE OUTS of the TV with an audio cable. 4. SCART 2 inputs or outputs for external devices. 5. SCART 1 inputs or outputs for - Sanyo CE26LD47-B | Instruction Manual - Page 10
PC cable between the PC INPUT on the TV and the PC output on your PC. 11. HDMI 2: HDMI Input 12. HDMI 1: HDMI Input HDMI Inputs are for connecting a device that has an HDMI socket. Your LCD Television is capable of displaying High Definition pictures from devices such as a High Definition Satellite - Sanyo CE26LD47-B | Instruction Manual - Page 11
cannot be performed. 3. Headphone jack is used for connecting an external headphone to the system. Connect to the HEADPHONE jack to listen to the TV from headphones (optional). 4. Video Input is used for connecting video signals of external devices.Connect the video cable between the VIDEO IN socket - Sanyo CE26LD47-B | Instruction Manual - Page 12
to the mains. • Plug the power cable to the mains socket outlet. Aerial Connection • Connect the aerial or cable TV plug to the AERIAL INPUT socket located at the rear of the TV. REAR VIEW Using the Cable Holder You can use the supplied cable holder as the following: • Place the cable - Sanyo CE26LD47-B | Instruction Manual - Page 13
Memory Connection • Plug your USB device to the USB input of the TV. Note: USB hard disk drives are not supported. • It is recommended that you connect your USB device directly to the USB input of the TV. Some compatibility problems may occur if you use a separate cable connection. English - 12 - - Sanyo CE26LD47-B | Instruction Manual - Page 14
connections. • Use 15-pin D-sub display cable to connect a PC to the LCD TV. • When the connection is made, switch to PC source. See "Input information can be found in the appendix parts. REAR VIEW Audio Inputs PC audio cable (not supplied) to AUDIO INPUTS on the TV PC Input PC RGB cable (not - Sanyo CE26LD47-B | Instruction Manual - Page 15
Player If you want to connect a DVD player to your LCD TV, you can use connectors of the TV set. DVD players may have different connectors. Please refer to your DVD player's instruction book for additional information. Power off both the TV and the device before making any connections. Note: Cables - Sanyo CE26LD47-B | Instruction Manual - Page 16
connecting a camcorder, connect to the VIDEO IN socket and the AUDIO SOCKETS. For selecting the related source, see the section "Input selection" in the following parts. • To listen the TV sound from headphones, connect to the HEADPHONE jack of theTV. Headphone Camcorder SIDE VIEW English - 15 - - Sanyo CE26LD47-B | Instruction Manual - Page 17
and AUDIO RIGHT jacks. Turn on the LCD TV and external speaker set after all connections are made. Refer to your speaker set's manual for further queries. • For connecting a to a device that has SPDIF support, use an appropriate SPDIF cable to enable sound connection. External Speakers A device that - Sanyo CE26LD47-B | Instruction Manual - Page 18
recorder, a VCR or a decoder to your LCD TV by using the SCART sockets. Note that cables shown in the illustration are not supplied. Power off both the TV and the devices before making any connections. For more information, refer to your device's own instruction book. REAR VIEW Scart sockets DVD - Sanyo CE26LD47-B | Instruction Manual - Page 19
period. Otherwise it can be damaged due to any leakage of batteries. Operating Range for the Remote Control • Point the top of the remote control toward the LCD TV's remote sensor LED while pressing a button. Switching the TV On/Off To Switch the TV On • Connect the power cord to the 220-240V AC 50 - Sanyo CE26LD47-B | Instruction Manual - Page 20
button. Therefore, when " " button is pressed, only the marked source options will be available (except for the TV source). • The remote control of your TV is designed to control all the functions of the model you selected. The functions will be described in accordance with the menu system of your - Sanyo CE26LD47-B | Instruction Manual - Page 21
more information. Press OK button on the remote control to continue and the following message will be displayed on the screen: The IDTV will automatically tune to the UHF or VHF (** for EU countries) transmission channels, searching for digital terrestrial TV broadcasts and displaying the names of - Sanyo CE26LD47-B | Instruction Manual - Page 22
on the screen for a few seconds. • The information banner can also be displayed at any time while watching TV by pressing the INFO button on the remote control: Electronic Programme Guide (EPG) • Some, but not all, channels send information about the current and next events. • Please note that - Sanyo CE26LD47-B | Instruction Manual - Page 23
in the programme guide will be searched broadcasting (DVB-T), in addition to pictures and sound, you can also view digital teletext of the digital teletext. Follow the instructions displayed on digital teletext screen. • button is pressed, the TV returns to television broadcasting. • With digital - Sanyo CE26LD47-B | Instruction Manual - Page 24
" item to indicate that enter a number by using the numeric buttons on the remote control and press "OK" to confirm. Note: If you enter the same programme number of the channel that you want to move, ".... channel services will be replaced. Do you want to continue?" OSD will be displayed. Press OK - Sanyo CE26LD47-B | Instruction Manual - Page 25
. Now pressing " " or " " button moves to the previous/next character. Pressing " " or " Enter the password by using the numeric buttons on the remote control. The lock icon " " will now be displayed next to the selected channel. Repeat the same operation to cancel the lock. Setting Favourites You - Sanyo CE26LD47-B | Instruction Manual - Page 26
on the remote control. Then "Add Timer" window appears. Channel: " " or " " keys will navigate the user through the TV or Radio Guide This section is same with the instructions given in the General Operations page. Please see Electronic Programme Guide (EPG) section in the General Operations part - Sanyo CE26LD47-B | Instruction Manual - Page 27
on the screen. • Refer to the module instruction manual for details of the settings. NOTE: Insert or remove the CI module only when the TV is in STAND-BY mode or SWITCHED OFF. TV Setup You can use this item to display the TV functions. The digital TV Setup menu screen is accessed from the main menu - Sanyo CE26LD47-B | Instruction Manual - Page 28
as well. If it is set as OFF manually, encrypted channels will not be located while in automatic search or manual search. Use " " or " " button to the above instructions but this time selecting ENABLE. Note: Your TV may start in First Time Installation mode after OAD update. Parental Control Use " - Sanyo CE26LD47-B | Instruction Manual - Page 29
user cannot add, delete, rename, channels, cannot set timers. INSTALLATION MENU: Installation menu is locked.So the user MANUAL. When AUTO is selected, Current Time and Time Zone options will not be available to be set. If MANUAL television if the broadcaster supports that additional narration track - Sanyo CE26LD47-B | Instruction Manual - Page 30
On. Language In this menu the user can adjust the preferred language. Language Guide: By pressing " " or " " buttons change the guide language. Current • Audio: if audio language is supported items: • Automatic channel scan • Manual Channel Scan • Clear Service List (*) • First Time Installation - Sanyo CE26LD47-B | Instruction Manual - Page 31
both manual and auto search any existing channel in the database is not re-stored to avoid redundant duplicates of that channel. Clear Service List and press OK to delete all of the channels. First Time Installation The user can use this item to load default settings, which were loaded to the receiver - Sanyo CE26LD47-B | Instruction Manual - Page 32
programme names, you can change them via the program table. Media Browser • To display Media Browser window, press either "M" button on the remote control and then select Media Browser by pressing " " or " " button. Press OK button to continue. Media Browser menu contents (depending on the contents - Sanyo CE26LD47-B | Instruction Manual - Page 33
Viewing JPG Files • You can play music, picture and video files from a USB memory stick. Note: If you plug USB stick while in analogue mode, the TV will automatically switch to digital TV mode. Note: Some USB compliant devices may not be supported. Note: If the USB stick is not recognized after - Sanyo CE26LD47-B | Instruction Manual - Page 34
not available while in Media Browser mode. Navigating the Analogue TV Menu System For navigation For displaying menu options M To TV menu system. To select options that are explained in the following parts, refer to "Navigating the Analogue TV Menu System". Analogue TV Menu System Picture - Sanyo CE26LD47-B | Instruction Manual - Page 35
different number of frames per second to normal television programmes. Press " " or " " button Picture mode selection button on the remote control will have no function while Game Mode is on. If the TV settings. "Stored..." will be displayed on the screen. Sound Menu Volume Press " " or " " button to - Sanyo CE26LD47-B | Instruction Manual - Page 36
Equalizer menu settings can be changed only when the Equalizer Mode is in User. Balance This setting is used for emphasizing left or right speaker balance. , only if the selected channel supports that mode. AVL Automatic Volume Limiting (AVL) function adjusts the sound to obtain fixed output level - Sanyo CE26LD47-B | Instruction Manual - Page 37
Right. Source PIP Source setting enables you to select the source of the sub picture. Select PIP Source item by using " " or " " button. Use or Off. When On is selected, the TV can only be controlled by the remote control handset. In this case the control panel buttons (except for the STANDBY button) - Sanyo CE26LD47-B | Instruction Manual - Page 38
number. You can also enter a number using the numeric buttons on the remote control. There are 200 programme storage between 0 and 199. Band HDMI PC , PAL 60, SECAM or AUTO. Sound System Press " " or " " button to select Sound System. Press " " or " " button to change the sound system to BG,DK, I, L - Sanyo CE26LD47-B | Instruction Manual - Page 39
in the same page. You automatic tuning, all stored programmes will can scroll the pages up or down by pressing the be erased and the TV will search for available navigation buttons to see all the programmes channels. During the search, the following OSD in - Sanyo CE26LD47-B | Instruction Manual - Page 40
See "Connecting the LCD TV to a PC" section for connecting a PC to the TV set. For switching to PC source, press " " button on your remote control and select PC to your TV, you should select the required input to view pictures from that source. Autoposition If you shift the picture horizontally or - Sanyo CE26LD47-B | Instruction Manual - Page 41
in this menu are identical to settings defined in TV picture menu under "Analogue TV Menu System". Note: If you set Colour Temp as User, you can define R, G, B settings manually. Sound Menu The items in this menu are described at "Sound Menu" section explained in "Menu System". Feature Menu Feature - Sanyo CE26LD47-B | Instruction Manual - Page 42
the "OK" button on the remote control. Press the "OK" button to freeze picture. Press again to quit freeze mode. Note: This function will not be available while in DTV mode. Zoom Modes You can change the aspect ratio (image size) of the TV for viewing the picture in different zoom modes. Press - Sanyo CE26LD47-B | Instruction Manual - Page 43
if the programme has teletext transmission. P+ / P- and numbers (0-9) Press to select a page. Note: Most TV stations use code 100 for their index pages. Coloured Buttons (RED/GREEN/YELLOW/BLUE) Your TV supports both FASTEXT and TOP text systems. When these systems are available, the pages are - Sanyo CE26LD47-B | Instruction Manual - Page 44
one of the speakers. Is the balance set to one extreme? See Sound Menu. Remote Control Your TV no longer responds to the remote control. Perhaps the batteries are exhausted. If so you can still use the local buttons at the bottom of the TV. Input Sources If you cannot select an input source, it is - Sanyo CE26LD47-B | Instruction Manual - Page 45
is an illustration of some of the typical video display modes. Your TV may not support different resolutions. Supported resolution modes are listed below. If you switch your PC to an . When you confront with such a problem, please try switching your PC to different resolution modes. English - 44 - - Sanyo CE26LD47-B | Instruction Manual - Page 46
Appendix B: Supported DVI Resolutions When connecting devices to your TV's connectors by using DVI converter cables (not supplied), you can refer to the following resolution information. 480i 480p 576i 576p 720p 1080i 1080p 24Hz ; 25Hz ; 30Hz ; 50Hz ; ; ; ; ; 60Hz ; ; ; ; ; English - 45 - - Sanyo CE26LD47-B | Instruction Manual - Page 47
EXT-2 (SCART-2) FAV YPbPr HDMI1 HDMI2 Supported Signals PAL 50/60 NTSC 60 RGB 50 O O O O (X: Not Available, O: Available) Note: In some cases a signal on the LCD TV may not be displayed properly. The problem may be an inconsistency with standards from the source equipment (DVD, Set-top box, etc - Sanyo CE26LD47-B | Instruction Manual - Page 48
Appendix D: Pin Specifications SCART connector pin specifications Pin Input signal Pin Input signal 1 AUDIO OUT (RIGHT) 12 Not used 2 AUDIO IN (RIGHT) 13 RGB-R GND 3 AUDIO OUT (LEFT/MONO) 14 GND 4 AUDIO GND 15 RGB-R / S.VHS CHROMINANCE IN 5 RGB-B GND 16 BLANKING SIGNAL 6 AUDIO - Sanyo CE26LD47-B | Instruction Manual - Page 49
): This indicates that, selection is possible only if Scart-1 has a RGB signal. Restrictions: Scart-1 source must have RGB signal to perform PIP\PAP with sources TV, Scart-2, Scart-2 S, FAV. If these sources are set to main window, and Scart-1 does not have a RGB signal, Pip\Pap source can not be - Sanyo CE26LD47-B | Instruction Manual - Page 50
Appendix F: Supported File Formats for USB Mode Media Movie Music Photo External Subtitles File Extension .mpg/ pixel Support format: 444/ 440/ 422/ 420/ Grayscale WxH = 14592x12288, Up to 179 Mega-pixel WxH = 14592x12288, Up to 179 Mega-pixel Support Text File Format, but do not support Picture - Sanyo CE26LD47-B | Instruction Manual - Page 51
1 Object carousel support compliant with ISO/IEC 135818-6 and UK DTT profile Frequency range: 474-850 MHz for UK models Transmission standard: ) < 1 W (Standby) PANEL 16:9 display, 26" Screen Size DIMENSIONS (mm) DxLxH (With foot): 163 x 661 x 495 Weight (Kg): 8.80 DxLxH (Without foot): 108 x - Sanyo CE26LD47-B | Instruction Manual - Page 52
For your own safety read following instruction carefully before attempting to connect this unit to SHOCK DISCONNECT FROM THE MAINS BEFORE REMOVING COVER. NO USER SERVICEABLE PARTS INSIDE. REFER SERVICING TO QUALIFIED SERVICE PERSONNEL. SAFETY PRECAUTION THIS EQUIPMENT MUST BE DISCONNECTED FROM THE - Sanyo CE26LD47-B | Instruction Manual - Page 53
with the operating instructions issued by the remote controls or parts and consumable items such as lamps, filters, batteries, tapes, cables or connectors. Accidental damage or damage caused by negligence or misuse by the user REQUIRED FOR SERVICE DURING WARRANTY. 2: If your SANYO equipment proves
-
 1
1 -
 2
2 -
 3
3 -
 4
4 -
 5
5 -
 6
6 -
 7
7 -
8
-
9
-
10
-
11
-
12
-
13
-
14
-
15
-
16
-
17
-
18
-
19
-
20
-
21
-
22
-
23
-
24
-
25
-
26
-
27
-
28
-
29
-
30
-
31
-
32
-
33
-
34
-
35
-
36
-
37
-
38
-
39
-
40
-
41
-
42
-
43
-
44
-
45
-
46
-
47
-
48
-
49
-
50
-
51
-
52
-
53
 |
 |