Sanyo DP42841 Owners Manual - Page 14
Pc Input - sound out
 |
View all Sanyo DP42841 manuals
Add to My Manuals
Save this manual to your list of manuals |
Page 14 highlights
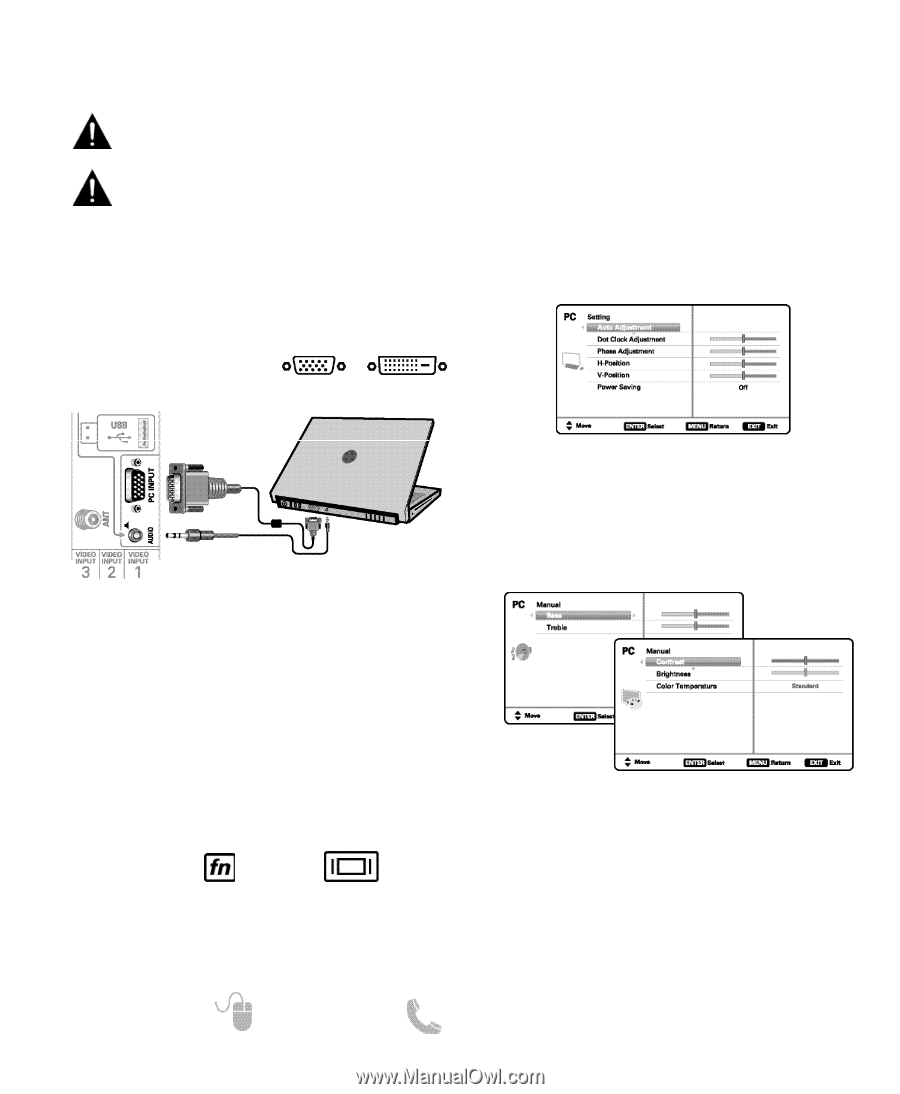
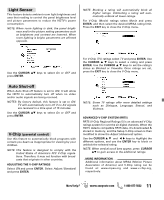
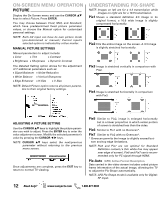
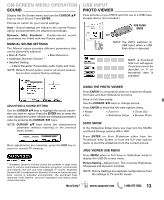
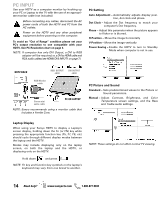
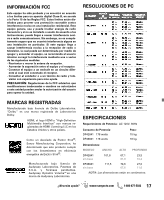
PC INPUT Use your HDTV as a computer monitor by hooking up your PC or Laptop to the TV with the use of an appropriate monitor cable (not included.) Before connecting any cables, disconnect the AC power cords of both the HDTV and PC from the AC outlets. Power on the HDTV and any other peripheral equipment before powering on the computer. To avoid an "Out of Range" condition please set your PC's output resolution to one compatible with your HDTV. See PC Resolution chart on page 3. NOTE: If computer has only DVI Output, a DVI to RGB adapter will be required, or, a DVI to HDMI cable and RCA audio cables (see HDMI (DVI) INPUT1 on page 7.) PC Setting Auto Adjustment - Automatically adjusts display position, dot clock and phase. Dot Clock - Adjust the Dot frequency to match your computer's Dot frequency. Phase - Adjust this parameter when the picture appears to flicker or is blurred. H-Position - Move the image horizontally V-Position - Move the image vertically Power Saving - Enable the HDTV to turn to Standby Mode when computer is not in use. HDTV BACK RGB OUTPUT JACK DVI OUTPUT JACK RGB Monitor cable Stereo mini audio cable PC OR LAPTOP NOTE: Sanyo recommends using a monitor cable that includes a Ferrite Core. PC Picture and Sound Standard - Sets predetermined values to the Picture or Sound parameters. Manual - Adjust Contrast, Brightness, and Color Temperature screen settings, and the Bass and Treble audio settings. Laptop Display When using your Sanyo HDTV to display a Laptop's screen display, holding down the Fn (or FN) key while pressing the appropriate function key (F5, F7, F8, etc) should cycle through different display modes between the laptop and the HDTV. Modes may include displaying only on the laptop screen, on both the laptop and the HDTV, or displaying only on the HDTV. Hold down and press NOTE: Fn key and function key symbols on the laptop's keyboard may vary from one brand to another. NOTE: These settings do not affect normal TV viewing. 14 Need help? www.sanyoctv.com 1-800-877-5032
-
 1
1 -
2
-
3
-
4
-
5
-
6
-
7
-
8
-
 9
9 -
 10
10 -
 11
11 -
 12
12 -
 13
13 -
 14
14 -
 15
15 -
 16
16 -
 17
17 -
 18
18 -
 19
19 -
20
-
21
-
22
-
23
-
24
-
25
-
26
-
27
-
28
-
29
-
30
-
31
-
32
-
33
-
34
-
35
-
36
-
37
-
38
-
39
-
40
-
41
-
42
-
43
-
44
 |
 |