Sanyo DP55441 Owners Manual - Page 20
Picture/ Audio/ Advanced, Adjustment - no picture
 |
View all Sanyo DP55441 manuals
Add to My Manuals
Save this manual to your list of manuals |
Page 20 highlights
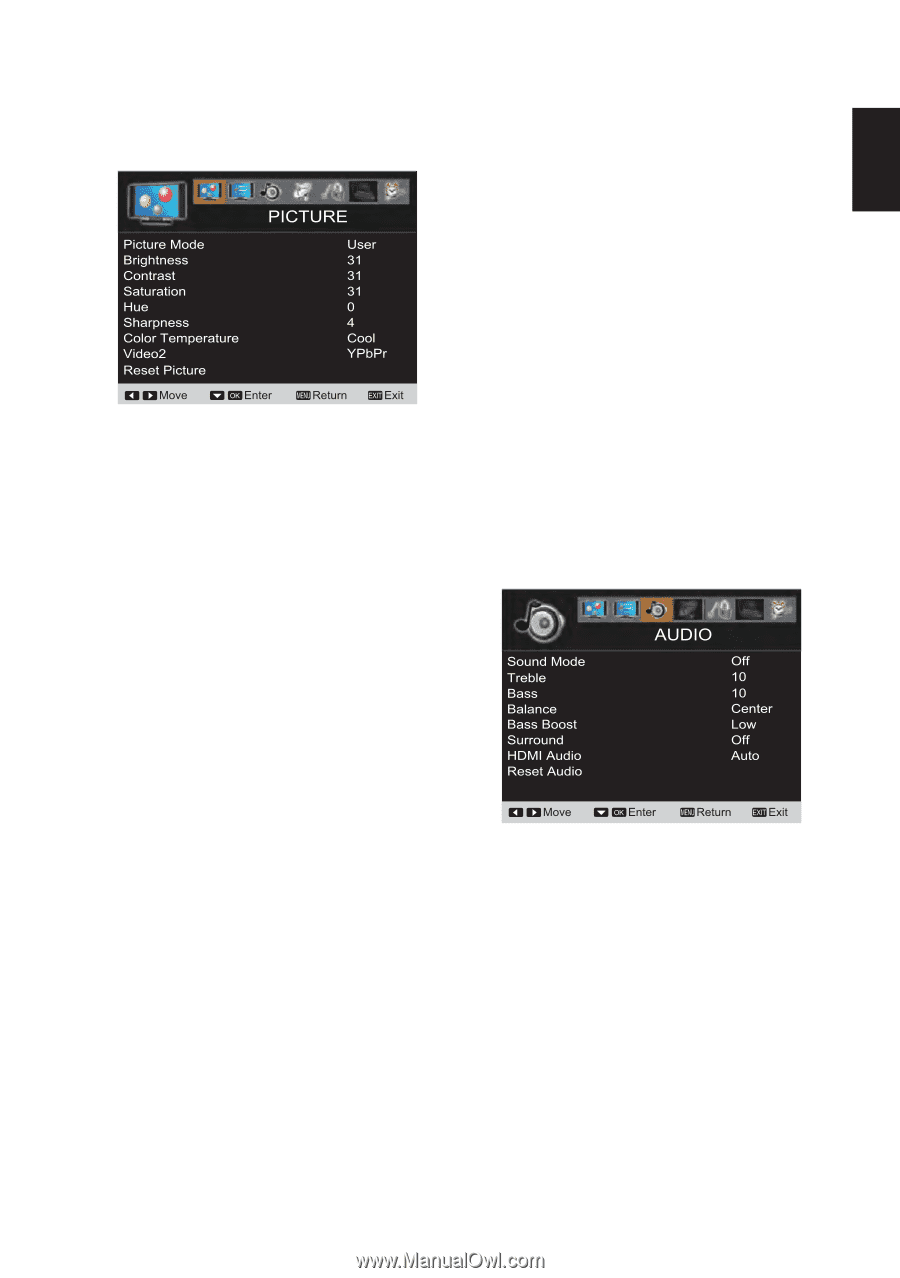
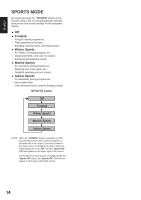
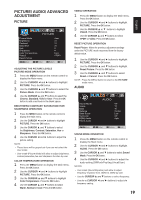
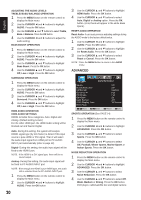
PICTURE/ AUDIO/ ADVANCED ADJUSTMENT PICTURE ADJUSTING THE PICTURE LEVELS PICTURE MODE OPERATION 1 Press the MENU button on the remote control to display the Main menu. 2 Use the CURSOR ◄ and ► buttons to highlight PICTURE. Press the OK button. 3 Use the CURSOR ▲ and ▼ buttons to select the Picture Mode. Press the OK button. 4 Use the CURSOR ▲ and ▼ buttons to select the Cinema, Standard, Vivid or User. Press the OK button to add a red hook in the blank space. BRIGHTNESS/ CONTRAST/ SATURATION/ HUE/ SHARPNESS OPERATION 1 Press the MENU button on the remote control to display the Main menu. 2 Use the CURSOR ◄ and ► buttons to highlight PICTURE. Press the OK button. 3 Use the CURSOR ▲ and ▼ buttons to select the Brightness, Contrast, Saturation, Hue or Sharpness. Press the OK button. 4 Use the CURSOR ◄ and ► buttons to adjust the picture setting. NOTE: • These items will be grayed out if you are not select the User mode. • User mode (Picture Mode) will allow to adjust brightness, contrast,saturation,hue and sharpness function by user. COLOR TEMPERATURE OPERATION 1 Press the MENU button to display the Main menu. Press the OK button. 2 Use the CURSOR ◄ and ► buttons to highlight PICTURE. Press the OK button. 3 Use the CURSOR ▲ and ▼ buttons to highlight Color Temperature. Press the OK button. 4 Use the CURSOR ▲ and ▼ buttons to select Warm, Normal or Cool. Press the OK button. VIDEO2 OPERATION 1 Press the MENU button to display the Main menu. Press the OK button. 2 Use the CURSOR ◄ and ► buttons to highlight PICTURE. Press the OK button. 3 Use the CURSOR ▲ or ▼ buttons to highlight Video2. Press the OK button. 4 Use the CURSOR ▲ and ▼ buttons to select YPbPr or Video. Press the OK button. RESET PICTURE OPERATION Reset Picture- Make the previous adjustment settings under the PICTURE mode recovered from the factory default value. 1 Use the CURSOR ◄ and ► buttons to highlight PICTURE. Press the OK button. 2 Use the CURSOR ▲ and ▼ buttons to highlight Reset Picture. Press the OK button. 3 Use the CURSOR ▲ and ▼ buttons to select Reset or Cancel. Press the OK button. NOTE : Press the MENU button to return to the PICTURE mode menu. AUDIO SOUND MODE OPERATION 1 Press the MENU button on the remote control to display the Main menu. 2 Use the CURSOR ◄ and ► buttons to highlight AUDIO. Press the OK button. 3 Use the CURSOR ▲ and ▼ buttons to select Sound Mode. Press the OK button. 4 Use the CURSOR ◄ and ► buttons to adjust the audio setting.(Off/Rock/Pop/Jazz/Vocal/User). NOTES: • User mode (Sound Equalizer) will allow to adjust frequency response from 100Hz to 10kHz by user. • Use the CURSOR ▲ and ▼ buttons to select frequency. • Use the to CURSOR ◄ and ► buttons to adjust the frequency setting. 19 English
-
 1
1 -
2
-
3
-
4
-
5
-
6
-
7
-
8
-
9
-
10
-
11
-
12
-
13
-
14
-
 15
15 -
 16
16 -
 17
17 -
 18
18 -
 19
19 -
 20
20 -
 21
21 -
 22
22 -
 23
23 -
 24
24 -
 25
25 -
26
-
27
-
28
-
29
-
30
-
31
-
32
 |
 |