Seagate BlackArmor NAS 400 BlackArmor NAS 440/420 Hard Drive Replacement Proce
Seagate BlackArmor NAS 400 Manual
 |
View all Seagate BlackArmor NAS 400 manuals
Add to My Manuals
Save this manual to your list of manuals |
Seagate BlackArmor NAS 400 manual content summary:
- Seagate BlackArmor NAS 400 | BlackArmor NAS 440/420 Hard Drive Replacement Proce - Page 1
Follow these steps to replace a hard drive in the BlackArmor® NAS 440/420 server. You may also use these instructions to replace a damaged hard drive carrier. NOTE: Only Seagate hard drives can be used for replacement. Failure to use Seagate replacement parts can and will forfeit the warranty period - Seagate BlackArmor NAS 400 | BlackArmor NAS 440/420 Hard Drive Replacement Proce - Page 2
in place. The hard drive's LED should turn green. 3 . Close the front panel of the server. 4 . In BlackArmor Manager, the drive's status changes to Foreign. 5 . Click the Claim Disk icon, and then click OK. The drive's drive/volume as Good. The procedure is complete. ©2009 Seagate Technology LLC 1
-
 1
1 -
 2
2
 |
 |
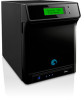
BlackArmor® NAS 440/420 Hard Drive Replacement Procedures
Follow these steps to replace a hard drive in the BlackArmor® NAS 440/420 server. You may also use these instructions
to replace a damaged hard drive carrier.
NOTE: Only Seagate hard drives can be used for replacement. Failure to use Seagate replacement parts can and
will forfeit the warranty period of the BlackArmor NAS 440/420.
WARNING:
ESD Precautions
Electrostatic discharge (ESD) can damage the processor, hard drives, main board, memory modules (RAM), and other
BlackArmor components. Always observe the following precautions before replacing a hard drive:
●
Do not remove a component from its protective packaging until you are ready to install it.
●
Do not touch the component pins, leads, or circuitry.
●
Wear a wrist grounding strap and attach it to a metal part of the system before handling components. If a wrist
strap is not available, maintain contact with the system throughout any procedure requiring ESD protection.
●
Keep the work area free of nonconductive materials, such as ordinary plastic assembly aids and foam packing.
Removing a Hard Drive
1.
Open the BlackArmor Manager Web interface.
2.
In the menu bar, select
Storage
, and then click
Disk Manager
.
3.
Beside the failed disk drive, click the
Safely Remove Disk
icon, and then click
OK
.
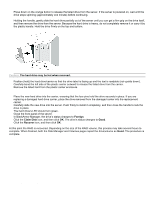
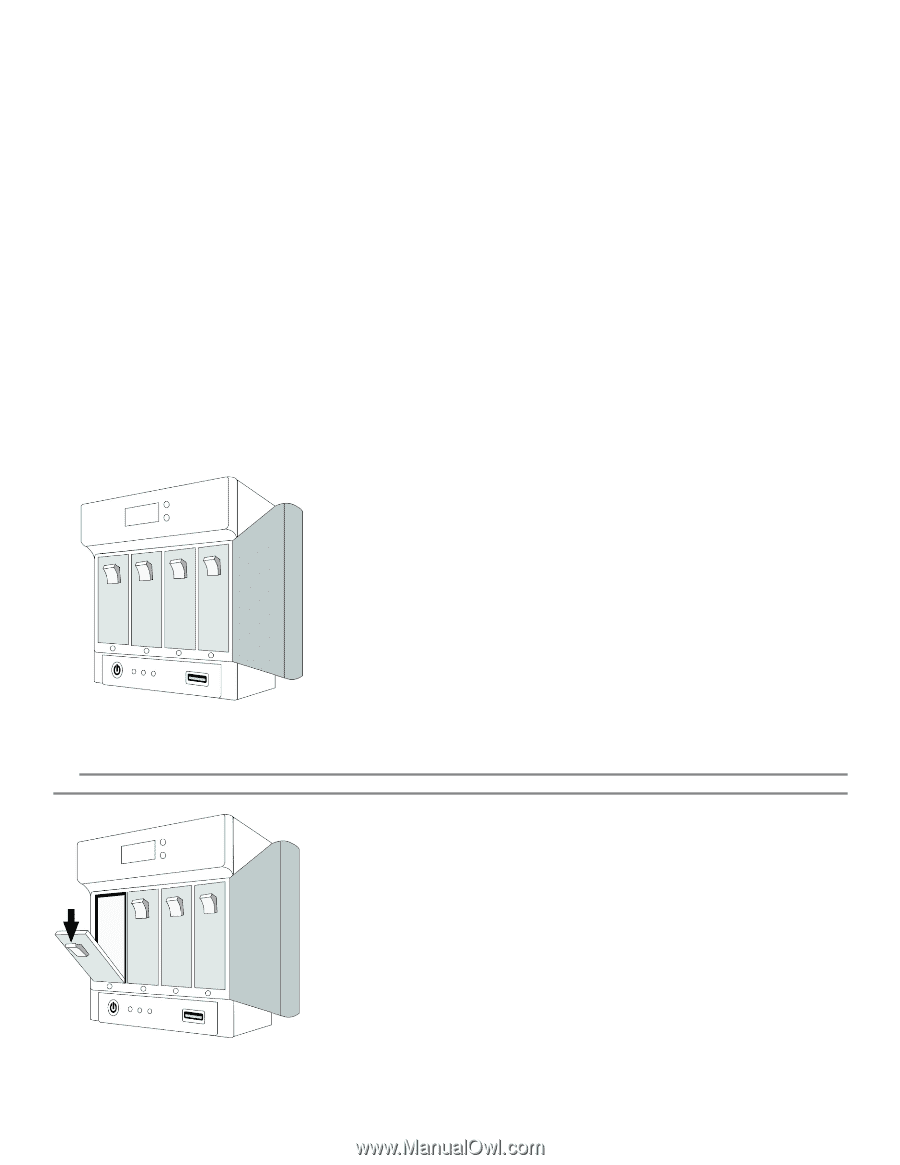
1.
Open the front panel of the server.
2.
Locate the failed hard drive. Ensure that there is no activity on the drive by checking its LED—it should not be
illuminated.
WARNING:
Never remove more than one drive at a time. Failure to do so will result in data loss.
©2009 Seagate Technology LLC 1