Sharp ER-A420 ER-A410 ER-A420 Operation Manual - Page 182
Removing the paper roll
 |
View all Sharp ER-A420 manuals
Add to My Manuals
Save this manual to your list of manuals |
Page 182 highlights
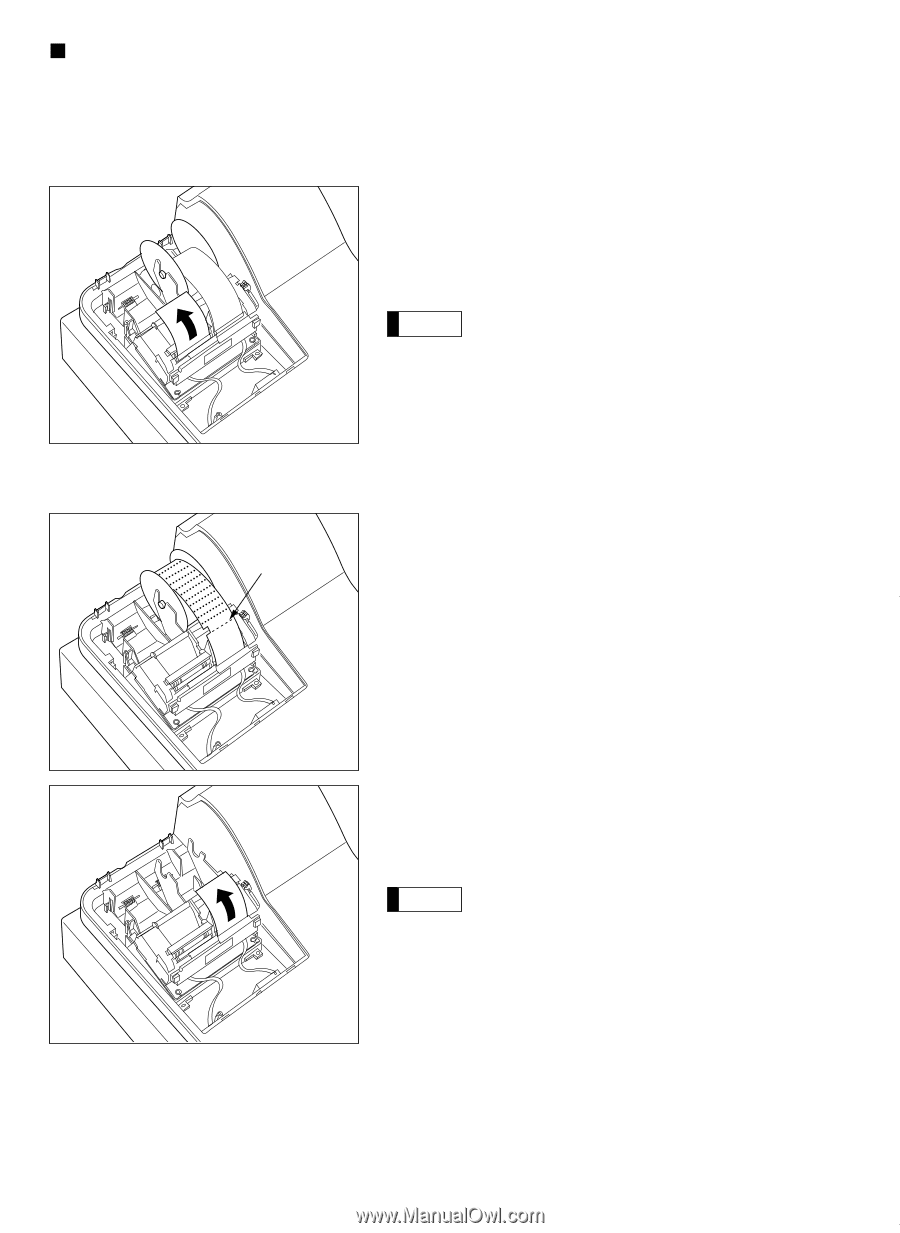
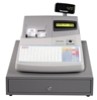
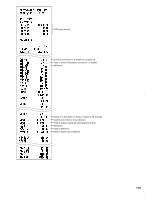
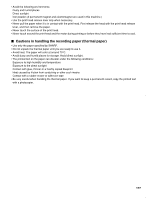
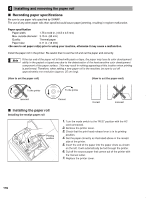
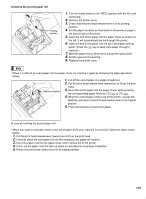
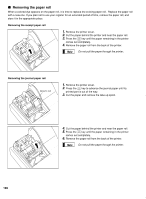
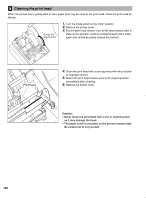
Removing the paper roll When a colored dye appears on the paper roll, it is time to replace the existing paper roll. Replace the paper roll with a new one. If you plan not to use your register for an extended period of time, remove the paper roll, and store it in the appropriate place. Removing the receipt paper roll 1. Remove the printer cover. 2. Cut the paper behind the printer and near the paper roll. ‰ 3. Press the key until the paper remaining in the printer comes out completely. 4. Remove the paper roll from the back of the printer. Note Do not pull the paper through the printer. Removing the journal paper roll Area to cut 1. Remove the printer cover. Ô 2. Press the key to advance the journal paper until its printed part is out of the way. 3. Cut the paper and remove the take-up spool. 4. Cut the paper behind the printer and near the paper roll. Ô 5. Press the key until the paper remaining in the printer comes out completely. 6. Remove the paper roll from the back of the printer. Note Do not pull the paper through the printer. 180
-
 1
1 -
2
-
3
-
4
-
5
-
6
-
7
-
8
-
9
-
10
-
11
-
12
-
13
-
14
-
15
-
16
-
17
-
18
-
19
-
20
-
21
-
22
-
23
-
24
-
25
-
26
-
27
-
28
-
29
-
30
-
31
-
32
-
33
-
34
-
35
-
36
-
37
-
38
-
39
-
40
-
41
-
42
-
43
-
44
-
45
-
46
-
47
-
48
-
49
-
50
-
51
-
52
-
53
-
54
-
55
-
56
-
57
-
58
-
59
-
60
-
61
-
62
-
63
-
64
-
65
-
66
-
67
-
68
-
69
-
70
-
71
-
72
-
73
-
74
-
75
-
76
-
77
-
78
-
79
-
80
-
81
-
82
-
83
-
84
-
85
-
86
-
87
-
88
-
89
-
90
-
91
-
92
-
93
-
94
-
95
-
96
-
97
-
98
-
99
-
100
-
101
-
102
-
103
-
104
-
105
-
106
-
107
-
108
-
109
-
110
-
111
-
112
-
113
-
114
-
115
-
116
-
117
-
118
-
119
-
120
-
121
-
122
-
123
-
124
-
125
-
126
-
127
-
128
-
129
-
130
-
131
-
132
-
133
-
134
-
135
-
136
-
137
-
138
-
139
-
140
-
141
-
142
-
143
-
144
-
145
-
146
-
147
-
148
-
149
-
150
-
151
-
152
-
153
-
154
-
155
-
156
-
157
-
158
-
159
-
160
-
161
-
162
-
163
-
164
-
165
-
166
-
167
-
168
-
169
-
170
-
171
-
172
-
173
-
174
-
175
-
176
-
 177
177 -
 178
178 -
 179
179 -
 180
180 -
 181
181 -
 182
182 -
 183
183 -
 184
184 -
 185
185 -
 186
186 -
 187
187 -
188
-
189
-
190
 |
 |