Sharp LC42D65U LC-42D65U LC-46D65U LC-52D65U Operation Manual - Page 30
Option Menu - colors on screen
 |
UPC - 074000371422
View all Sharp LC42D65U manuals
Add to My Manuals
Save this manual to your list of manuals |
Page 30 highlights
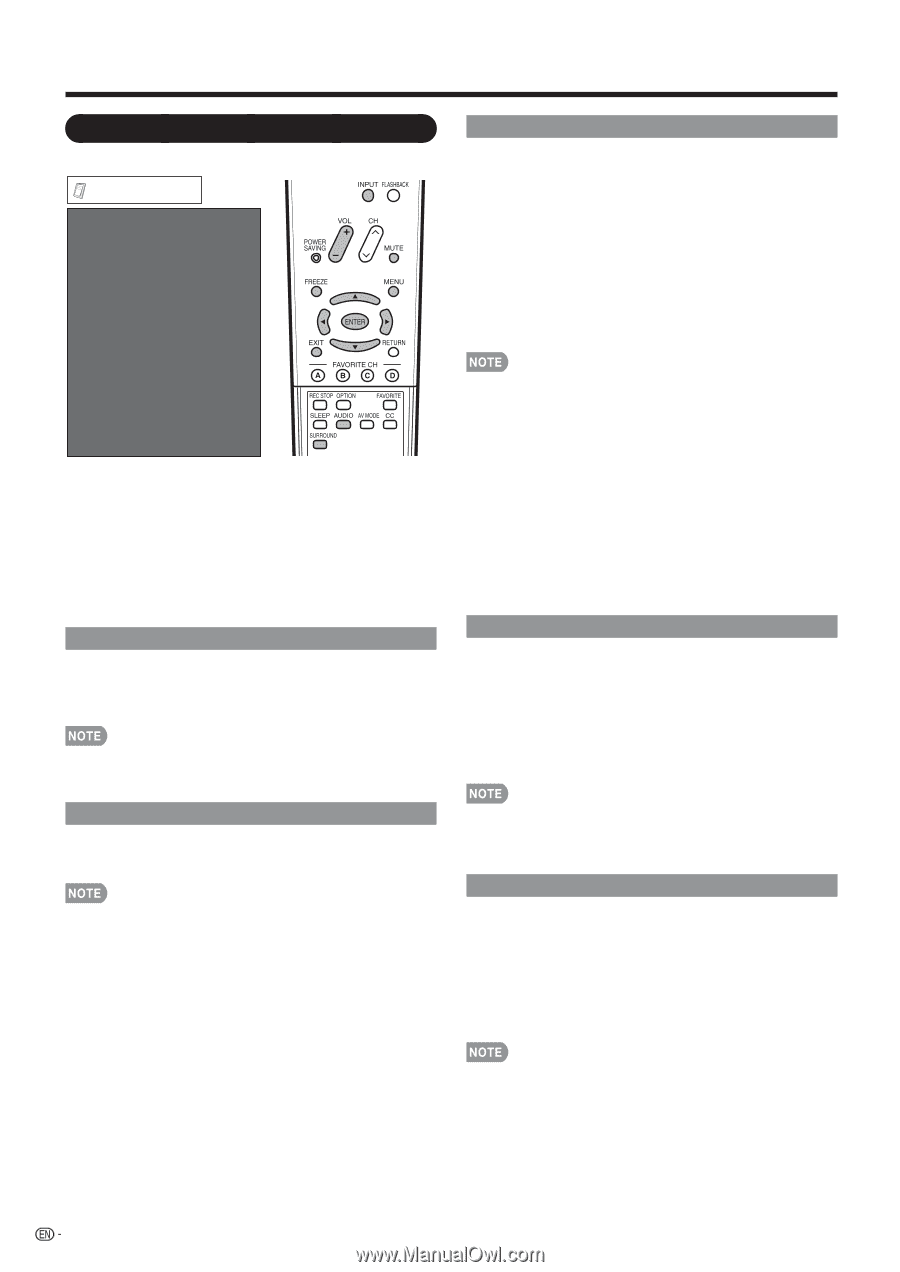
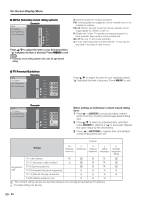
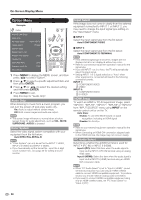
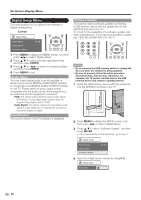
On-Screen Display Menu Option Menu Example Option AQUOS LINK Setup Audio Only PC Audio Select [Input 4 (PC)] Output Select [Fixed] Caption Setup Digital Caption Info. Program Title Display [No] Favorite CH Game Play Time [Off] Operation Lock Out [Off] Demo Mode 1 Press MENU to display the MENU screen, and then press c/d to select "Option". 2 Press a/b to select a specific adjustment item and then press ENTER. 3 Press a/b (or c/d) to select the desired setting, and then press ENTER. 4 Press MENU to exit. Skip this step for "Audio Only". Audio Only When listening to music from a music program, you can turn the screen off and enjoy audio only. On: Audio is output without screen image. Off: Both screen images and audio are output. • The screen image will return to normal when a button (except those for audio adjustment, such as VOL, MUTE, SURROUND, AUDIO) is pressed. Color System Select the video signal system compatible with your equipment from the list below: Auto/NTSC/PAL-M/PAL-N • "Color System" can only be set for the INPUT 1 VIDEO, INPUT 2 S-VIDEO and INPUT 3 VIDEO. • If you have already set the Secret No., input the 4-digit secret number here. See page 25 for setting a secret number. Input Select If the image does not come in clearly from the external equipment connected to INPUT 1 or INPUT 2, you may need to change the input signal type setting on the "Input Select" menu. ■ INPUT 1 Select the input signal type from the list below: Auto/COMPONENT/VIDEO ■ INPUT 2 Select the input signal type from the list below: Auto/COMPONENT/S-TERMINAL • If the selected signal type is incorrect, images are not displayed at all or are displayed without any color. • Refer to your external equipment operation manual for the signal type. • If you set INPUT 1 or 2 to Auto, the TV will automatically select the input signal. • Setting INPUT 1 or 2 signal selection to "Auto" when other equipment is connected will result in the following connection priority. INPUT 1: 1 COMPONENT VIDEO 2 VIDEO INPUT 2: 1 COMPONENT VIDEO 2 S-VIDEO HDMI Setup To watch an HDMI or PC-IN equipment image, select "INPUT5", "INPUT6", "INPUT7", "INPUT8" or "INPUT9" from "INPUT SOURCE" menu using INPUT on the remote control unit or on the TV. Auto View: Enable: To use View Mode based on signal recognition, including an HDMI signal. Disable: No function. • Refer to your external equipment operation manual for the signal type. • When connecting an HDMI-DVI conversion adapter/cable to the HDMI terminal, the image may not come in clearly. PC Audio Select Determines whether the AUDIO terminal is used for INPUT 4 (PC-IN) or INPUT 6 (HDMI). Input 4 (PC): Select this item when the audio signal is input via the INPUT 4 (PC-IN) terminal using an analog RGB cable. Input 6 (HDMI): Select this item when the audio signal is input via the INPUT 6 (HDMI) terminal using an HDMIDVI conversion cable. • When "PC Audio Select" is set to "Input 6 (HDMI)", sound will not be produced if you use only an HDMI-certified cable to connect HDMI-compatible equipment. To produce sound, you should make an analog audio connection. • If you want to connect HDMI-compatible equipment using only an HDMI-certified cable, set "PC Audio Select" to "Input 4 (PC)". 28
-
 1
1 -
2
-
3
-
4
-
5
-
6
-
7
-
8
-
9
-
10
-
11
-
12
-
13
-
14
-
15
-
16
-
17
-
18
-
19
-
20
-
21
-
22
-
23
-
24
-
 25
25 -
 26
26 -
 27
27 -
 28
28 -
 29
29 -
 30
30 -
 31
31 -
 32
32 -
 33
33 -
 34
34 -
 35
35 -
36
-
37
-
38
-
39
-
40
-
41
-
42
-
43
-
44
-
45
-
46
-
47
-
48
-
49
 |
 |