Sharp LC46SB54U Operation Manual - Page 16
On-Screen, Display - remote
 |
UPC - 074000370876
View all Sharp LC46SB54U manuals
Add to My Manuals
Save this manual to your list of manuals |
Page 16 highlights
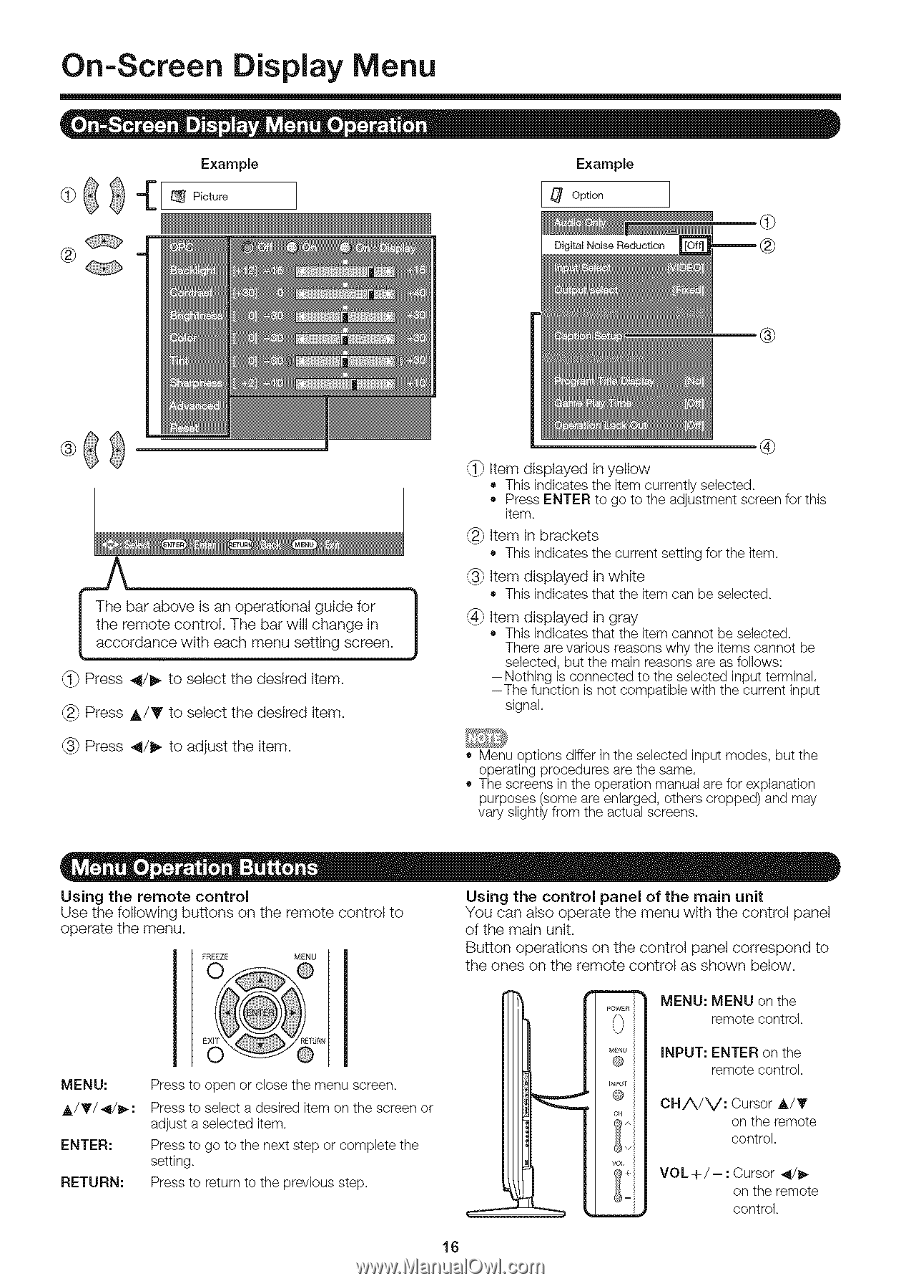
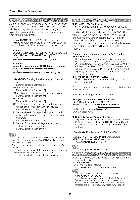
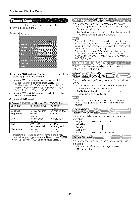
On-Screen Display Menu e H_ Example ..... Example ........ .® The bar above is an operational guide for _rdtahneceremote cwonitthrol eacThhembeanru wsilel ttcinhgangsecreeinn. ._1}Press 4/Ib- to select the desired item. _.2_Press &/T to select the desired item. _._ Press _/_, to adjust the item. I 1| .® _} Item displayed in yellow = This indicates the item currently selected • Press ENTER to go to the adjustment screen for this item _); Item in brackets This indicates the current setting for the item _)i Item displayed in white • This indicates that the item can be selected _} Item displayed in gray This indicates that the item cannot be selected. There are various reasons why the items cannot be selected, but the main reasons are as follows: Nothing is connected to the selected input terminal, The function is not compatible with the current input signal, • Menu options differ in the selected input modes, but the operating procedures are the same, • The screens in the operation manual are for explanation purposes some are enlarged, others cropped and may vary slightly from the actual screens. Using the remote control Use the following buttons on the remote control to operate the menu. MENU: A/T/_i/_: ENTER: RETURN: Press to open or close the menu screen Press to select a desired item on the screen or adjust a selected item Press to go to the next step or complete the setting Press to return to the plevious step Using the control panel of the main unit You can also operate the menu with the control panel of the main unit. Button operations on the control panel correspond to the ones on the remote control as shown below. MENU: MENU on the remote control INPUT: ENTER on the remote control. CH/_/V: Cursor A/T on the remote control. VOL+/- : Cursor _/_ on the remote control 16
-
 1
1 -
2
-
3
-
4
-
5
-
6
-
7
-
8
-
9
-
10
-
 11
11 -
 12
12 -
 13
13 -
 14
14 -
 15
15 -
 16
16 -
 17
17 -
 18
18 -
 19
19 -
 20
20 -
 21
21 -
22
-
23
-
24
-
25
-
26
-
27
-
28
-
29
-
30
-
31
-
32
 |
 |