Sharp MX-M200D Operation Manual - Page 37
Replacing The Toner Cartridge - installation guide
 |
View all Sharp MX-M200D manuals
Add to My Manuals
Save this manual to your list of manuals |
Page 37 highlights
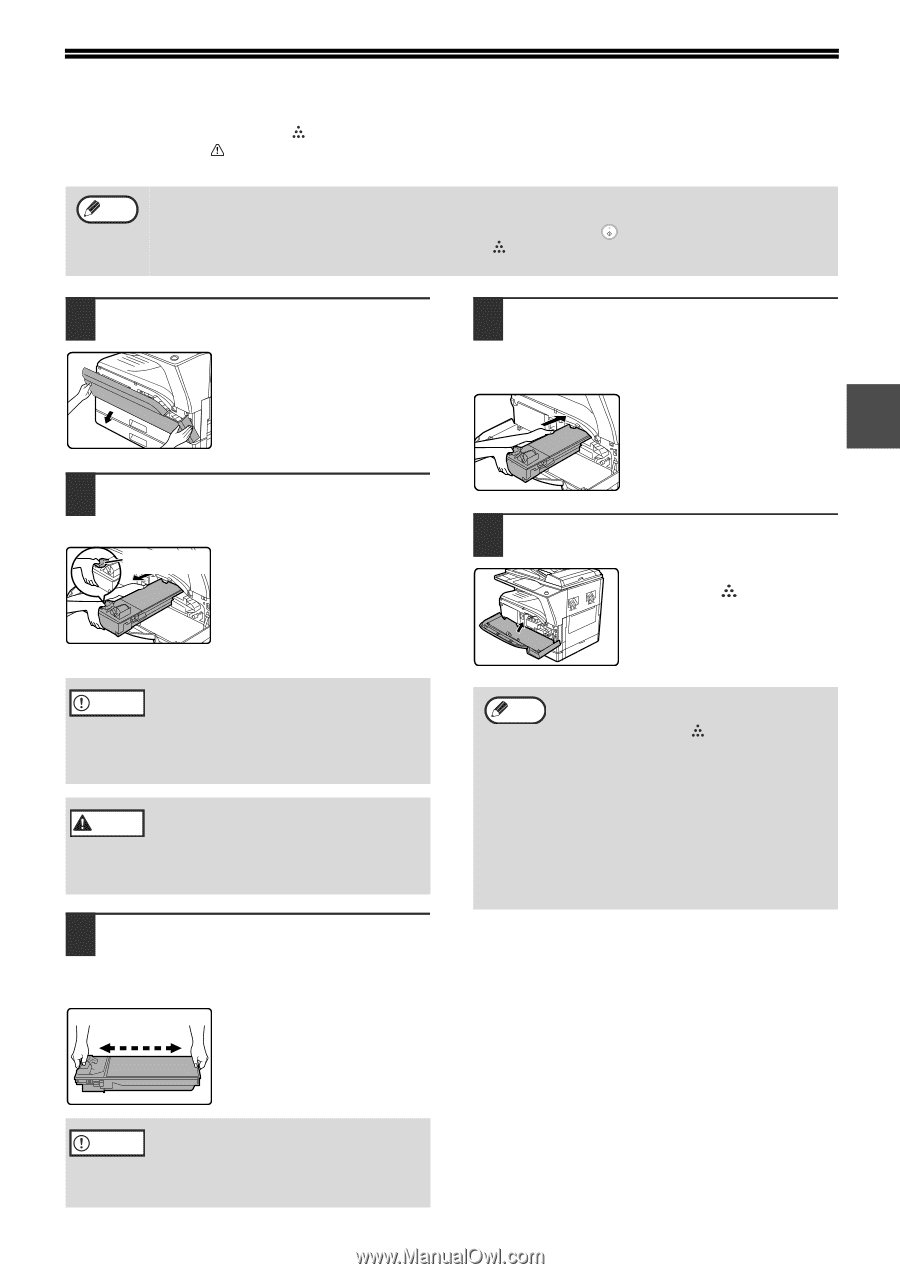
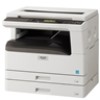
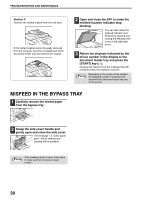
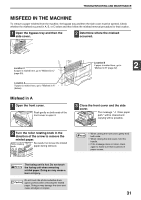
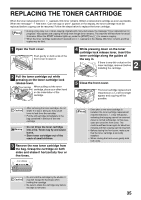
REPLACING THE TONER CARTRIDGE When the toner replacement icon ( ) appears, little toner remains. Obtain a replacement cartridge as soon as possible. When the message " Add toner. Can not copy or print." appears in the display, the toner cartridge must be replaced before copying can be resumed. Follow the steps below to replace the toner cartridge. Note • During a long copy run or when copying originals with many dark areas, the message "Toner replenishment in progress." may appear and copying will stop even though toner remains. The machine will feed toner for about 2 minutes. When the START indicator lights up, press the [START] key ( ) to resume copying. • When the toner cartridge replacement required icon ( ) appears in the display, little toner remains and thus copies may be faint. 1 Open the front cover. Push gently on both ends of the front cover to open it. 4 While pressing down on the toner cartridge lock release lever, insert the toner cartridge along the guides all the way in. 2 If there is any dirt or dust on the toner cartridge, remove it before installing the cartridge. 2 Pull the toner cartridge out while pressing on the toner cartridge lock release lever. Toner cartridge When pulling out the toner lock release lever cartridge, place your other hand on the indentation of the cartridge. 5 Close the front cover. The toner cartridge replacement required icon ( ) will no longer appear and copying will be possible. Caution • After removing the toner cartridge, do not shake it or tap it. Doing so may cause toner to leak from the cartridge. • Put the old cartridge immediately in the bag contained in the box of the new cartridge. Warning • Do not throw the toner cartridge into a fire. Toner may fly and cause burns. • Store toner cartridges out of the reach of small children. 3 Remove the new toner cartridge from the bag. Grasp the cartridge on both sides and shake it horizontally four or five times. 4 or 5 times Note • Even after a new toner cartridge is installed, the toner cartridge replacement required indicator ( ) may still appear, indicating that copying cannot be resumed (toner is not fed sufficiently). In this case, open and close the front cover. The machine will feed toner again for about two minutes and then copying can be resumed. • Before closing the front cover, make sure that the toner cartridge is correctly installed. • When closing the front cover, gently hold both ends. Caution • Do not hold the cartridge by the shutter. It may fall. Grasp the hand grip when holding the cartridge. • Be sure to shake the cartridge only before the tape is removed. 35
-
 1
1 -
2
-
3
-
4
-
5
-
6
-
7
-
8
-
9
-
10
-
11
-
12
-
13
-
14
-
15
-
16
-
17
-
18
-
19
-
20
-
21
-
22
-
23
-
24
-
25
-
26
-
27
-
28
-
29
-
30
-
31
-
 32
32 -
 33
33 -
 34
34 -
 35
35 -
 36
36 -
 37
37 -
 38
38 -
 39
39 -
 40
40 -
 41
41 -
 42
42 -
43
-
44
-
45
-
46
-
47
-
48
-
49
-
50
-
51
-
52
-
53
-
54
-
55
-
56
-
57
-
58
-
59
-
60
-
61
-
62
-
63
-
64
-
65
-
66
-
67
-
68
-
69
-
70
-
71
-
72
-
73
-
74
-
75
-
76
-
77
-
78
-
79
-
80
-
81
-
82
-
83
-
84
-
85
-
86
-
87
-
88
-
89
-
90
-
91
-
92
-
93
-
94
-
95
-
96
-
97
-
98
-
99
-
100
 |
 |