Sharp MX-M200D Operation Manual - Page 67
Offset function
 |
View all Sharp MX-M200D manuals
Add to My Manuals
Save this manual to your list of manuals |
Page 67 highlights
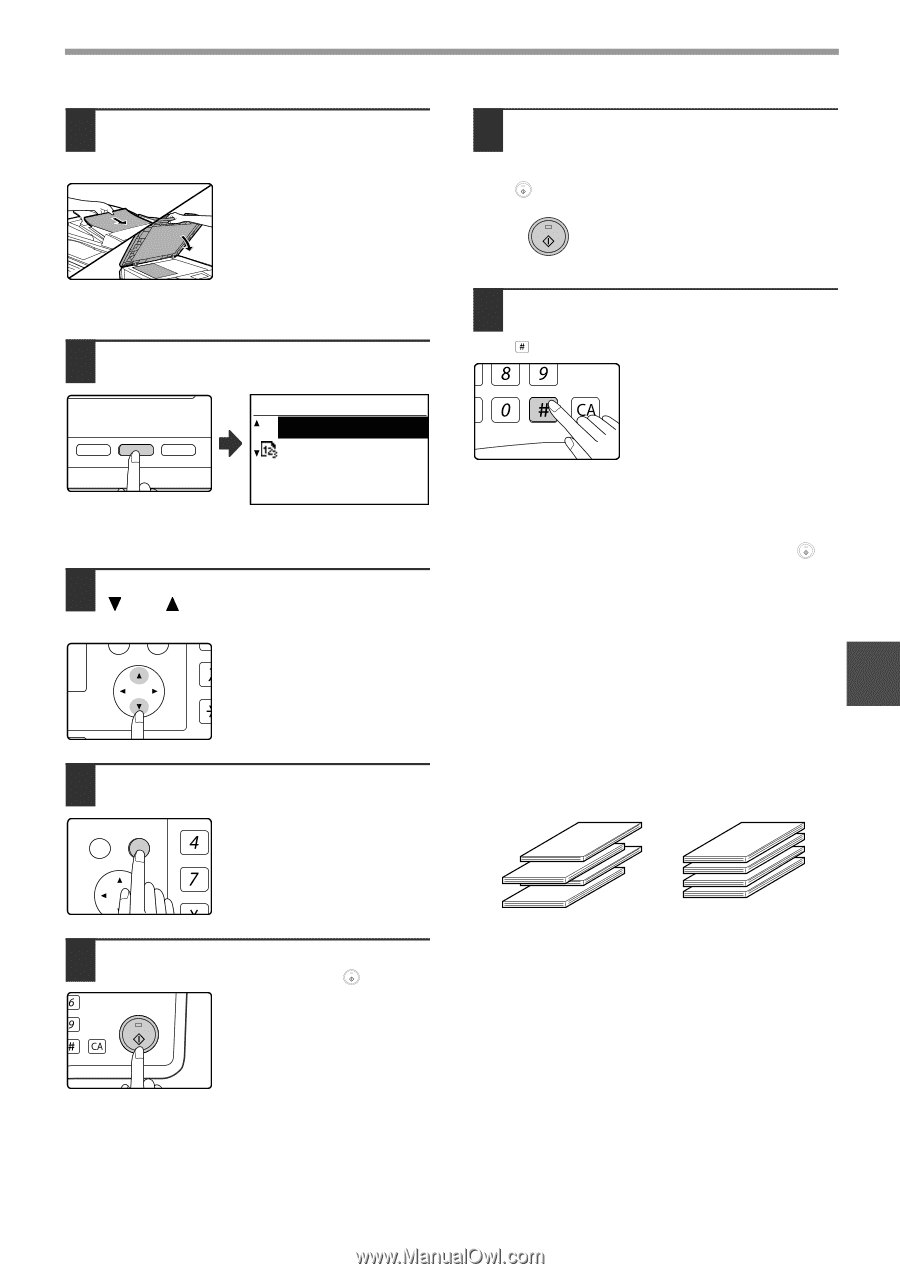
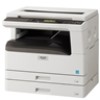
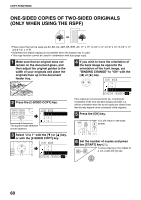
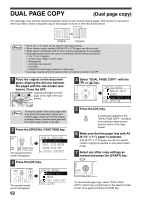
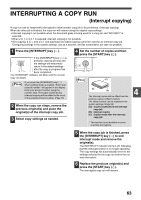
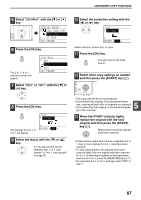
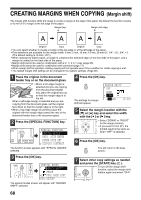
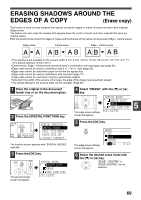
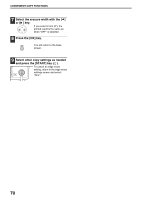
CONVENIENT COPY FUNCTIONS 1 Place the originals in the document feeder tray or the first original on the document glass. If the originals are placed in the document feeder tray, sort mode will be automatically selected. This can be changed to no sort in the system settings. (Page 87) If the first original is placed on the document glass, no sort mode will be automatically selected. 2 Press the [OUTPUT] key. O AUTO IMAGE OUTPUT 2-SIDED COPY FORMAT ORIGINAL SIZE DUPLEX SCAN BROADCAST ORIGINAL SIZE DUPLEX SCAN SORT NO SORT SORT The output mode selection screen will appear. 3 Select "NO SORT" or "SORT" with the [ ] or [ ] key, or with the [OUTPUT] key. PQ ED COPY LEX SCAN LEX SCAN ACC 4 Press the [OK] key. BACK OK GHI You will return to the base screen. PQRS PY AN 5 Select other copy settings as needed and press the [START] key ( ). MNO If you placed the originals in the WXYZ document feeder tray in step 1, @.-_ copying will start. If you selected "SORT" in step 3 and AD-END placed the first original on the document glass, follow steps 6 and 7. Note that if you selected "NO SORT" in step 3, copying will begin. 6 When the START indicator lights, replace the original with the next original and press the [START] key ( ). Repeat step 6 until all originals have been scanned. 7 When all originals have been scanned, press the [READ-END] key ( ). @.-_ #-C READ-END • Copying will start. • If the memory becomes full while the originals are being scanned, "Memory is full." will appear in the display. To start copying the originals that have been scanned to that point, press the [START] key ( ). To cancel the copy job, press the [CA] key. • The optional memory board (AR-SM5) can be installed to increase the number of originals that can be scanned. The memory can be expanded up to a maximum of 272 MB (the amount expanded is 256 MB). Offset function This function offsets each set of copies from the previous set in centre tray, making it easy to separate sets of copies. The offset function can be disabled in the system settings. (Page 82) 5 Offset function enabled Offset function disabled * This function is not available in some countries and regions. 65
-
 1
1 -
2
-
3
-
4
-
5
-
6
-
7
-
8
-
9
-
10
-
11
-
12
-
13
-
14
-
15
-
16
-
17
-
18
-
19
-
20
-
21
-
22
-
23
-
24
-
25
-
26
-
27
-
28
-
29
-
30
-
31
-
32
-
33
-
34
-
35
-
36
-
37
-
38
-
39
-
40
-
41
-
42
-
43
-
44
-
45
-
46
-
47
-
48
-
49
-
50
-
51
-
52
-
53
-
54
-
55
-
56
-
57
-
58
-
59
-
60
-
61
-
 62
62 -
 63
63 -
 64
64 -
 65
65 -
 66
66 -
 67
67 -
 68
68 -
 69
69 -
 70
70 -
 71
71 -
 72
72 -
73
-
74
-
75
-
76
-
77
-
78
-
79
-
80
-
81
-
82
-
83
-
84
-
85
-
86
-
87
-
88
-
89
-
90
-
91
-
92
-
93
-
94
-
95
-
96
-
97
-
98
-
99
-
100
 |
 |