Sharp MX-M200D Operation Manual - Page 84
Device Control - print configuration
 |
View all Sharp MX-M200D manuals
Add to My Manuals
Save this manual to your list of manuals |
Page 84 highlights
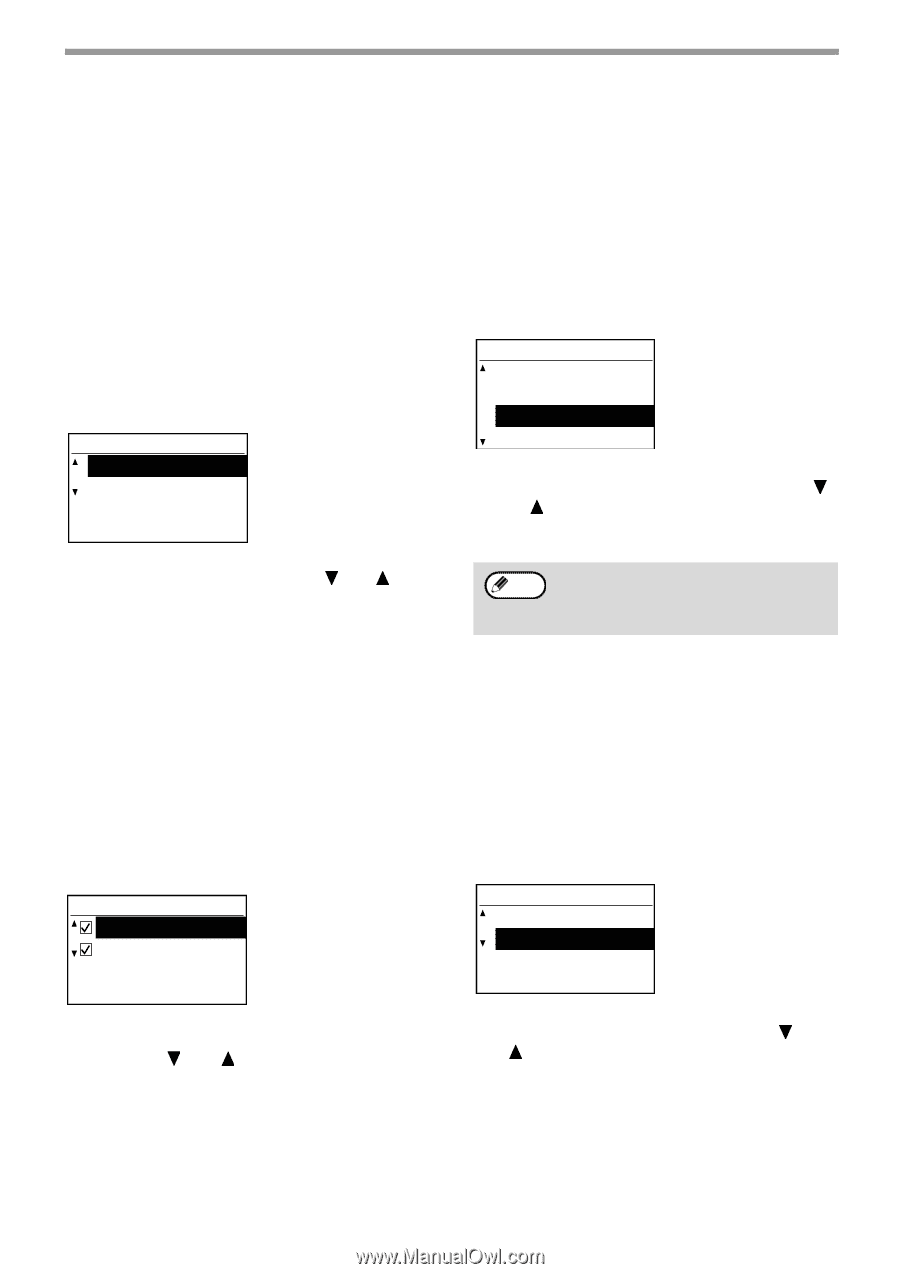
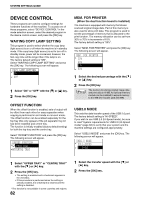
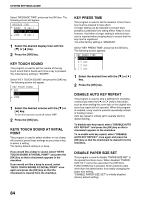
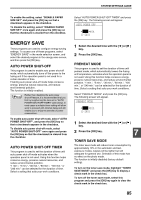
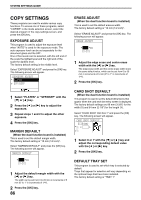
SYSTEM SETTINGS GUIDE DEVICE CONTROL These programs are used to configure settings for hardware functions of the machine. To access one of these programs, select "DEVICE CONTROL" in the mode selection screen, select the desired program in the device control screen, and press the [OK] key. WAITING COPY LAMP SETTING This program is used to select whether the copy lamp (light source) is on or off when the machine is in standby mode. If the copy lamp (light source) is set to turn off in standby mode, power will be conserved, however, the first copy time will be longer than if the lamp is on. The factory default setting is "ON". Select "WAITING COPY LAMP SETTING" and press the [OK] key. The following screen will appear. COPY LAMP SETTING ON OFF 1 Select "ON" or "OFF" with the [ ] or [ ] key. 2 Press the [OK] key. OFFSET FUNCTION When the offset function is enabled, sets of output will be offset from each other for easy separation when copying is performed in sort mode or non-sort mode. The offset function can be enabled separately for the top tray (this only appears if the job separator tray kit has been installed) and centre tray. The function is initially enabled (factory default setting) for both the top tray and the centre tray. Select "OFFSET FUNCTION" and press the [OK] key. The following screen will appear. OFFSET FUNCTION UPPER TRAY CENTRE TRAY MEM. FOR PRINTER (When the dual function board is installed) The machine is equipped with memory that stores scanned original image data. Part of this memory is also used to store print data. This program is used to set the percentage of memory that is allocated to the print function. The memory allocation can be set from 30% to 70% in increments of 10%. The factory default setting is "50%". Select "MEM. FOR PRINTER" and press the [OK] key. The following screen will appear. MEM. FOR PRINTER 30% 40% 50% 60% 1 Select the desired percentage with the [ ] or [ ] key. 2 Press the [OK] key. Note The memory for storing original image data and print data is 16 MB. An optional memory module can be installed to expand memory to 272 MB (the module adds 256 MB). USB2.0 MODE This sets the data transfer speed of the USB 2.0 port. The factory default setting is "HI-SPEED". If you wish to use USB 2.0 (Hi-Speed mode), be sure to read "System requirements for USB 2.0 (Hi-Speed mode)" (page 83) to verify that your system and the machine settings are configured appropriately. Select "USB2.0 MODE" and press the [OK] key. The following screen will appear. USB2.0 MODE FULL-SPEED HI-SPEED 1 Select "UPPER TRAY" or "CENTRE TRAY" with the [ ] or [ ] key. 2 Press the [OK] key. • The setting is enabled and a checkmark appears in the checkbox. • If this procedure is performed when the setting is already enabled, the checkmark is cleared and the setting is disabled. * This function is not available in some countries and regions. 82 1 Select the transfer speed with the [ ] or [ ] key. 2 Press the [OK] key.
-
 1
1 -
2
-
3
-
4
-
5
-
6
-
7
-
8
-
9
-
10
-
11
-
12
-
13
-
14
-
15
-
16
-
17
-
18
-
19
-
20
-
21
-
22
-
23
-
24
-
25
-
26
-
27
-
28
-
29
-
30
-
31
-
32
-
33
-
34
-
35
-
36
-
37
-
38
-
39
-
40
-
41
-
42
-
43
-
44
-
45
-
46
-
47
-
48
-
49
-
50
-
51
-
52
-
53
-
54
-
55
-
56
-
57
-
58
-
59
-
60
-
61
-
62
-
63
-
64
-
65
-
66
-
67
-
68
-
69
-
70
-
71
-
72
-
73
-
74
-
75
-
76
-
77
-
78
-
 79
79 -
 80
80 -
 81
81 -
 82
82 -
 83
83 -
 84
84 -
 85
85 -
 86
86 -
 87
87 -
 88
88 -
 89
89 -
90
-
91
-
92
-
93
-
94
-
95
-
96
-
97
-
98
-
99
-
100
 |
 |