Sharp MX-M450N Operation Manual - Page 115
PAPER SELECT, COPY RATIO, EXPOSURE, original size.
 |
View all Sharp MX-M450N manuals
Add to My Manuals
Save this manual to your list of manuals |
Page 115 highlights
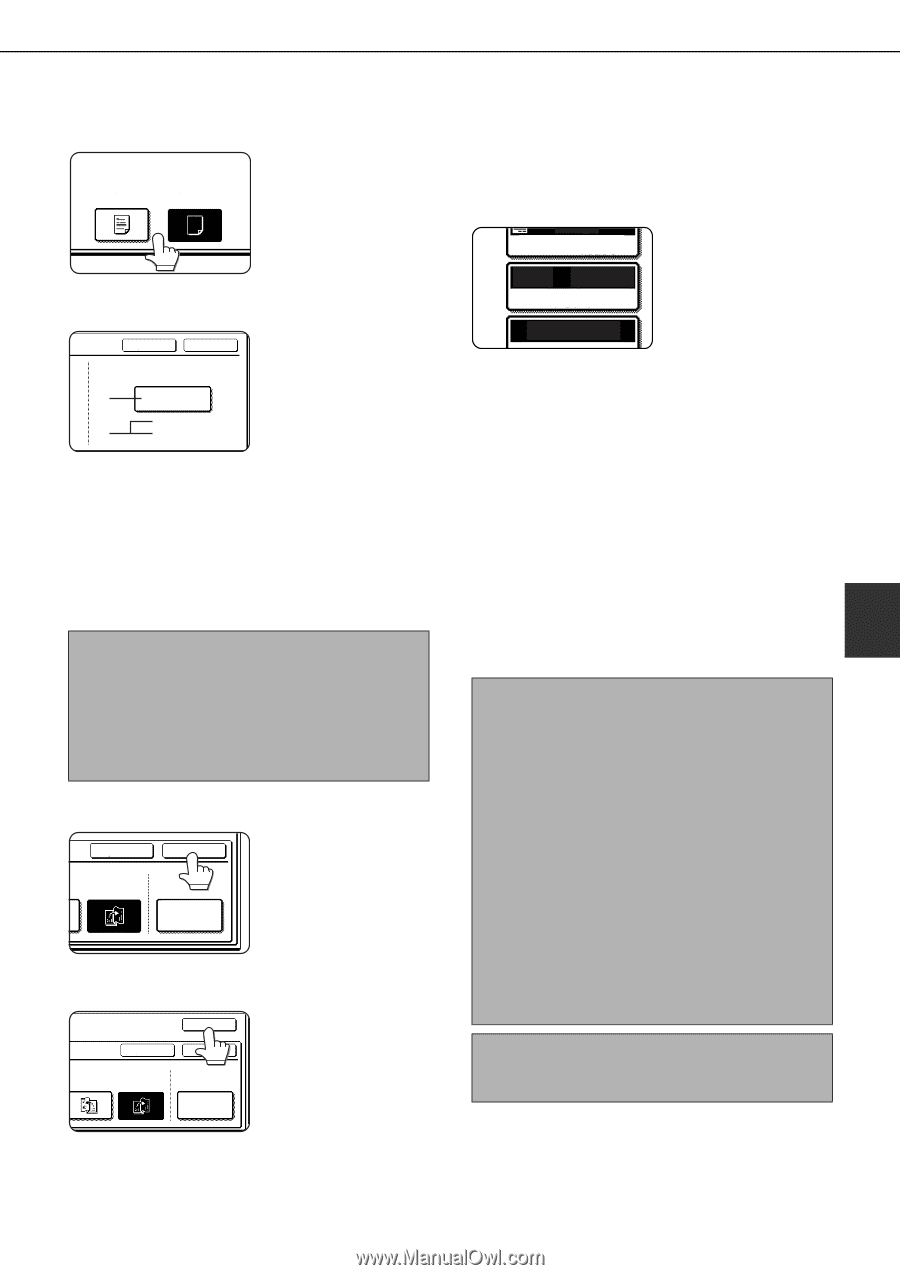
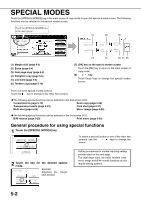
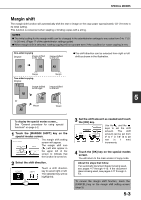
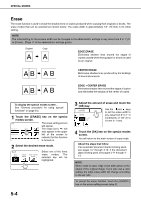
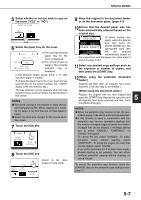
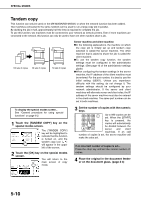
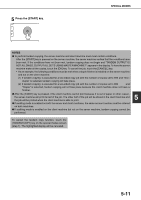
SPECIAL MODES 5 Select whether or not you wish to copy on the cover ("YES" or "NO"). PRINT ON COVER YES NO 6 Select the paper tray for the cover. CANCEL OK PAPER TRAY (1) TRAY2 81/2x11 (2) PLAIN (1)The currently selected paper tray for the cover is displayed. (2)The size and type of paper in the currently selected tray is displayed. In the example screen above, 8-1/2" x 11" (A4) size plain paper is loaded. To change the paper tray for the cover, touch the tray selection key. (In the screen example, the " TRAY2" display is the tray selection key.) The tray selection screen appears when the tray selection key is touched. Select the desired tray in this screen. NOTES ● Two-sided copying is not possible on label sheets, and transparency film. When copying on a cover, do not select a tray that has one of these types of paper. ● Select the same size of paper for the covers as for the copies. 7 Touch the [OK] key. CANCEL RIGHT G BINDING OK COVER SETTING 8 Touch the [OK] key. CANCEL LEFT RIGHT BINDING BINDING OK OK COVER SETTING Return to the main screen of copy mode. 9 Place the original in the document feeder or on the document glass. (page 4-3) 10Ensure that the desired paper size has been automatically selected based on the original size. AUTO EXPOSURE To select another size paper, select the desired AUTO 11x17 PAPER SELECT size and touch the [AUTO IMAGE] key. The appropriate copy ratio 100% will be selected COPY RATIO automatically based on the original size and the paper size. (See steps 2 and 3 on page 4-15.) 11Select any desired copy settings such as the exposure or number of copies, and then press the [START] key. 12[When using the automatic document feeder:] Copying will start after all originals have been scanned. (The next step is not needed.) [When using the document glass:] Replace the original with the next original and press the [START] key. Repeat this operation until 5 all originals have been scanned and then touch the [READ-END] key. NOTES ● When the pamphlet copy function is set, the twosided copying mode will be automatically selected. ● If this function is used in combination with the pamphlet copy function (pamphlet stapling) and the number of original pages exceeds the number of pages that can be stapled, a message asking you to select "CANCEL", "CONTINUE", or "DIVIDE" will appear. To cancel the job, select "CANCEL". To make pamphlet copies without stapling, select "CONTINUE". To divide the pages into sets that can be stapled, select "DIVIDE". If you performed steps 4 to 6 to insert cover paper, divided stapling is not possible. You can either continue pamphlet copying without stapling, or cancel the job. To cancel the pamphlet copy function, touch the [CANCEL] key on the pamphlet copy setting screen (step 7). 5-7
-
 1
1 -
2
-
3
-
4
-
5
-
6
-
7
-
8
-
9
-
10
-
11
-
12
-
13
-
14
-
15
-
16
-
17
-
18
-
19
-
20
-
21
-
22
-
23
-
24
-
25
-
26
-
27
-
28
-
29
-
30
-
31
-
32
-
33
-
34
-
35
-
36
-
37
-
38
-
39
-
40
-
41
-
42
-
43
-
44
-
45
-
46
-
47
-
48
-
49
-
50
-
51
-
52
-
53
-
54
-
55
-
56
-
57
-
58
-
59
-
60
-
61
-
62
-
63
-
64
-
65
-
66
-
67
-
68
-
69
-
70
-
71
-
72
-
73
-
74
-
75
-
76
-
77
-
78
-
79
-
80
-
81
-
82
-
83
-
84
-
85
-
86
-
87
-
88
-
89
-
90
-
91
-
92
-
93
-
94
-
95
-
96
-
97
-
98
-
99
-
100
-
101
-
102
-
103
-
104
-
105
-
106
-
107
-
108
-
109
-
 110
110 -
 111
111 -
 112
112 -
 113
113 -
 114
114 -
 115
115 -
 116
116 -
 117
117 -
 118
118 -
 119
119 -
 120
120 -
121
-
122
-
123
-
124
-
125
-
126
-
127
-
128
-
129
-
130
-
131
-
132
-
133
-
134
-
135
-
136
-
137
-
138
-
139
-
140
-
141
-
142
-
143
-
144
-
145
-
146
-
147
-
148
-
149
-
150
-
151
-
152
-
153
-
154
-
155
-
156
-
157
-
158
-
159
-
160
-
161
-
162
-
163
-
164
-
165
-
166
-
167
-
168
-
169
-
170
-
171
-
172
-
173
-
174
-
175
-
176
-
177
-
178
-
179
-
180
-
181
-
182
-
183
-
184
-
185
-
186
-
187
-
188
-
189
-
190
-
191
-
192
-
193
-
194
-
195
-
196
-
197
-
198
-
199
-
200
 |
 |