Sharp VLAH150U Operation Manual - Page 58
White Balance Lock
 |
UPC - 074000352735
View all Sharp VLAH150U manuals
Add to My Manuals
Save this manual to your list of manuals |
Page 58 highlights
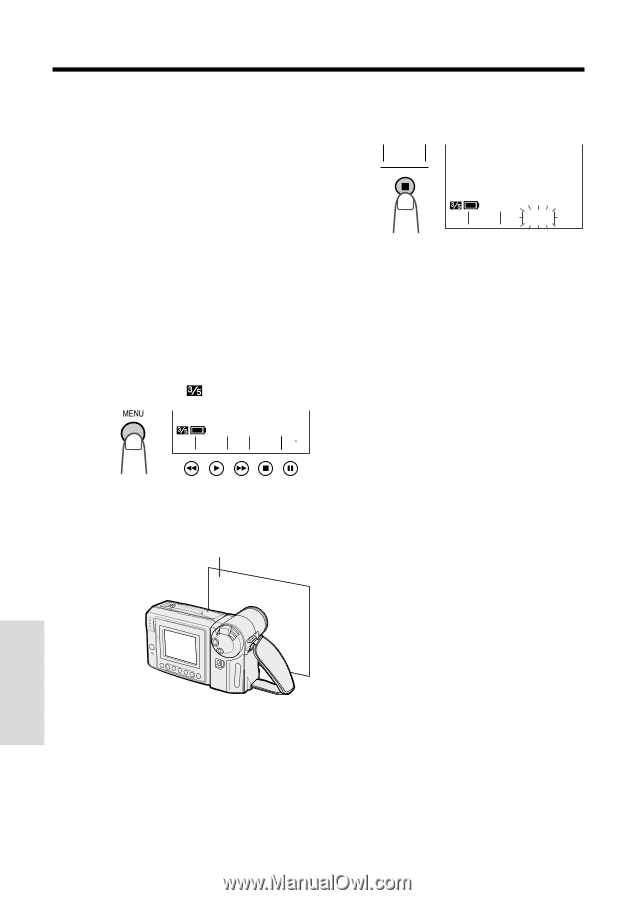
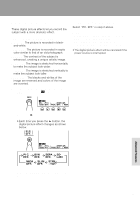
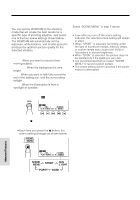
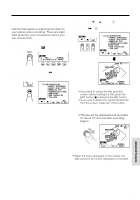
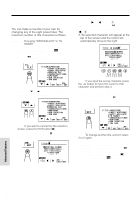
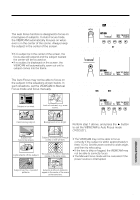
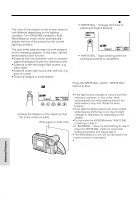
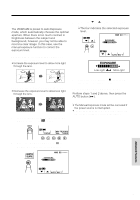
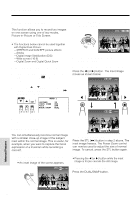
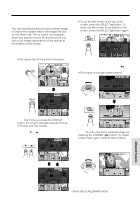
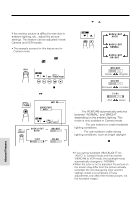
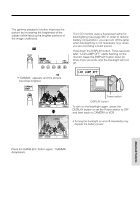
Advanced Features White Balance Lock The color of the subject on the screen tends to look different depending on the lighting condition. The VIEWCAM is preset to Auto White Balance mode, which automatically adjusts the hue of the picture for the current lighting condition. The auto white balance may not work properly for the following subjects. In this case, use the white balance lock function. • Subjects with one dominant color or subjects against background with one dominant color • Subjects under very bright light source, e.g. video lights • Subjects under light source with red hue, e.g. glow of sunset • Close-up images of small objects 1 In Recording Standby mode, press the MENU button until appears. FOCUS WH I T E E XPO BAL. SURE 2 Aim the lens at a white object. • Adjust the distance of the object so that the entire screen is white. White paper or white cloth 3 Press the WHITE BAL. button (A). • "WHITE BAL." changes from blue to yellow and begins flashing. WH I T E BAL. FOCUS WH I T E EXPO BA L. SURE • "WHITE BAL." stops flashing when the locking procedure is completed. 4 Aim the lens at the desired subject and press the REC START/STOP button to begin recording. To cancel White Balance Lock Press the WHITE BAL. button. "WHITE BAL." returns to blue. Notes: • If the light source changes or if you move from indoors to outdoors, or vice versa, when recording with the white balance locked, the white balance may shift. Reset the white balance. • Even after the white balance has been locked, white balance shifts may occur due to slight changes in illumination or depending on the subject. • Do not move the VIEWCAM while "WHITE BAL." is flashing in step 3. • If "WHITE BAL." does not stop flashing in step 3, press the WHITE BAL. button to cancel the locking procedure and repeat step 3. • The White Balance Lock will be canceled if the power source is interrupted. • The White Balance Lock will be canceled if a scene setting is selected thereafter. Advanced Features 49
-
 1
1 -
2
-
3
-
4
-
5
-
6
-
7
-
8
-
9
-
10
-
11
-
12
-
13
-
14
-
15
-
16
-
17
-
18
-
19
-
20
-
21
-
22
-
23
-
24
-
25
-
26
-
27
-
28
-
29
-
30
-
31
-
32
-
33
-
34
-
35
-
36
-
37
-
38
-
39
-
40
-
41
-
42
-
43
-
44
-
45
-
46
-
47
-
48
-
49
-
50
-
51
-
52
-
 53
53 -
 54
54 -
 55
55 -
 56
56 -
 57
57 -
 58
58 -
 59
59 -
 60
60 -
 61
61 -
 62
62 -
 63
63 -
64
-
65
-
66
-
67
-
68
-
69
-
70
-
71
-
72
-
73
-
74
-
75
-
76
-
77
-
78
-
79
-
80
 |
 |