Sharp XG-P10XU XGP10XU Operation Manual - Page 28
Adjusting the Color Temperature, Selecting the Signal Type, Description of Color Temperature
 |
View all Sharp XG-P10XU manuals
Add to My Manuals
Save this manual to your list of manuals |
Page 28 highlights
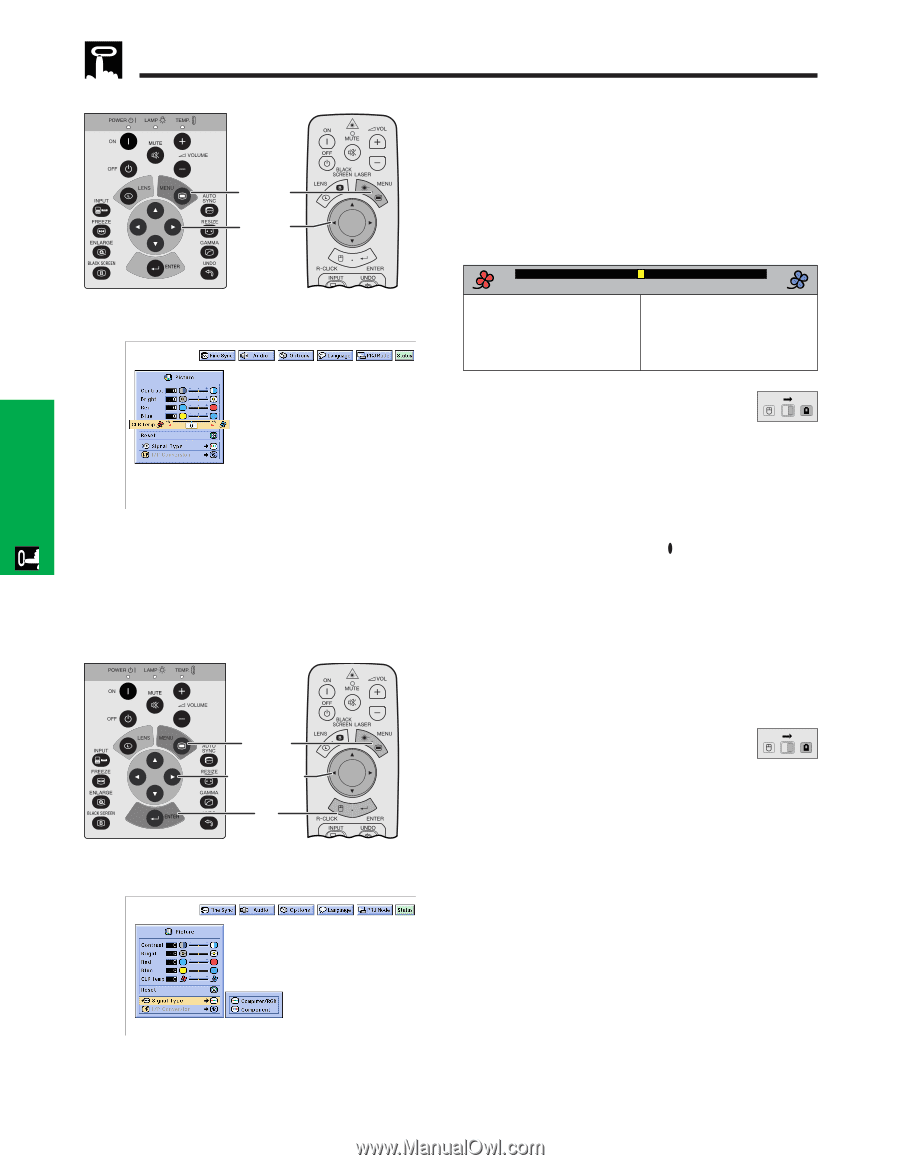
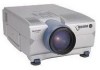
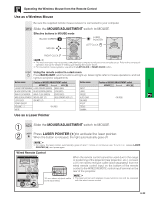
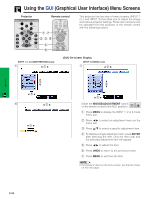
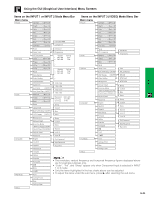
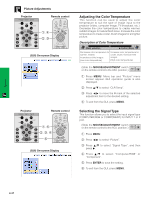
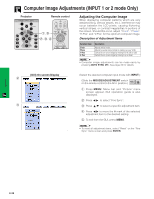
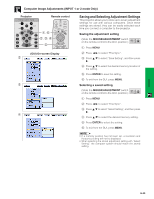
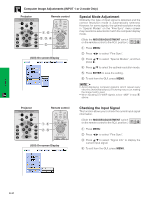
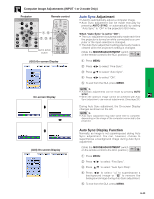
Operation Picture Adjustments Projector Remote control 1, 4 2, 3 (GUI) On-screen Display Projector Remote control 1, 6 2, 3, 4 5 (GUI) On-screen Display Adjusting the Color Temperature This function can be used to adjust the color temperature to suit the type of image input to the projector (video, computer image, TV broadcast, etc.). Decrease the color temperature to create warmer, reddish images for natural flesh tones. Increase the color temperature to create cooler, bluish images for a brighter picture. Description of Color Temperature מ3 (Red) ß button ם3 © button (Blue) Decreases color temperature for Increases color temperature for warmer, reddish, cooler, bluish, florescent-like incandescent-like images. images. (Low color temperature) (High color temperature) (Slide the MOUSE/ADJUSTMENT switch MOUSE ADJ. on the remote control to the ADJ. position.) 1 Press MENU. Menu bar and "Picture" menu screen appear. GUI operation guide is also displayed. 2 Press ∂/ƒ to select "CLR Temp". 3 Press ß/© to move the mark of the selected adjustment item to the desired setting. 4 To exit from the GUI, press MENU. Selecting the Signal Type This function allows you to select the input signal type (COMPUTER/RGB or COMPONENT) for INPUT 1 or 2 port. (Slide the MOUSE/ADJUSTMENT switch MOUSE ADJ. on the remote control to the ADJ. position.) 1 Press MENU. 2 Press ß/© to select "Picture". 3 Press ∂/ƒ to select "Signal Type", and then press ©. 4 Press ∂/ƒ to select "Computer/RGB" or "Component". 5 Press ENTER to save the setting. 6 To exit from the GUI, press MENU. E-27
-
 1
1 -
2
-
3
-
4
-
5
-
6
-
7
-
8
-
9
-
10
-
11
-
12
-
13
-
14
-
15
-
16
-
17
-
18
-
19
-
20
-
21
-
22
-
 23
23 -
 24
24 -
 25
25 -
 26
26 -
 27
27 -
 28
28 -
 29
29 -
 30
30 -
 31
31 -
 32
32 -
 33
33 -
34
-
35
-
36
-
37
-
38
-
39
-
40
-
41
-
42
-
43
-
44
-
45
-
46
-
47
-
48
-
49
-
50
-
51
-
52
-
53
-
54
-
55
-
56
-
57
-
58
-
59
-
60
-
61
-
62
-
63
-
64
-
65
 |
 |